Supabase Data Sync

This comprehensive document will walk you through the step-by-step configuration process for Supabase data sync and address specific use cases tailored to Supabase.
Standard Data Sync functionality
Please refer to Data Sync - Getting Started for the standard data sync functionality. The getting started document covers usages of data sync features valid for all integrations.
Requirements
Installing app
- Go to Byteline Console.
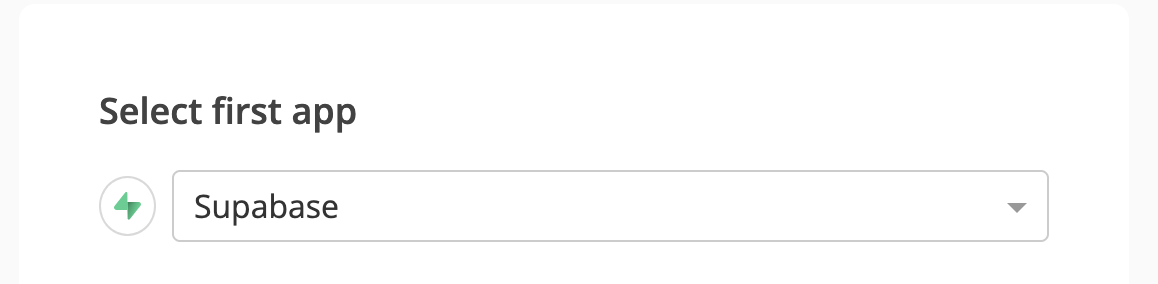
- Create a new sync and choose Supabase as the first app. Then, select the second app.
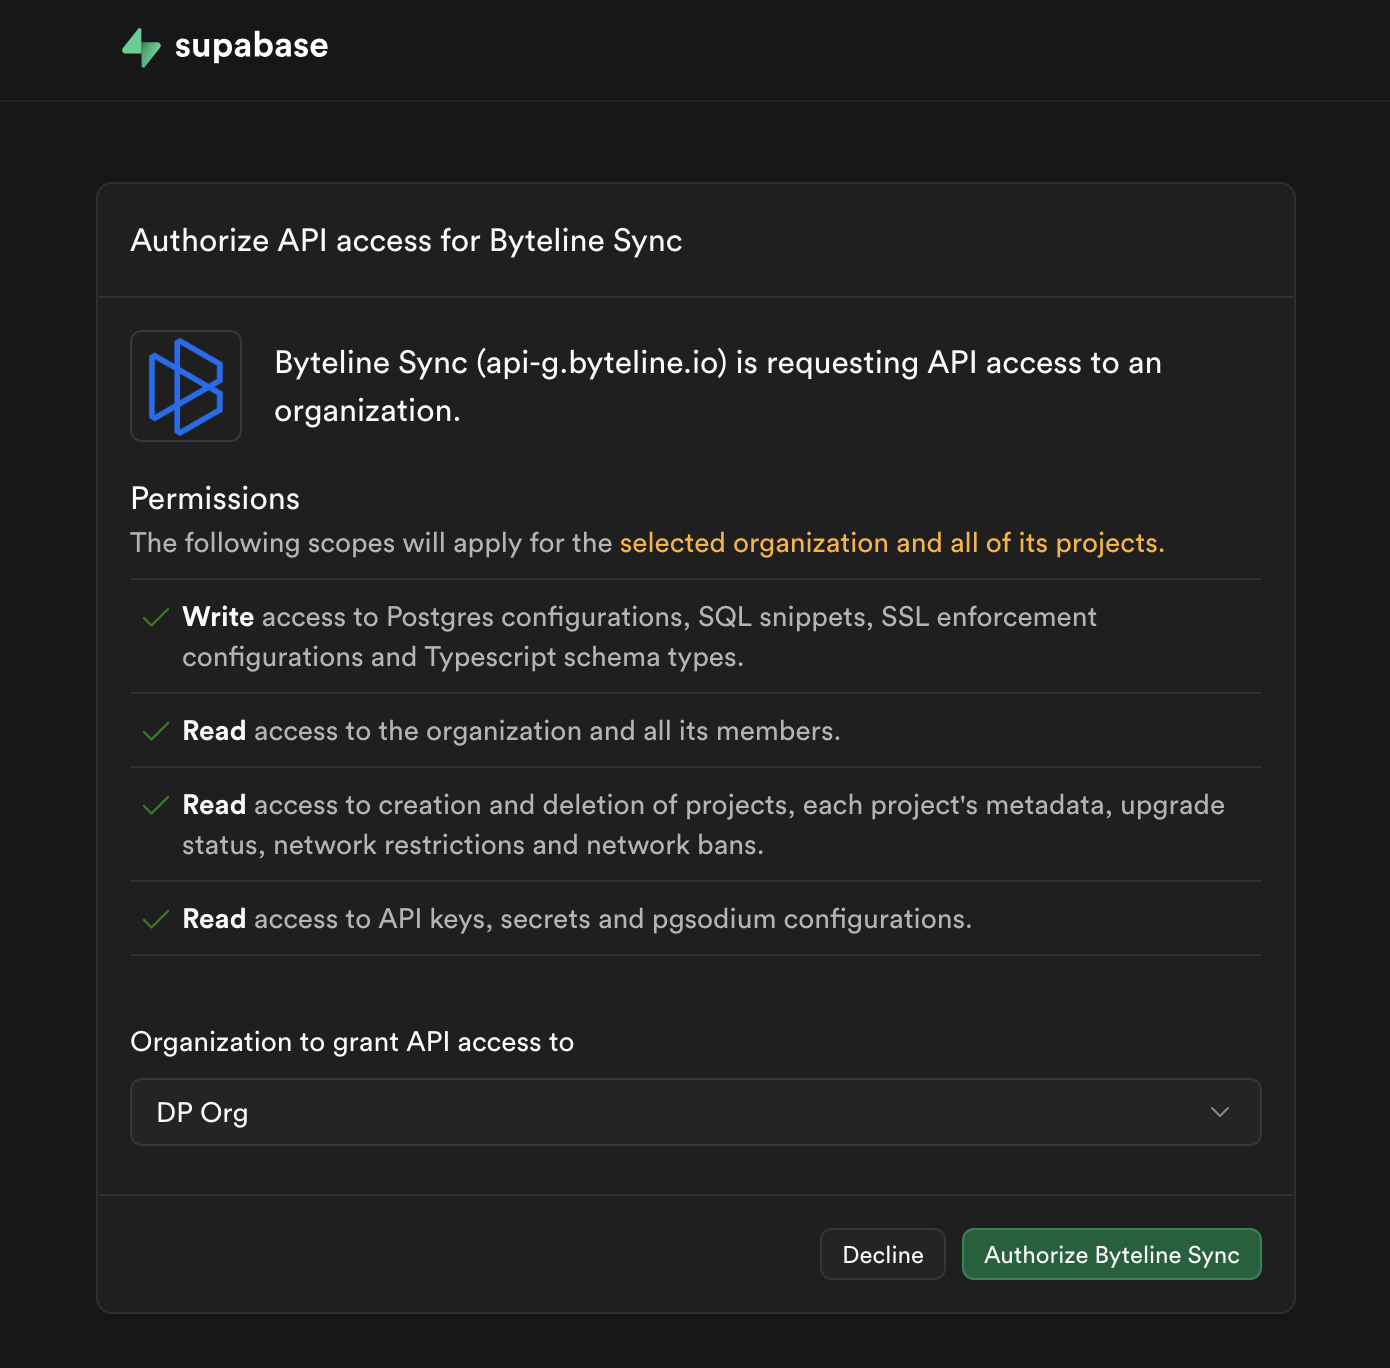
- On the next screen, click Connect Supabase to establish a connection to your Supabase account.
Configuring Supabase Data Sync
Step 1: Start the Sync Setup
- Log in to your Byteline account and navigate to the My Syncs page.
- Click on the "Create Sync" button to begin the configuration.
Step 2: Select Supabase as Your First App
- Choose Supabase as the first app to sync.
- Alternatively, you can select another app first and then pick Supabase as the second app.
- Alternatively, you can select another app first and then pick Supabase as the second app.
Step 3: Connect the Second App
- Select the second app for syncing and log in to authorize the connection.
- Once connected, click "Continue" to move to the table mapping screen.
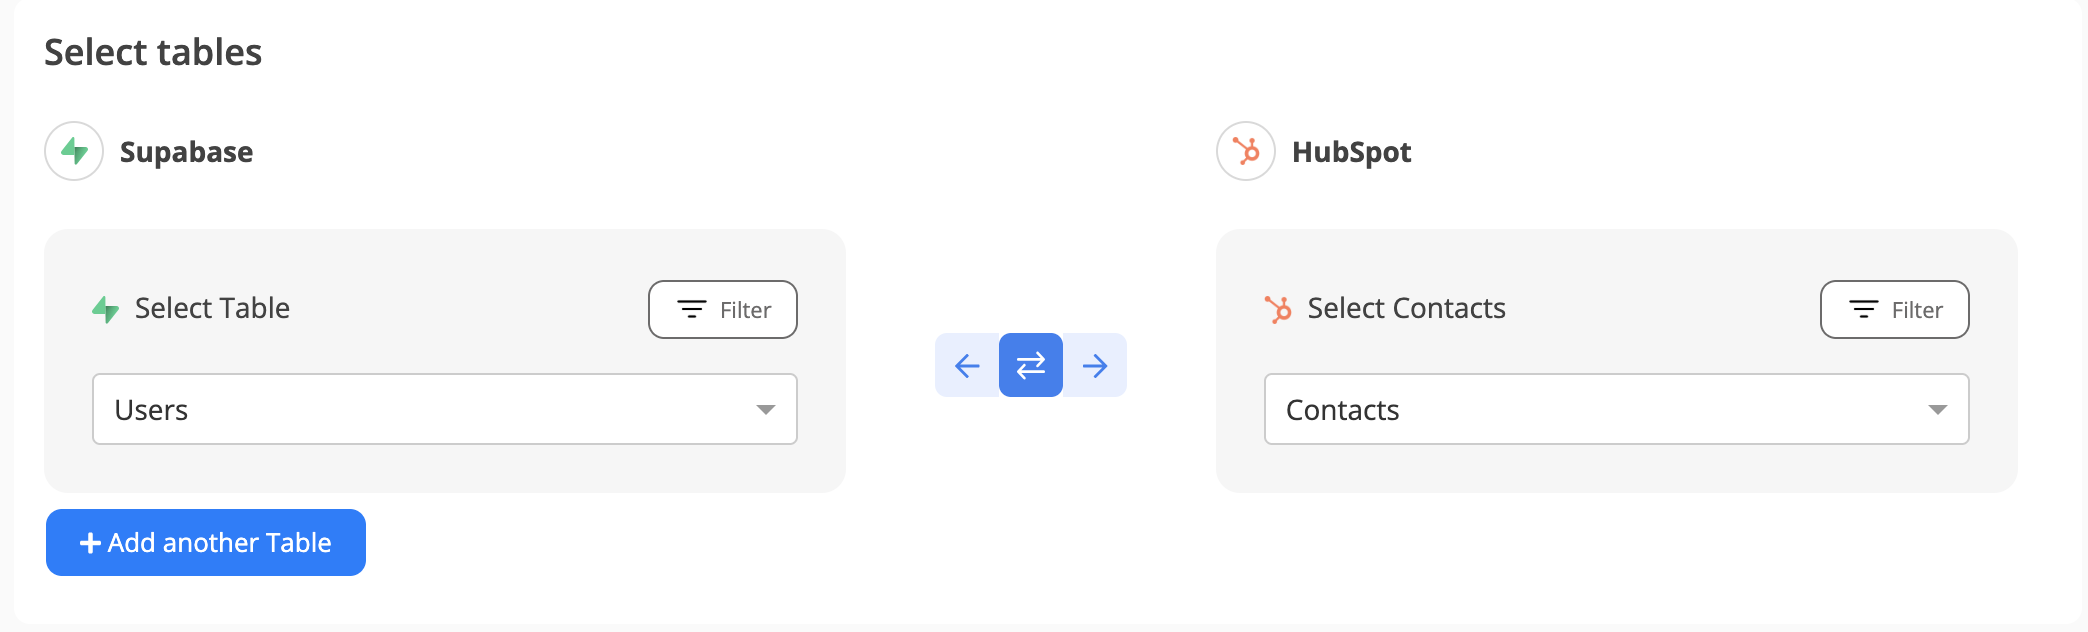
Step 4: Map Tables Between Supabase and the Other App
- Select the tables to sync between both apps.
- Select the tables you want to sync between the two apps.
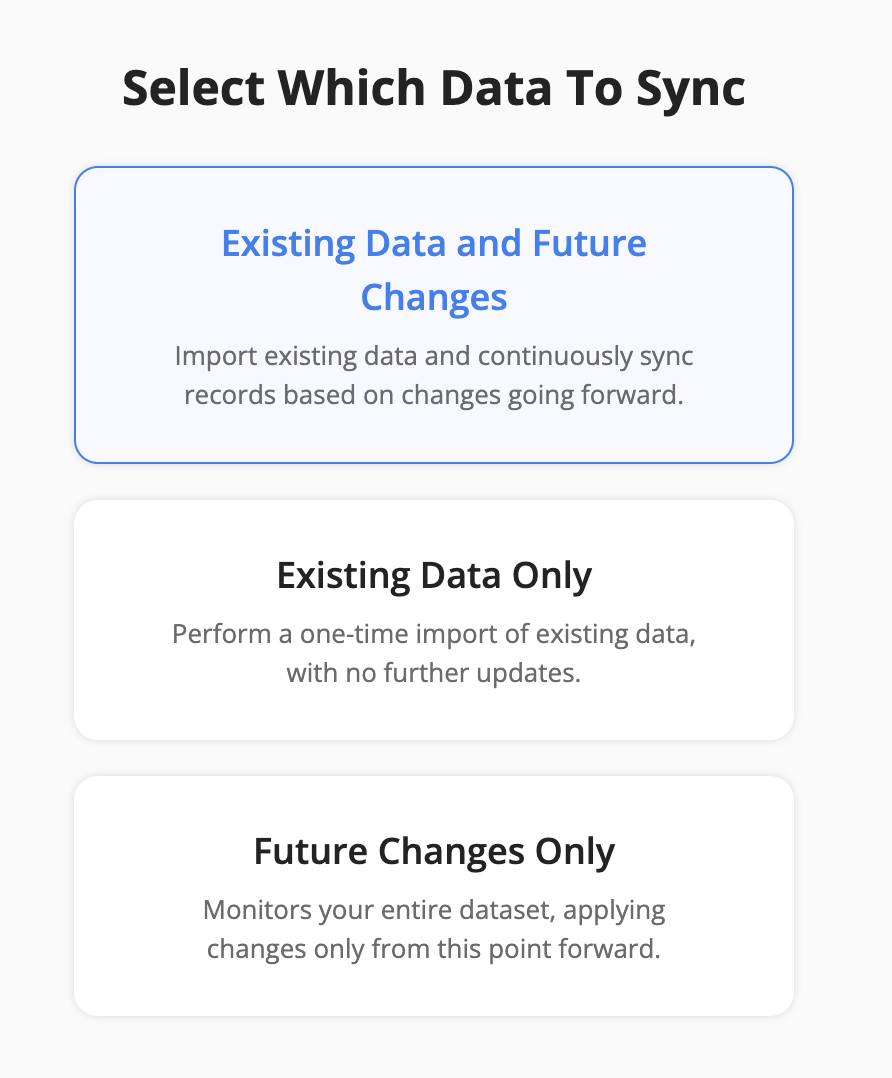
Step 5: Choose Which Data to Sync
For each sync, you'll need to select whether to sync existing records, future changes, or both.
Step 6: Configure Field Mapping
- On the Field Mapping screen, drag and drop fields from the right panel into the mapped fields column to create mappings.
Note: Not all fields are shown in the screenshot below.
- To delete a mapping, click the X button next to the field.
- Select the sync direction at the field level using the arrow buttons.
One-Way Sync: Data flows from one app to the other.
Two-Way Sync: Data flows bidirectionally between both apps. - Once your mappings are finalized, click "Continue.
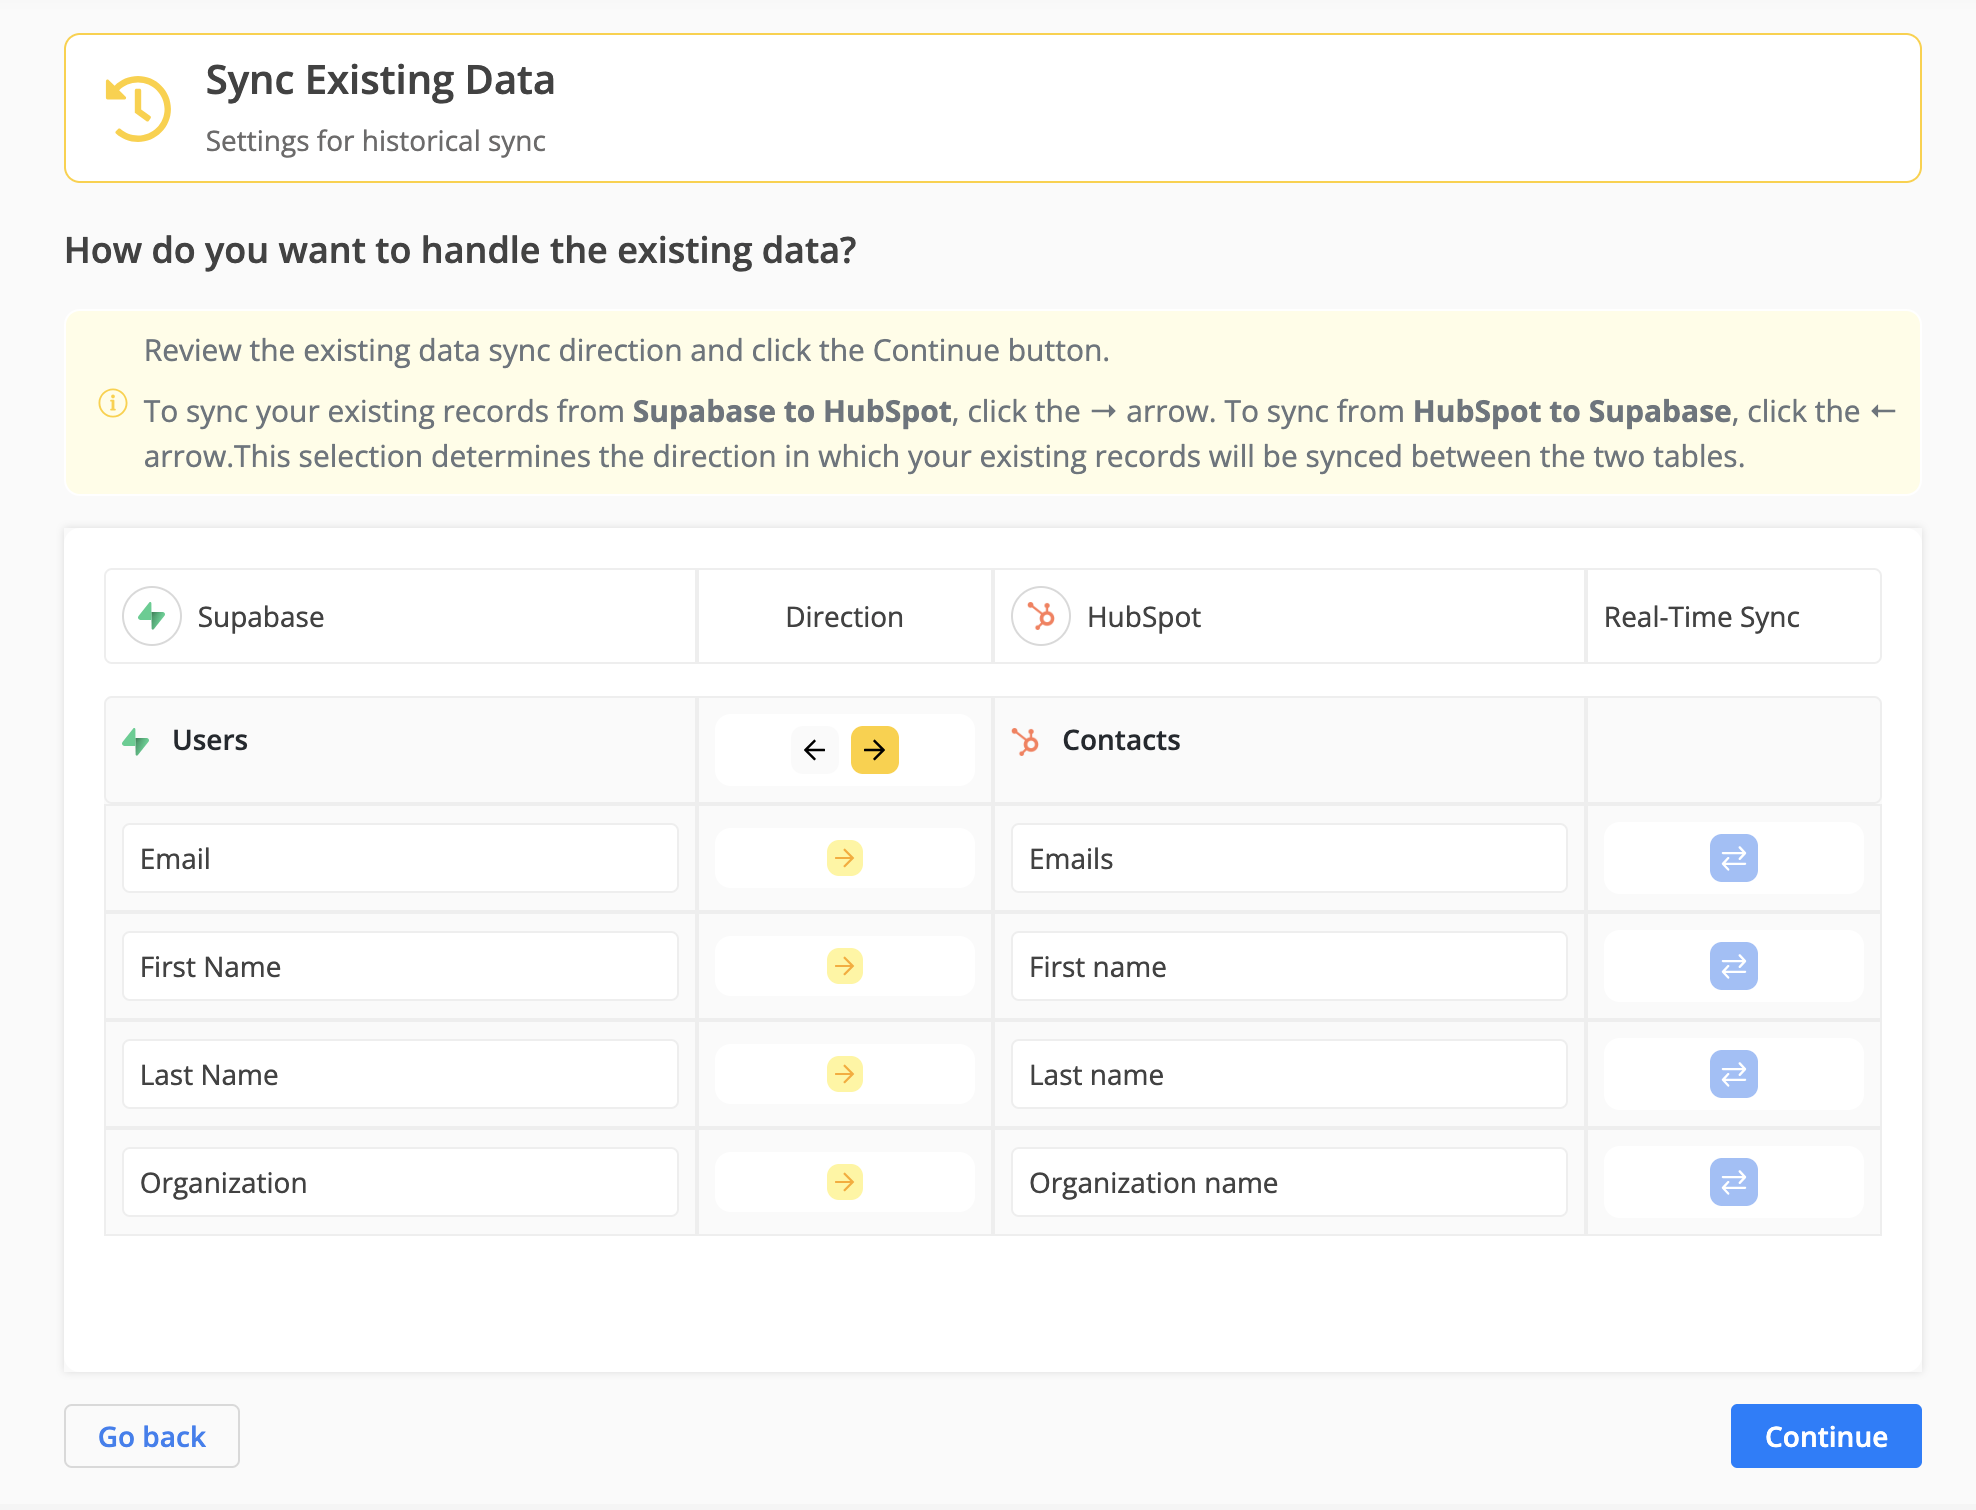
Step 7: Sync Existing Data Configuration
Select the sync direction for your existing data.
Step 8: Review Sync Preview
- Preview the sync setup to ensure everything is configured correctly.
- If all looks good, click "Start Sync."
- Byteline will:
- Perform an initial sync of your existing data.
- Keep the sync running automatically, ensuring your Supabase data stays up to date.
You can monitor sync progress, view logs, or make changes anytime from the Syncs page. If you need to pause or edit the sync, simply open it from your dashboard.
✅ That’s it! Your Supabase sync is now live.
What Byteline Adds to Your Supabase Database
Record ID Handling in Supabase
For Byteline to reliably track and sync records, each row in a Supabase table must have a unique identifier (Record ID). Byteline determines the Record ID using the following logic:
Using an Existing Primary Key (Recommended)
If your Supabase table already has a primary key column, Byteline will automatically use that column as the Record ID.
- This is the preferred approach.
- Works seamlessly with standard Supabase schemas.
- Ensures consistency with your existing database design.
Auto-Generated Record ID (When No Primary Key Exists)
If no primary key is defined on the table, Byteline will automatically add a new column:
byteline_row_id
- Type:
UUID - Automatically generated for each row
- Managed by Supabase (as part of the table schema)
- Used internally by Byteline as the unique Record ID
Important Notes
- The
byteline_row_idcolumn is only created when no primary key exists. - Once created, it becomes the permanent identifier for records in that table.
- You should avoid modifying or deleting this column, as it is required for sync consistency.
- If you later add your own primary key, existing syncs will continue using
byteline_row_idunless you restart the Byteline sync.
Functions and triggers
To securely connect your Supabase data and keep it in sync, Byteline adds three small helpers to your database.
These helpers are safe, lightweight, and do not change your existing data.
byteline_get_tables
This function lets Byteline see a list of tables in your database.
Why Byteline needs it
When you’re setting up a sync, Byteline needs to show you which tables are available so you can choose the right one.
What it can access- Table names only
- No rows
- No actual data
- Read-only
- No performance impact
- Does not modify anything
byteline_get_table_columns
This function retrieves the fields (columns) inside a selected table, along with their data types.
Why Byteline needs it
Byteline uses this information to:- Show available fields during setup
- Help you map fields correctly
- Prevent data type mismatches
- Column names (for example:
email,created_at) - Data types (text, number, date, etc.)
- No row data
- Read-only
- No access to your actual records
byteline_{table_id}_change_trigger
This trigger notifies Byteline whenever data changes in a specific table.
Why Byteline needs it
It allows Byteline to:- Detect new or updated records instantly
- Keep your data in sync without delays
- Avoid constant polling or manual refreshes
What it does not do- It does not send your full data automatically
- It does not change or block updates
- It does not slow down your database
Important Notes
- ✅ Byteline does not modify your existing data or tables
- ✅ Byteline only works with the tables you explicitly select
- ⚠️ These functions and triggers are required for syncing to work properly
- ⚠️ If they are removed while connected, Byteline will no longer be able to sync your data
- 🔧 You can disconnect Supabase from Byteline at any time, and then safely delete these helpers from Supabase if you no longer need them
Using Non-public Schemas
By default, Supabase exposes the public schema for API access. If you choose to sync data from a non-public schema, additional database privileges are required for Byteline to operate correctly.
When a non-public schema is selected, Byteline automatically verifies whether the required permissions already exist. If they do not, Byteline securely applies the necessary grants on your behalf — no manual SQL execution is required.
This is done purely for convenience and to ensure the sync works out of the box.
What permissions are granted (and why)
Byteline requests only the minimum privileges required to support data sync functionality:
- List tables in the schema
- Perform full CRUD operations (Create, Read, Update, Delete)
- Create and execute functions (including trigger functions)
- Add change triggers to tables so updates can be detected reliably
No unrelated or broad permissions are granted.
Automatically applied privilege script
When needed, Byteline applies a schema-scoped permissions script similar to the following (shown here for transparency):
GRANT USAGE, CREATE ON SCHEMA "<schema>" TO service_role;

GRANT SELECT, INSERT, UPDATE, DELETE, TRIGGER
ON ALL TABLES IN SCHEMA "<schema>" TO service_role;

GRANT USAGE, SELECT, UPDATE
ON ALL SEQUENCES IN SCHEMA "<schema>" TO service_role;

GRANT EXECUTE
ON ALL FUNCTIONS IN SCHEMA "<schema>" TO service_role;

GRANT USAGE ON LANGUAGE plpgsql TO service_role;

ALTER DEFAULT PRIVILEGES IN SCHEMA "<schema>"
  GRANT SELECT, INSERT, UPDATE, DELETE, TRIGGER ON TABLES TO service_role;

ALTER DEFAULT PRIVILEGES IN SCHEMA "<schema>"
  GRANT USAGE, SELECT, UPDATE ON SEQUENCES TO service_role;

ALTER DEFAULT PRIVILEGES IN SCHEMA "<schema>"
  GRANT EXECUTE ON FUNCTIONS TO service_role;
- These grants are schema-specific and do not affect other schemas.
- The script is executed only if required permissions are missing.
- Existing permissions are respected and never overridden.
- This uses Supabase’s
service_role, which is already designed for trusted backend operations.
This approach allows you to use custom schemas safely while keeping your Supabase setup clean, secure, and low-friction.