Webhook Response

Webhook Response
Byteline allows you to add Webhooks triggers in minutes without any need to put your coding skills into action. Webhook enables real-time triggers of flows using HTTP/REST calls.
For these Webhook trigger based flows, Byteline provides you with Webhook Response task to return a custom HTTP response on the completion of the flow. You have an option to return a custom redirect URL, headers, and a body.
In this documentation, we have explained the steps to set the Webhook Response node.
Let’s get started.
Step 1: Hover the cursor over the Webhook Response node icon to display the options. Once displayed, click on the edit button to set the node.


You can specify three things here:
- Redirect URL: When the API is called from the browser of the user’s session or so, the user will be redirected to the provided URL. You can use a Byteline expression to provide a dynamic URL.
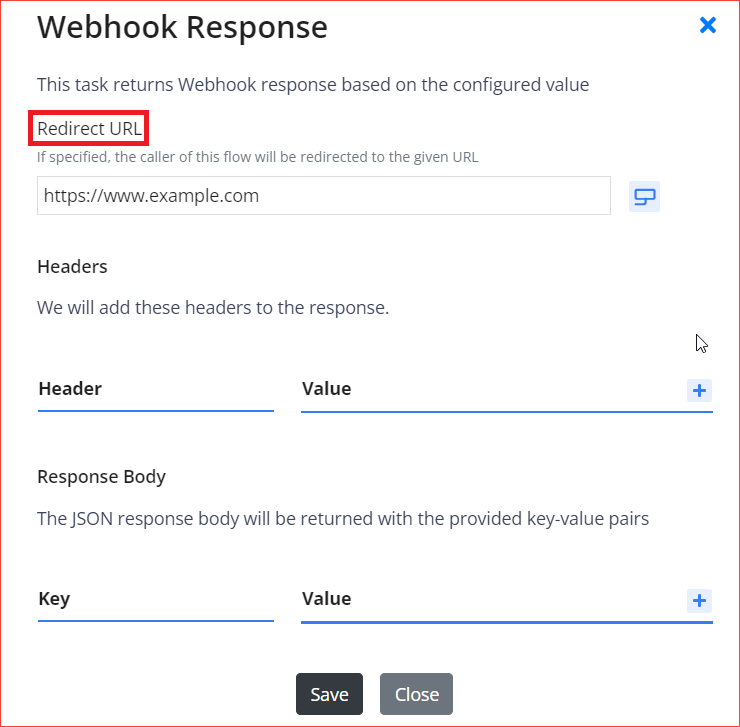
- Headers: You can specify headers when you want to pass any header values. Byteline expression can be used to provide dynamic value for a header.

- Response Body: The JSON response body will be returned with the provided key-value pairs. Byteline expression can be used to provide dynamic value for a value.

Step 2: Click on the Save button to save the changes.
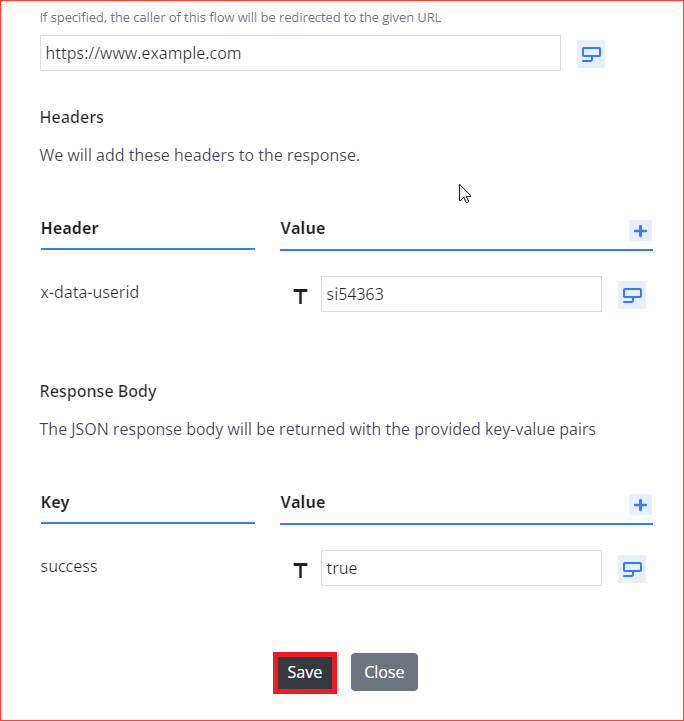
You have successfully set the Webhook Response Node.
Feel free to connect us with any doubts.