Use case
Relevant apps:
How to Sync ClickUp to Google Sheets — No-Code, Auto-Updating Guide
ClickUp is where the work gets managed — tasks, statuses, assignees, due dates, custom fields, the whole operation. What it isn’t built for is open-ended reporting. The moment you want to build a custom report, share a live view with someone who doesn’t have a ClickUp seat, or feed task data into a dashboard or a finance model, you reach for Google Sheets.
The problem is getting the data there and keeping it current. Most people end up either exporting CSVs by hand, installing a spreadsheet add-on that clutters your sheet with helper columns, or wiring up automation triggers that fire one event at a time and only handle new rows.
This guide shows you how to sync ClickUp to Google Sheets the right way — automatically, with no code and no add-ons. You choose the direction, map exactly the fields you want, preview every change before it happens, and turn it on. Existing tasks get backfilled, new and changed tasks flow through on their own, and you never touch a CSV again.
By the end, you’ll have a live ClickUp → Google Sheets sync running in about 10 minutes.
Why sync ClickUp to Google Sheets?
ClickUp is the system of record for the work. Google Sheets is where the rest of the business wants to look at it. That split shows up everywhere:
- Reporting and analysis. You want tasks sliced by status, assignee, priority, or due date — pivot tables and formulas that are awkward to build inside ClickUp.
- Sharing outside the team. A stakeholder, client, accountant, or executive lives in Sheets and doesn’t need a ClickUp login.
- Feeding other tools. A Google Sheet is the universal connector — once your task data is there, it can flow into Looker Studio, a finance model, or another system.
- A working backup. A live spreadsheet copy of every task, always current, that sits outside ClickUp.
These only work if the spreadsheet is actually up to date. A one-time export is stale by the next morning. That’s the gap a real sync closes.
The old way: CSV exports, add-ons, and automation triggers
Before the setup, it’s worth being honest about the common approaches and why they wear thin.
Manual CSV export. Export from ClickUp, open the file, paste into your Sheet, fix the columns, repeat. It works exactly until you get busy, and then your “live” tracker is a week stale and nobody trusts it.
Spreadsheet add-ons. Some tools require installing a Google Sheets add-on that injects helper columns — an ID column and a “last modified” column — and only the data between those columns will sync. Your clean spreadsheet now has machinery in it, and you’re locked into that tool’s structure.
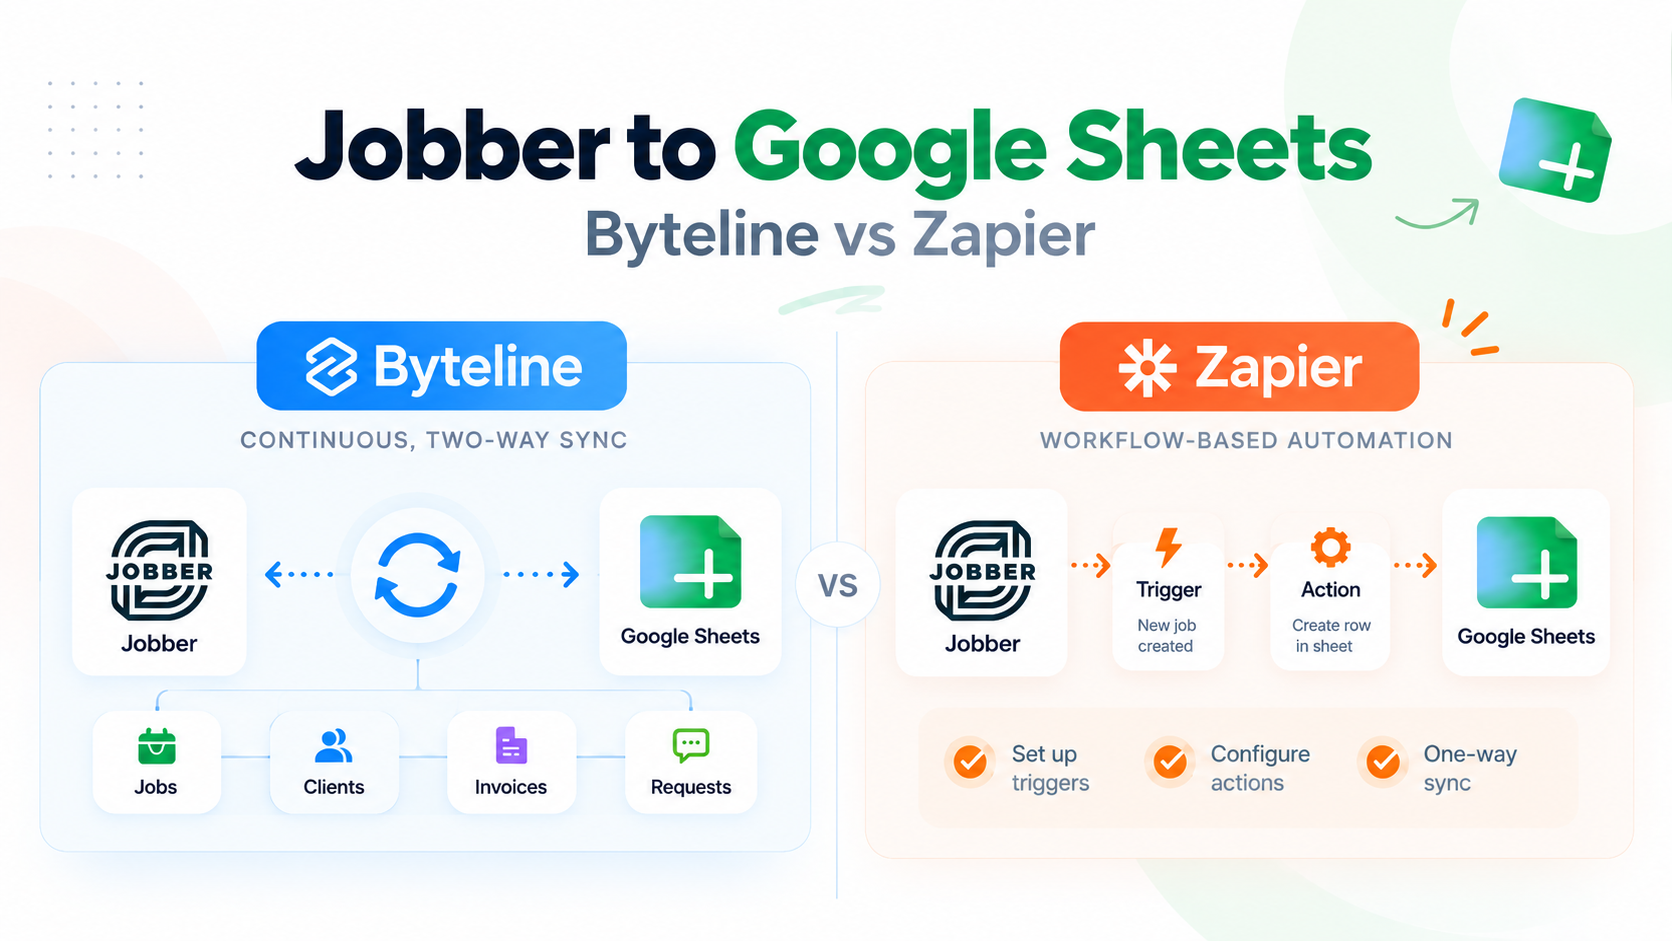
Automation tools (Zapier, Make, ApiX-Drive). These fire on individual triggers — “when a task is updated, update a row.” That covers some changes, but you build a separate trigger for each event you care about, custom fields are fiddly to map, deletes are hard, and historical tasks aren’t covered at all unless you build a separate import. You’re also billed per task every time anything fires.
All of these treat “get ClickUp data into Sheets” as a pile of little events to wire together. A sync treats it as one relationship you define once.
The better way: a custom sync you control
Byteline approaches this differently. Instead of building triggers or installing add-ons, you set up one sync that defines the whole relationship: which direction data flows, whether to bring across existing tasks or only future changes, exactly which fields map to which columns, and a full preview of what will happen before anything is written. The historical backfill and the ongoing sync are part of the same setup, and billing is per synced record rather than per event.
No Google Sheets add-on required. Byteline connects to Google Sheets over the standard, secure Google authorization — there’s nothing to install from the Google Workspace Marketplace, no add-on running inside your spreadsheet, and no helper columns (like an ID or “last modified” column) injected into your data. Your sheet stays exactly as you built it, and the sync writes directly to the columns you map. Several competing tools require their add-on and reserve two columns of your sheet for their own bookkeeping — Byteline doesn’t.
The setup is a guided flow in three phases — Choose what to sync, Connect & map data, and Review & go live — and you make a deliberate choice at each step rather than accepting a preset.
A real example: a task tracker mirrored to a live spreadsheet
Here’s the workflow this is built around, kept generic on purpose because it applies to almost any ClickUp team — operations, finance, marketing, client services, product.
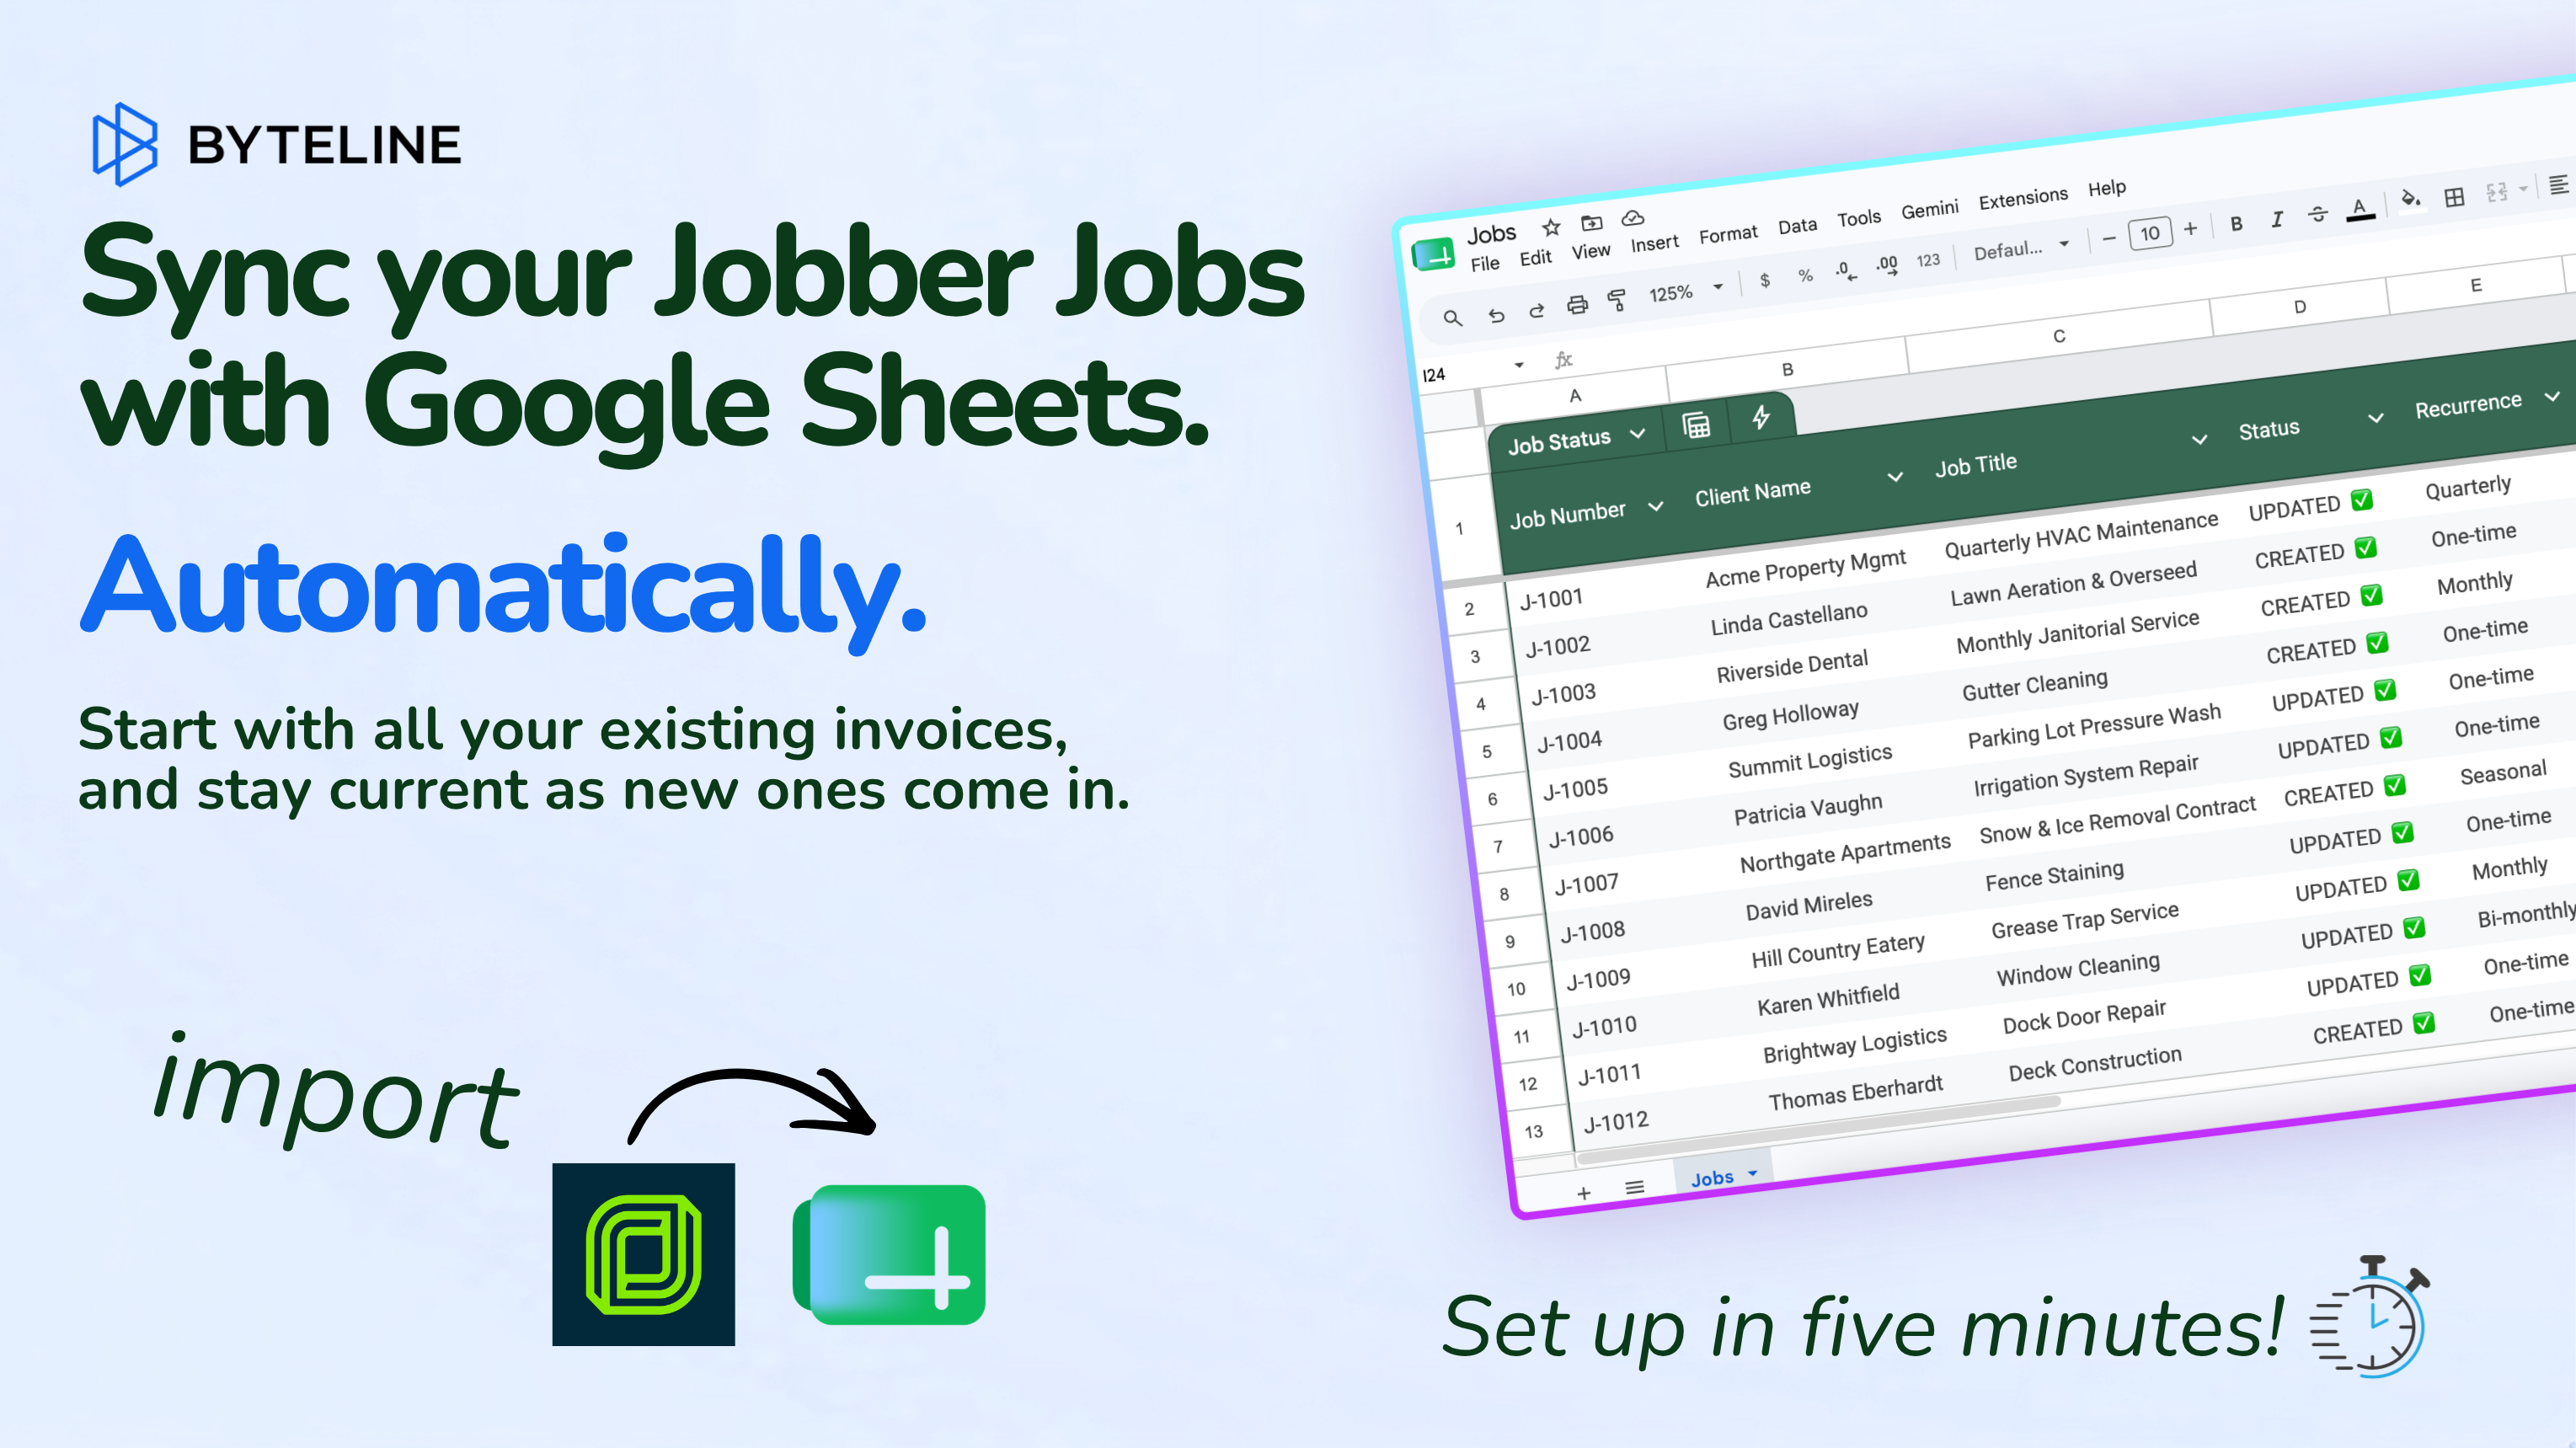
A team runs its work in ClickUp. Each task has a name, a status, an assignee, a priority, start and due dates, a description, and a set of custom fields specific to how the team works — anything from a payment amount and due date to a contract reference or a frequency. That’s the operational source of truth, and it stays in ClickUp.
But the team also wants a live spreadsheet — one tab, every task, always current — to build reports, share with people who don’t use ClickUp, and feed a dashboard or model. Rather than exporting weekly, they set up a one-way sync: ClickUp is the source, Google Sheets is the always-current mirror. Nobody edits the Sheet back into ClickUp; it’s a reporting surface, so the sync runs one direction only.
That one-directional choice is something you set explicitly during setup — it’s the second thing the wizard asks.
Step-by-step: set up your ClickUp–Google Sheets sync
The full walkthrough with screenshots is in the Byteline docs. Here’s the complete flow.
Phase 1 — Choose what to sync
1. Choose your two apps. At console.byteline.io, create a free account and click Create sync. Search and select ClickUp as the first app and Google Sheets as the second, then click Next. (If an app you need isn’t listed, there’s a “Request Integration” option.)

Byteline new sync screen with ClickUp chosen as the first app and Google Sheets as the second
2. Select which data to sync. Byteline asks how much data you want to move. Choose Existing Data and Future Changes to backfill your current tasks and keep syncing going forward (the most common choice), Existing Data Only for a one-time import with no further updates, or Future Changes Only to start syncing from this point on without importing history.
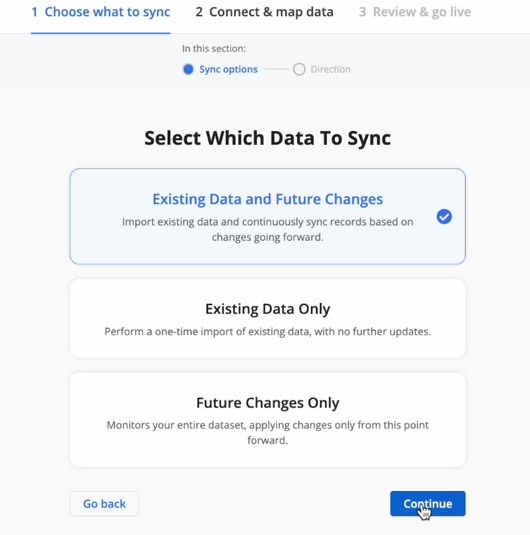
Byteline Select Which Data To Sync step showing Existing Data and Future Changes, Existing Data Only, and Future Changes Only options
3. Choose the sync direction. Decide how data flows. ClickUp → Google Sheets keeps your spreadsheet as a read-only mirror of ClickUp — the right choice for reporting. Google Sheets → ClickUp does the reverse, and ClickUp ↔︎ Google Sheets keeps both in sync two ways. For a reporting tracker, choose ClickUp → Google Sheets.
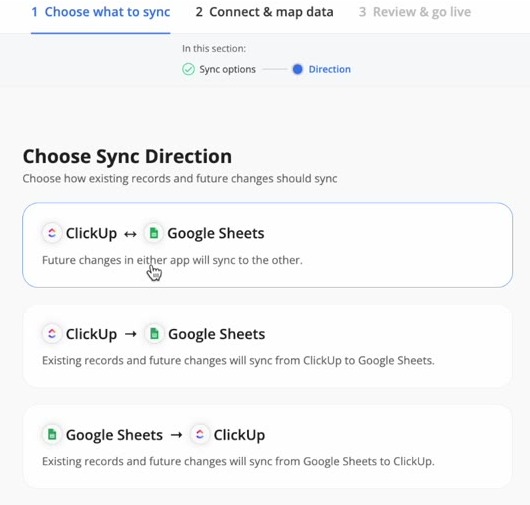
Byteline Choose Sync Direction step showing one-way ClickUp to Google Sheets, one-way Google Sheets to ClickUp, and two-way options
Phase 2 — Connect & map data
4. Connect your apps and pick your source. Authenticate ClickUp and Google (a one-time authorization each). Once ClickUp shows Connected, choose the Workspace, then the Space, then the List you want to sync. This is where you point Byteline at the exact ClickUp data to mirror.
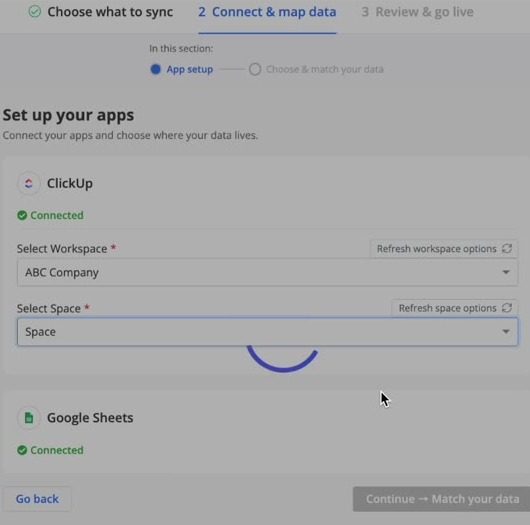
Byteline Set up your apps step with ClickUp connected and the Workspace and Space being selected
5. Match your tables. Byteline matches your ClickUp list to a Google Sheets destination. Confirm the spreadsheet (use the file picker to choose any sheet in your Drive, or “Permit more spreadsheets” to grant access to more) and the specific Sheet/tab the data should land in.
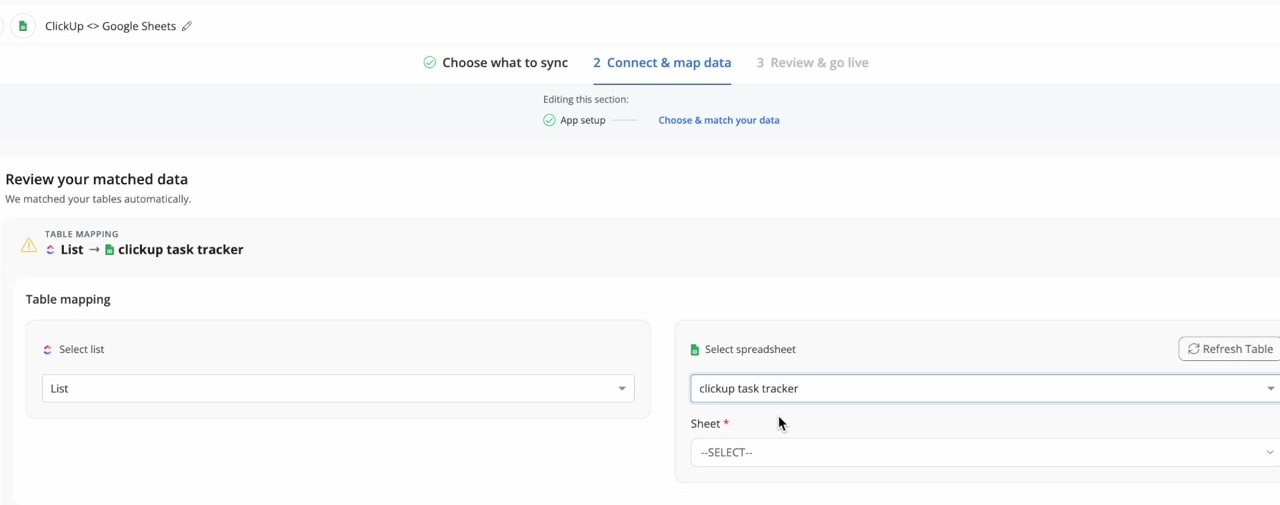
Byteline Review your matched data step mapping a ClickUp List to a Google Sheets spreadsheet and tab
6. Map your fields. This is where the custom setup shines. Byteline lays out ClickUp fields beside your Google Sheets columns and auto-matches the ones it can. You map each field yourself — including ClickUp custom fields — by picking the destination column from a dropdown. Required fields are flagged, so if one isn’t matched yet you’ll see a “required field is missing” prompt and a Fix field matching shortcut. Use Add mapping to include more fields. Live sample values show next to each field so you can confirm you’ve matched the right ones.

Byteline Field mapping step showing ClickUp fields matched to Google Sheets columns with live sample values and an Add mapping button
Phase 3 — Review & go live
7. Preview exactly what will happen. Before anything is written, Byteline generates a dry-run preview. It shows your source and destination record counts and spells out precisely what the sync will do — how many rows it will create, will update (and which fields), and will delete as unmatched records, with options to view those records or keep them instead. It also shows the matching keys it used to pair records, which you can change manually. Nothing is committed until you confirm.

Byteline preview screen showing how many records will be created, updated, and deleted, plus the matching fields used, before going live
8. Go live. Confirm and turn the sync on. Byteline runs the historical backfill first, then keeps watching ClickUp for changes. From the sync dashboard you can toggle it Live, trigger a manual check, and view a full record change history showing what was created, updated, or deleted on each side.

Byteline confirmation that the historical data sync completed successfully and the sync is now live and actively syncing changes
Why a custom sync beats automation for this workflow
This is the part that compounds over time. Here’s the honest comparison.
You see every change before it happens
Automation tools fire and forget — you find out what they did by checking the results afterward, and a misconfigured trigger can quietly overwrite or duplicate data for days before anyone notices. Byteline previews the entire operation first: how many records will be created, updated, and deleted, which fields will change, and which keys it used to match records. You approve it before a single cell is written.
You control direction and fields, not a preset
Every choice in the setup is yours — one-way or two-way, existing data or only future changes, and exactly which ClickUp fields (including custom fields) map to which spreadsheet columns. You’re not accepting someone else’s idea of what “tasks in a sheet” should look like; you build the mapping that fits your reporting.
Historical backfill is included
The “import your existing tasks” part — the thing automation tools make you build as a separate one-time job, or skip entirely — is part of the same setup. One configuration handles both your existing tasks and everything going forward.
Updates and deletes are handled, not just new rows
Trigger-based automations are good at “new task → new row.” They struggle with “task changed → update the right row” and “task removed → reflect that.” A sync tracks the record, so updates land on the same row and the Sheet stays a true mirror, not an append-only log that drifts out of date.
Billing matches the work
Automation tools bill per task — every created or updated record is a billed event — and some gate two-way sync behind higher-priced tiers. Byteline bills per synced record: a task that changes 30 times this month counts as one synced record. Your cost tracks the size of your business, not how active a given month was.
Who this setup is for
This workflow fits any team running on ClickUp that needs its data somewhere more flexible for reporting or sharing:
- Operations teams building task and workload reports across spaces and lists
- Finance teams tracking payments, cash flow, and recurring costs managed as ClickUp tasks
- Marketing teams reporting on campaign and content pipelines
- Client services and agencies sharing live project views with clients who don’t use ClickUp
- Product and engineering teams feeding task data into dashboards and metrics
- Executives and stakeholders who want a current view without a ClickUp seat
If ClickUp runs your work and Google Sheets is where you report, this is the bridge.
Frequently asked questions
Can I sync ClickUp to Google Sheets without code?
Yes. Byteline handles it visually — connect both accounts, pick your direction, map your fields, preview, and turn it on. No scripts, no Apps Script, no API code.
Does it require a Google Sheets add-on or extra columns?
No. Byteline writes directly to your sheet. There’s no add-on to install and no helper columns added to your spreadsheet.
Can I choose which direction the data flows?
Yes. During setup you choose ClickUp → Google Sheets, Google Sheets → ClickUp, or two-way. For a reporting mirror, one-way ClickUp → Sheets keeps the spreadsheet read-only so nothing writes back to ClickUp.
Does it sync existing tasks or only new ones?
Your choice. Pick “Existing Data and Future Changes” to backfill and keep syncing, “Existing Data Only” for a one-time import, or “Future Changes Only” to start fresh from now.
Do ClickUp custom fields sync?
Yes. You map custom fields to spreadsheet columns yourself during the field-mapping step, just like standard fields — including fields with accented or non-English names.
Can I see what will change before it happens?
Yes. Byteline generates a preview before going live showing exactly how many records will be created, updated, and deleted, and which fields will change. Nothing is written until you confirm.
Will it create duplicate rows?
No. Byteline matches records by a key you can review (and set manually), so an updated task updates its existing row rather than adding a new one.
How fast do changes show up?
Near real time. Most changes appear in the Sheet within seconds to a few minutes. You can also trigger a manual check from the sync dashboard.
How is this priced compared to Zapier or an add-on?
Byteline bills per synced record, not per task, and doesn’t gate one direction of sync behind a higher tier. A task that changes 30 times in a month counts as one synced record.
Your team shouldn’t have to choose between managing work in ClickUp and reporting on it in Sheets. Exporting CSVs, installing add-ons, and babysitting automation triggers is exactly the kind of work that should be invisible. Set the direction, map your fields, preview the changes, turn it on — and let your reporting take care of itself.
👉 Try Byteline free and get your ClickUp sync running today.

.png)
.png)