
Guide
Relevant apps:
Airtable to Webflow CMS Sync Using Byteline
Airtable and Webflow is one of the best combinations in all of the no-code tech stacks. Airtable is known as an innovative and powerful database that allows users to turn their data into powerful applications. Furthermore, Webflow offers a great platform to build websites easily in minutes. Airtable can act as a single source of truth, whereas Webflow CMS only displays the data you want your users to view. As a result, Airtable generally serves as a superset of the data in Webflow CMS.
Recently, Byteline unveiled a fantastic feature to sync Airtable data to Webflow CMS automatically. Basically, it takes the data from Airtable and pushes it directly to Webflow CMS. It means that the user can access the data of an existing table from Airtable and then use the same data for the Webflow CMS. All you need to do is update the Airtable records, and Byteline will sync it automatically to Webflow CMS. In this blog, you will get to know how to sync data from Airtable to Webflow using Byteline.
How To Update Data Using Airtable Trigger
In this blog, we have uncovered a few easy steps to configure the data sync between Airtable and Webflow CMS.
We have divided this article into two sections to convey an easy understanding, as illustrated below:
- Configure Data Sync
- Validating records sync
Let’s begin.
Configure Data Sync
1. Navigate to the Data Sync tab once you have logged into your Byteline console. From there select the apps and tables that you would like synced.
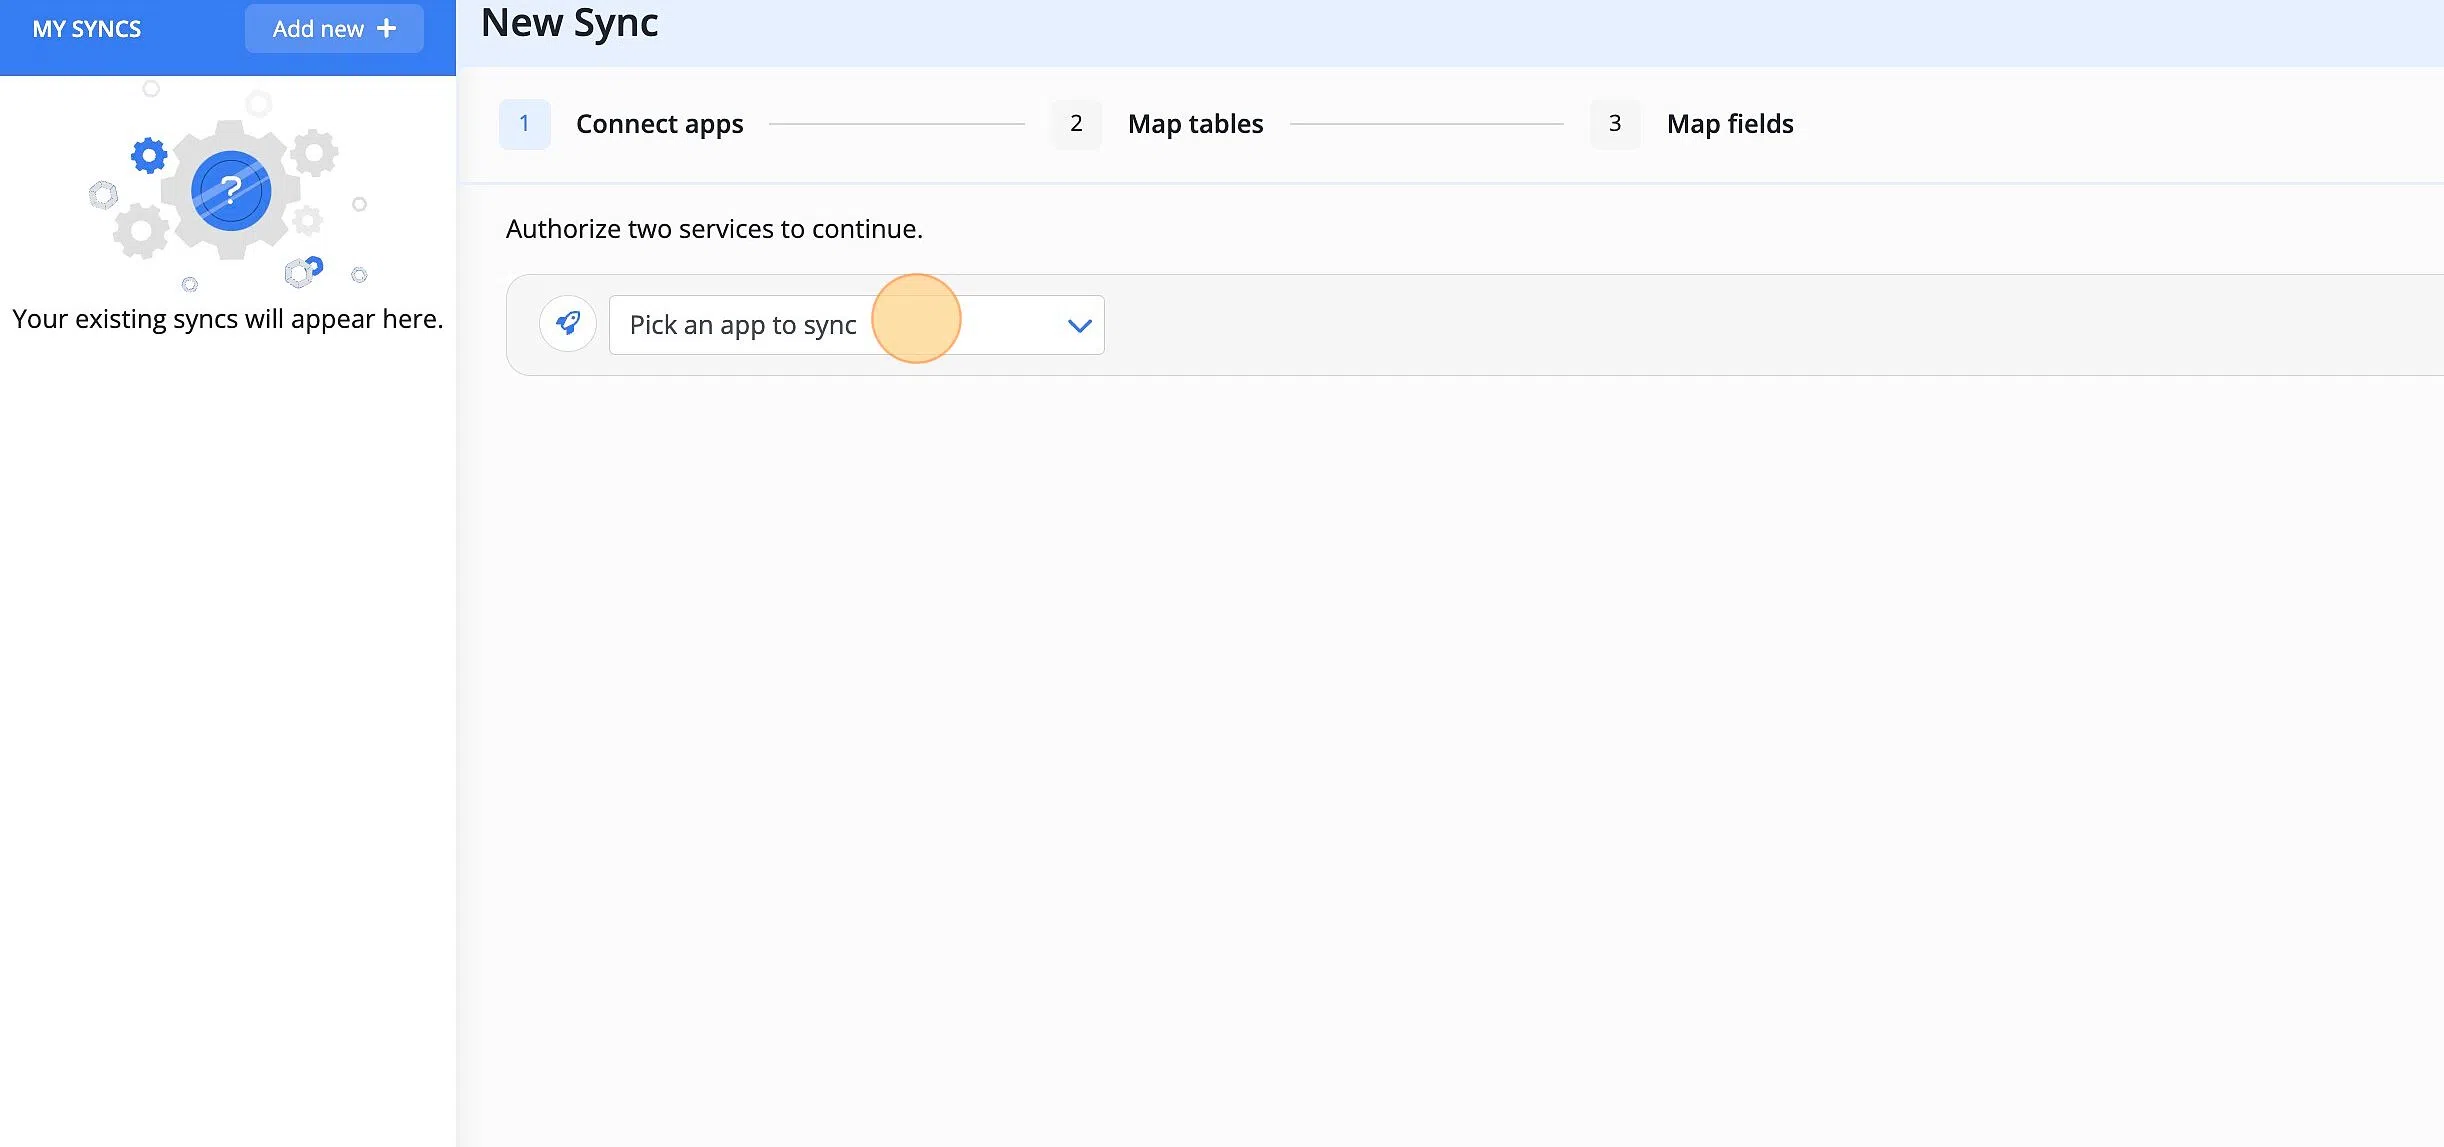
2. Once you have selected your apps click "Next".

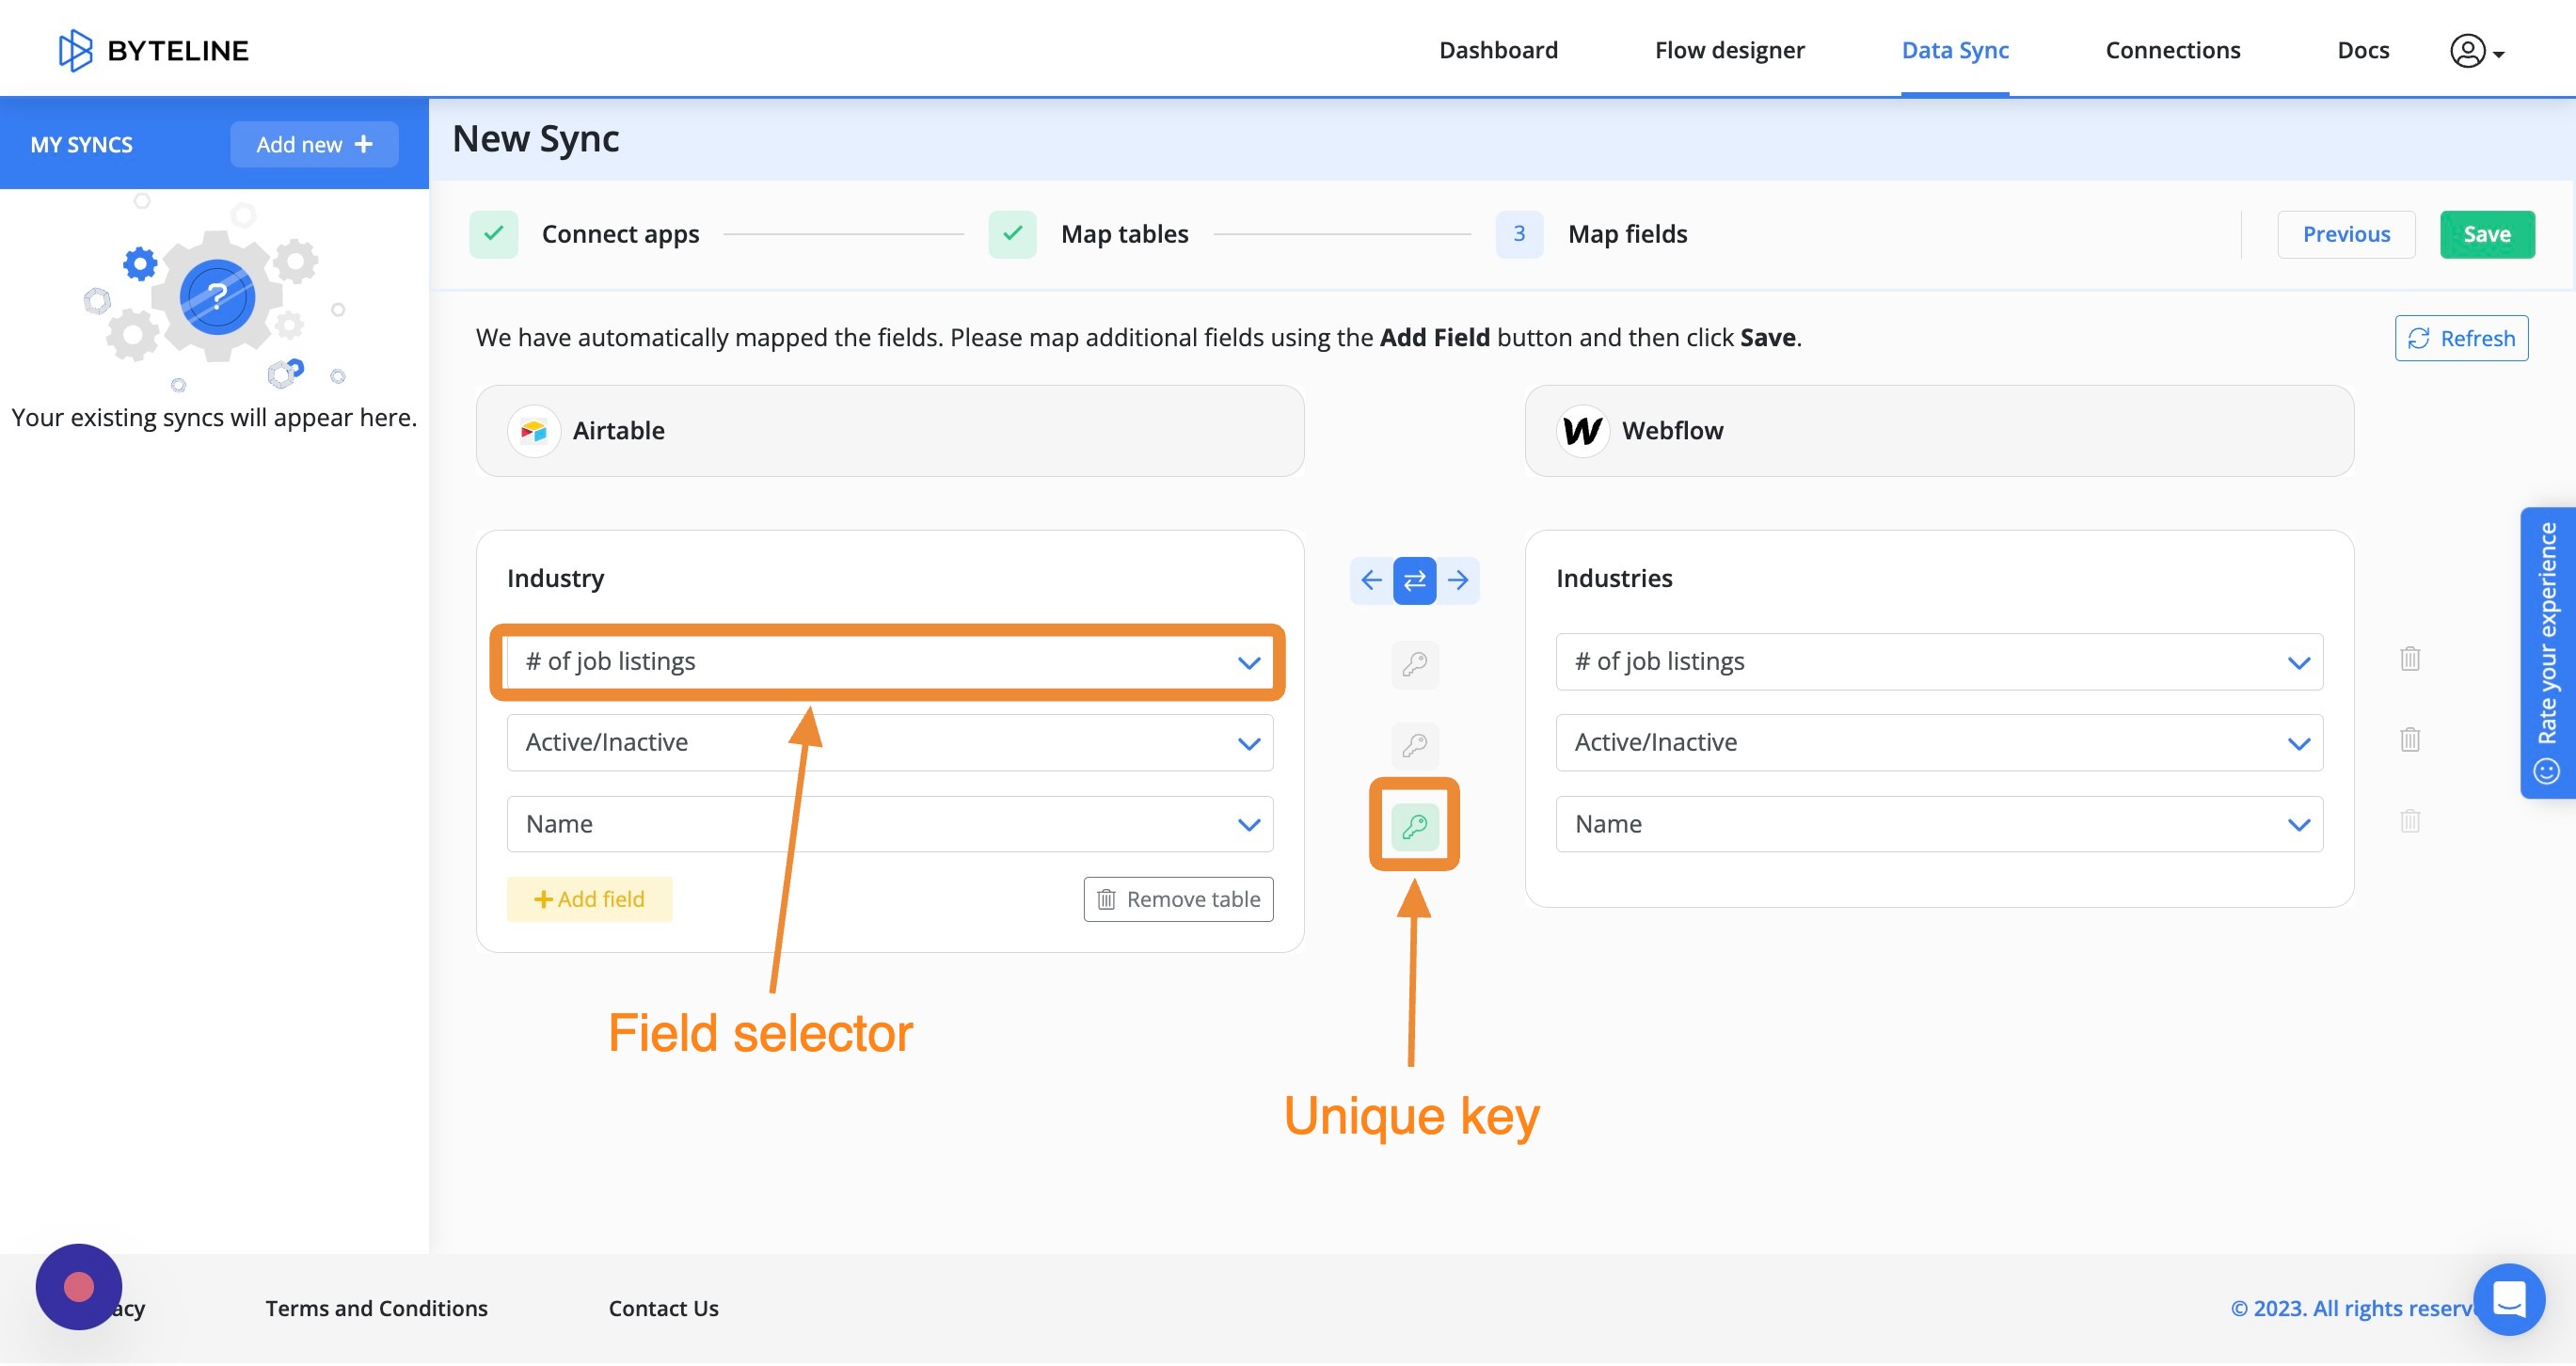
3. Select the tables that you would like synced. Choose which direction that you would like the sync to occur by clicking on the direction arrows. Byteline will automatically map similarly titled tables from the two applications. You can easily "Add Table" and remove as needed. Note that for our example we only need the Industry/Industries table.

4. Click "Next" once you have mapped your chosen tables.

5. Select the fields that you would like to by synced by clicking on the dropdown
6. Review ths preview page to ensure that everything looks correct then click "Start Sync".

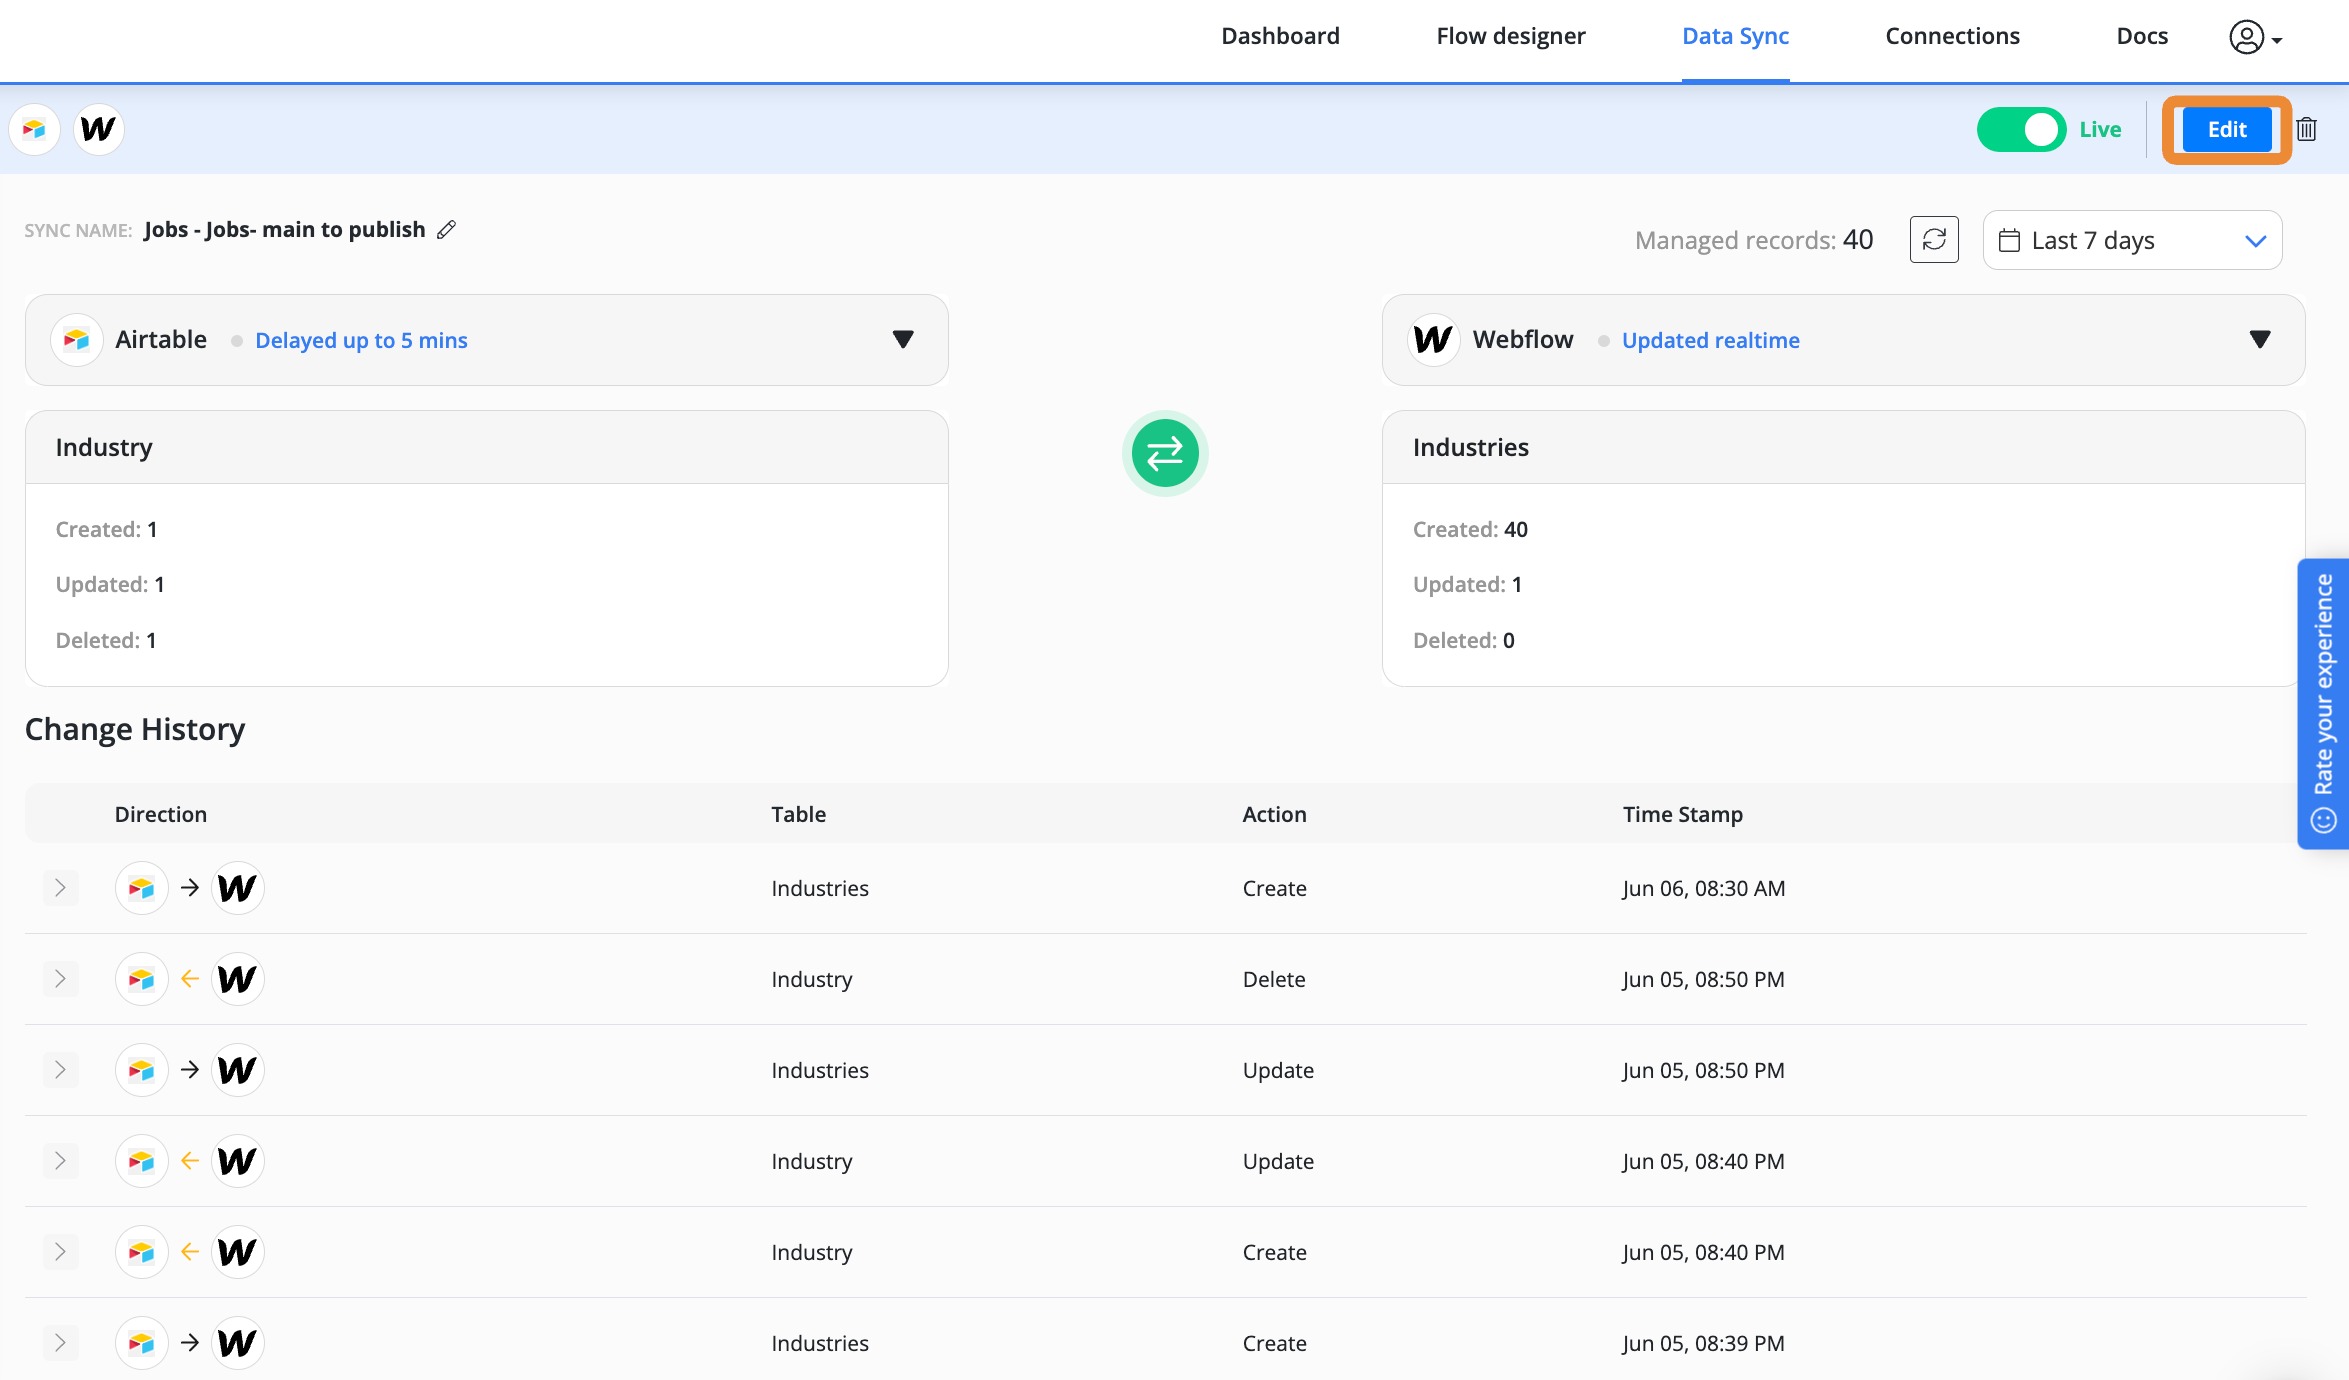
7. Your sync is now live! Your Change History log will be displayed as records are created, updated and deleted. You can edit the configuration at any time by selecting "Edit" in the top right corner of the screen.
Validating records sync
Creating a new record
1. Create a new record in one of the connected tables.
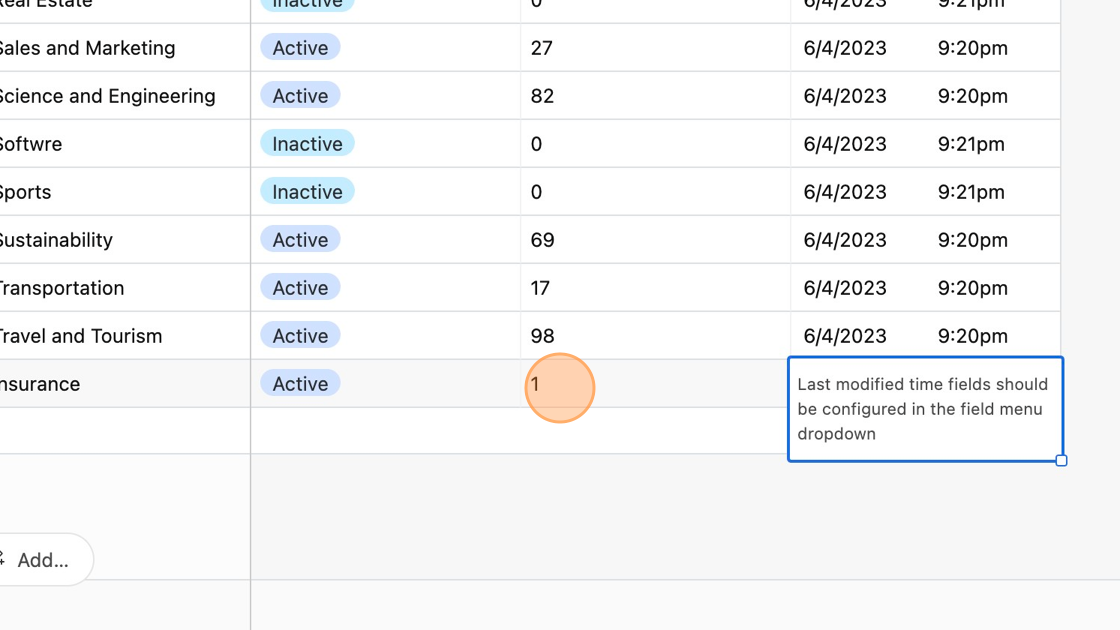
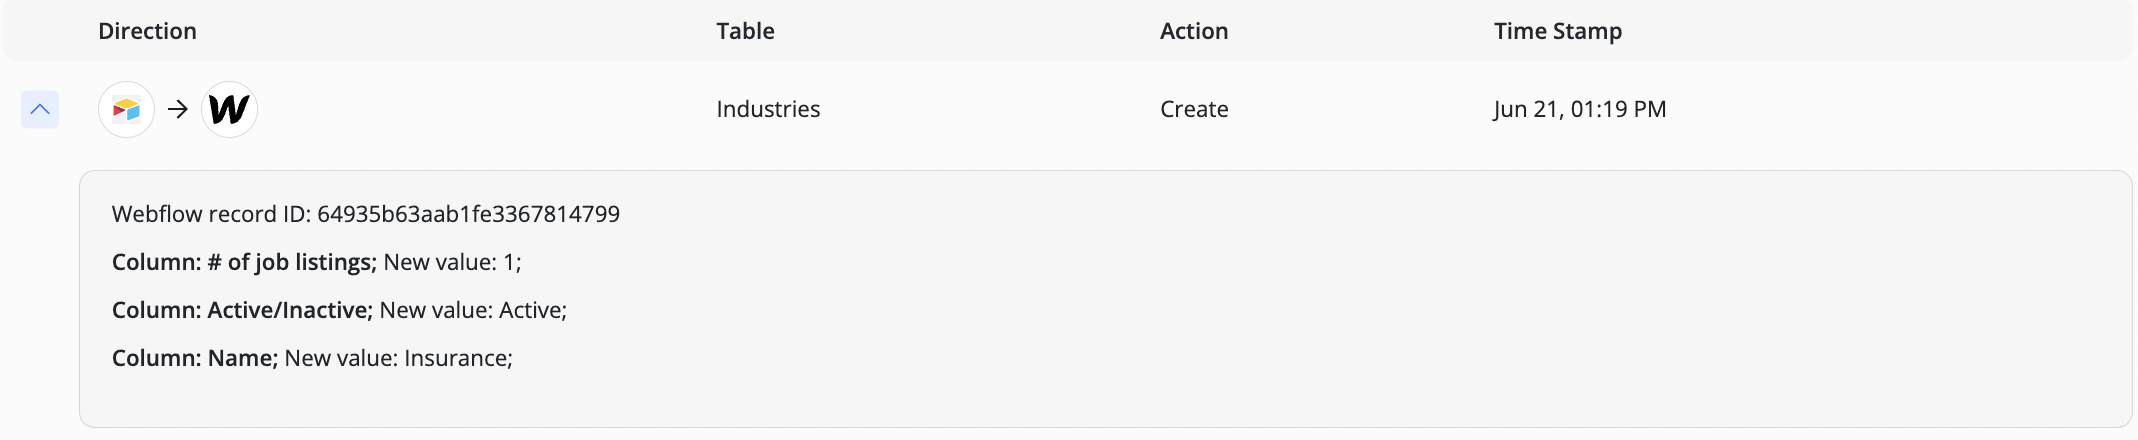
2. Here we're creating a test record in Airtable with the following information: Industry: Insurance Active/Inactive: Active # of job listings: 1
3.
4. We can validate that the record was created by navigating to the Byteline console in the Change History.
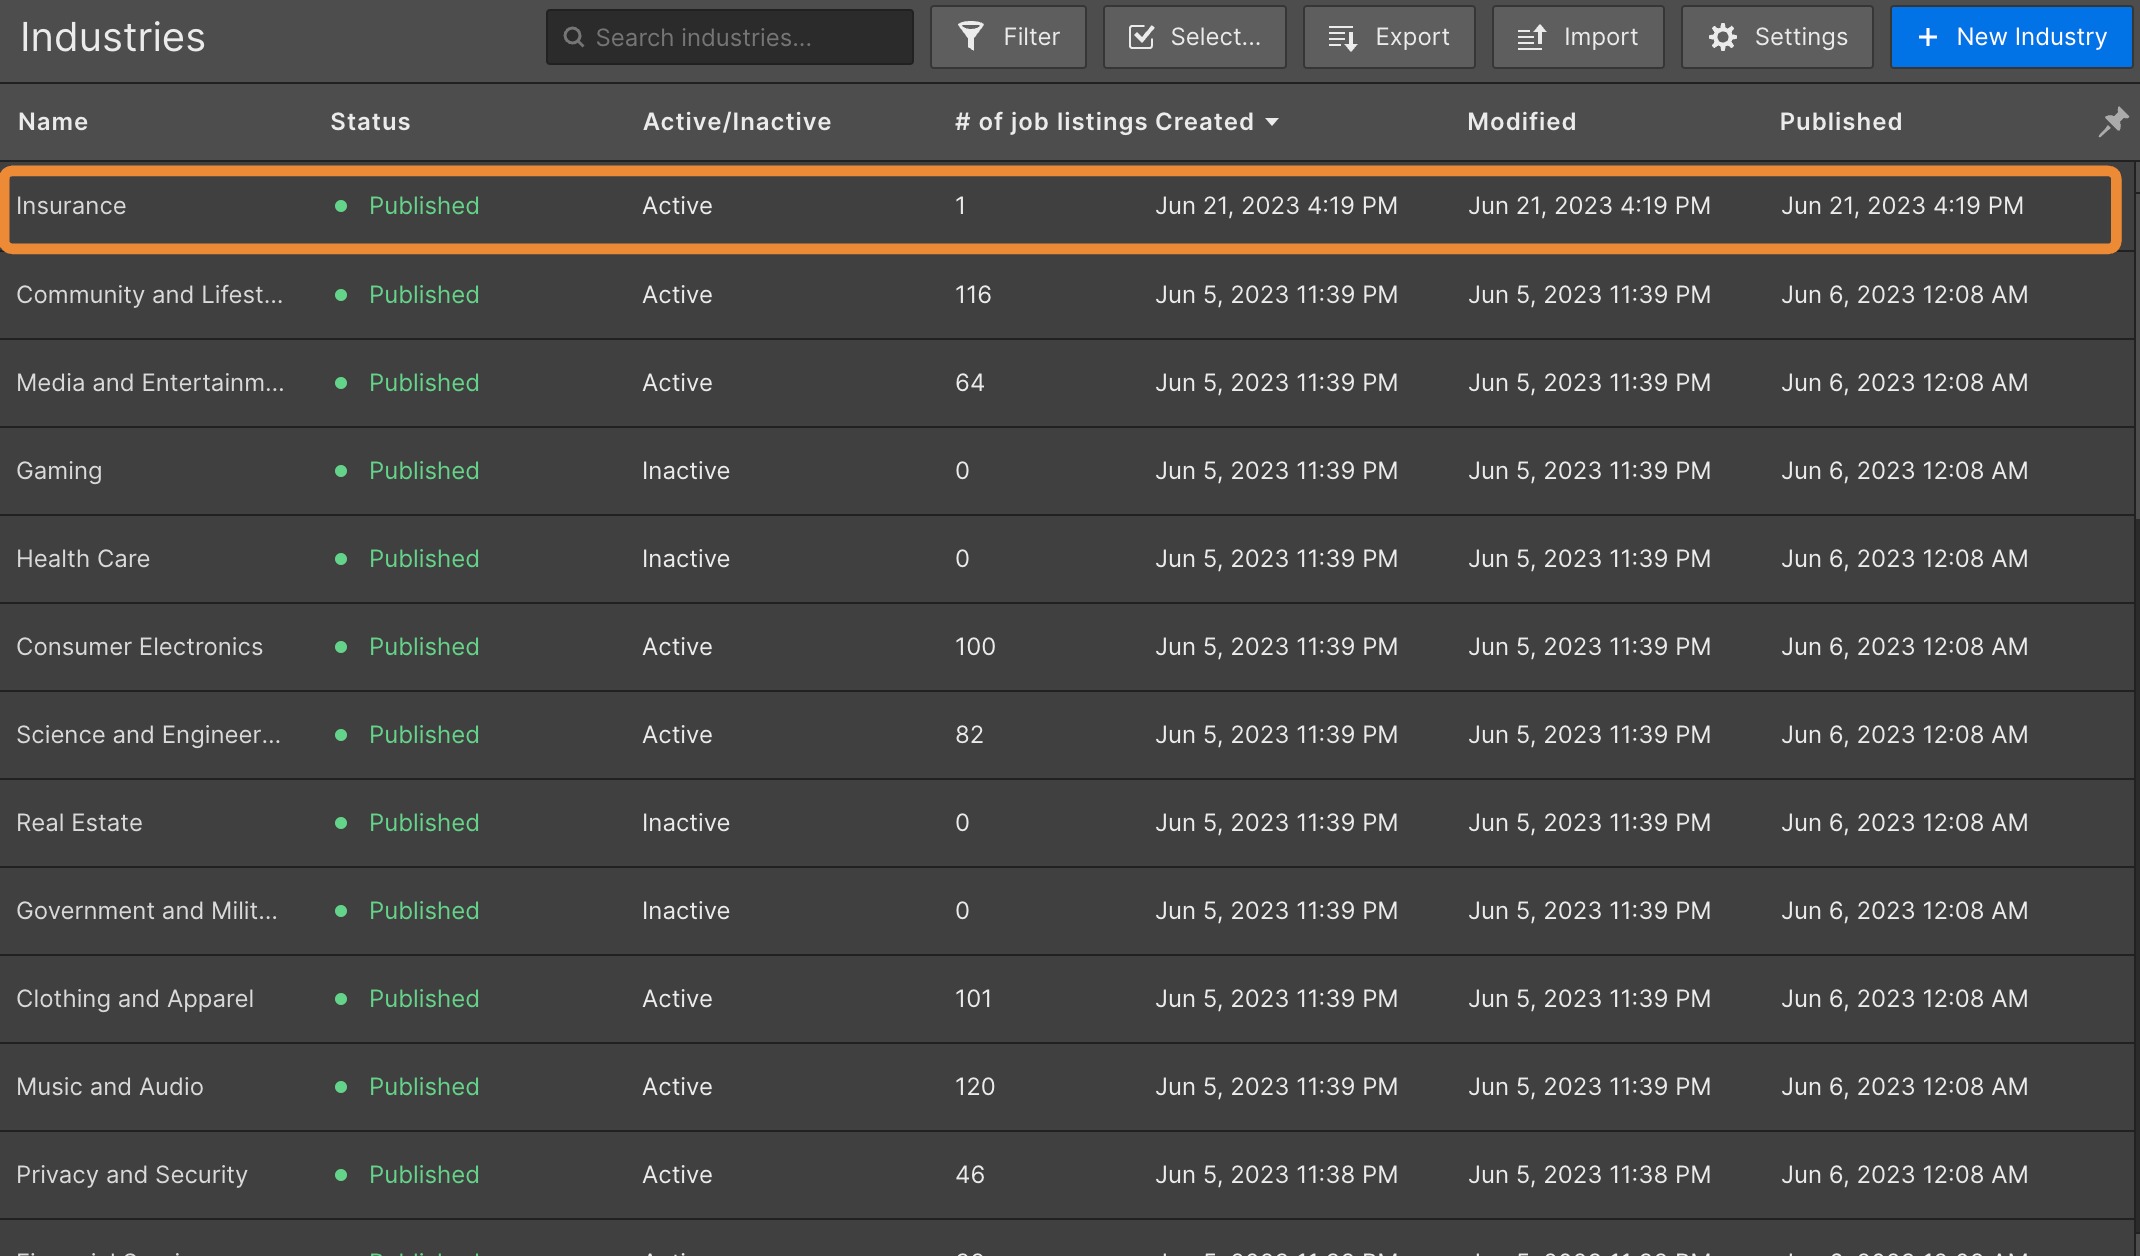
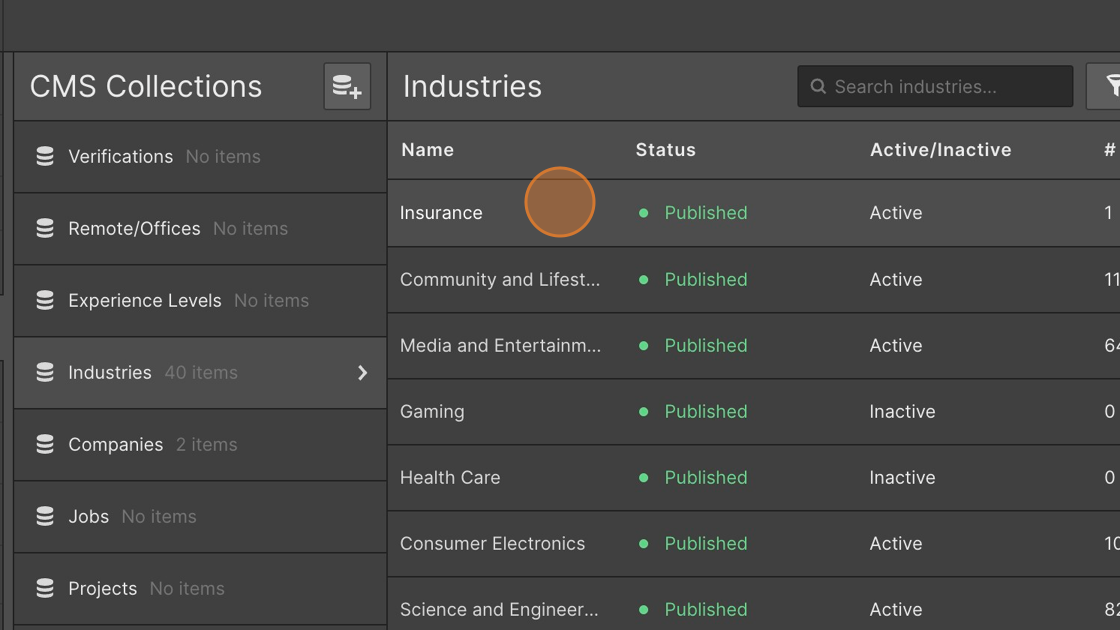
5. The record has been successfully added into Webflow.
Edit a new record
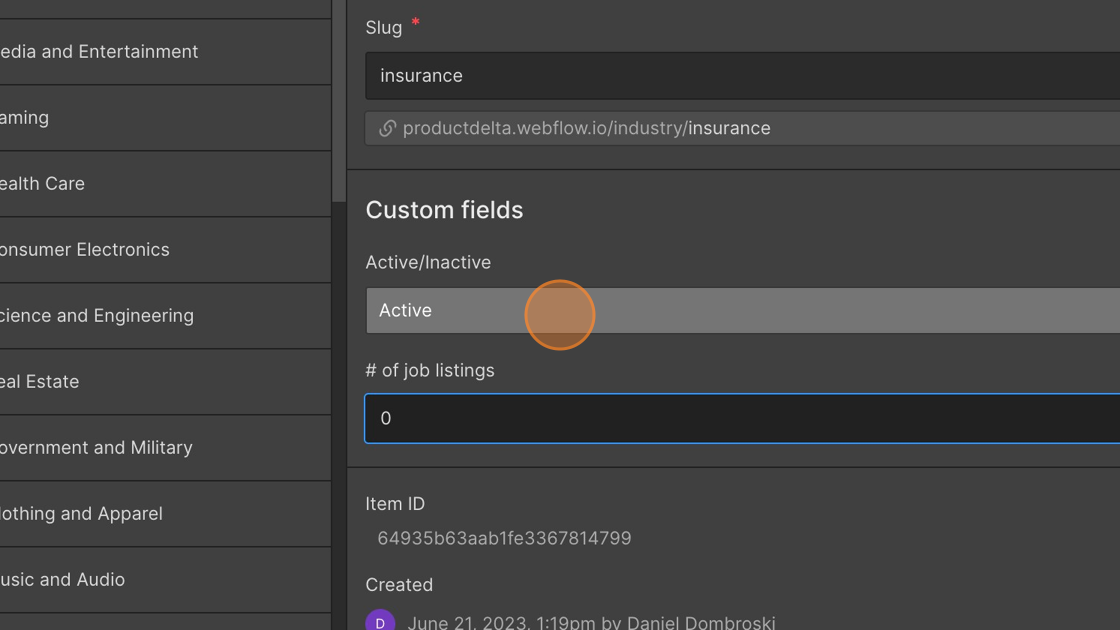
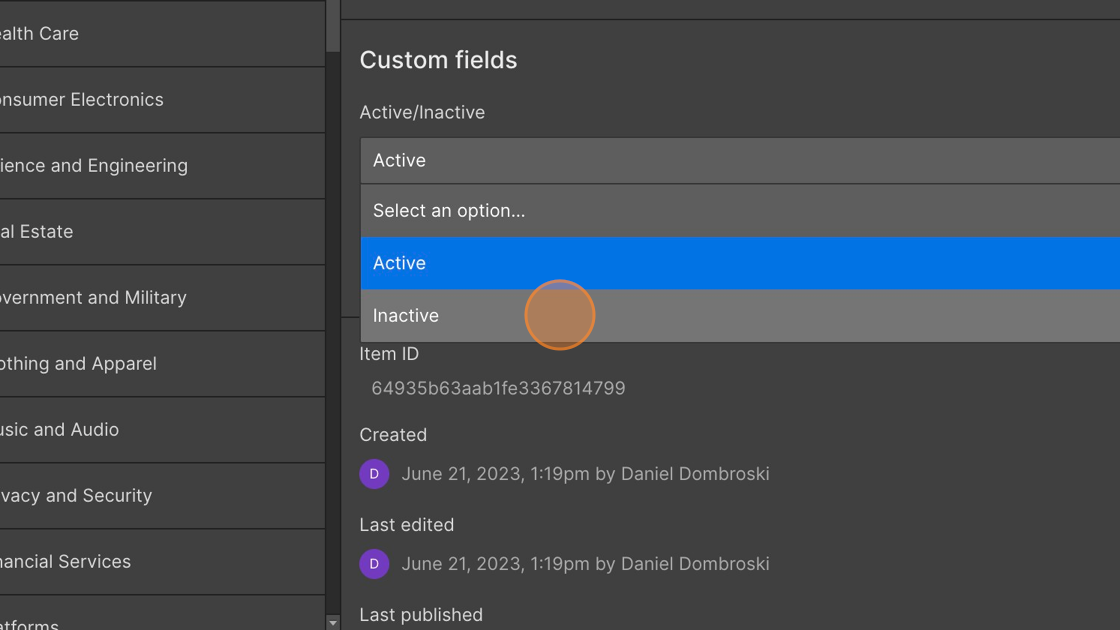
6. We can ensure that updating is happening realtime by selecting a record from one of the databases and making a modification.
7. We're changing the number of job listings from 1 to 0 and making it Inactive in Webflow.
8.

9.
10.
11.
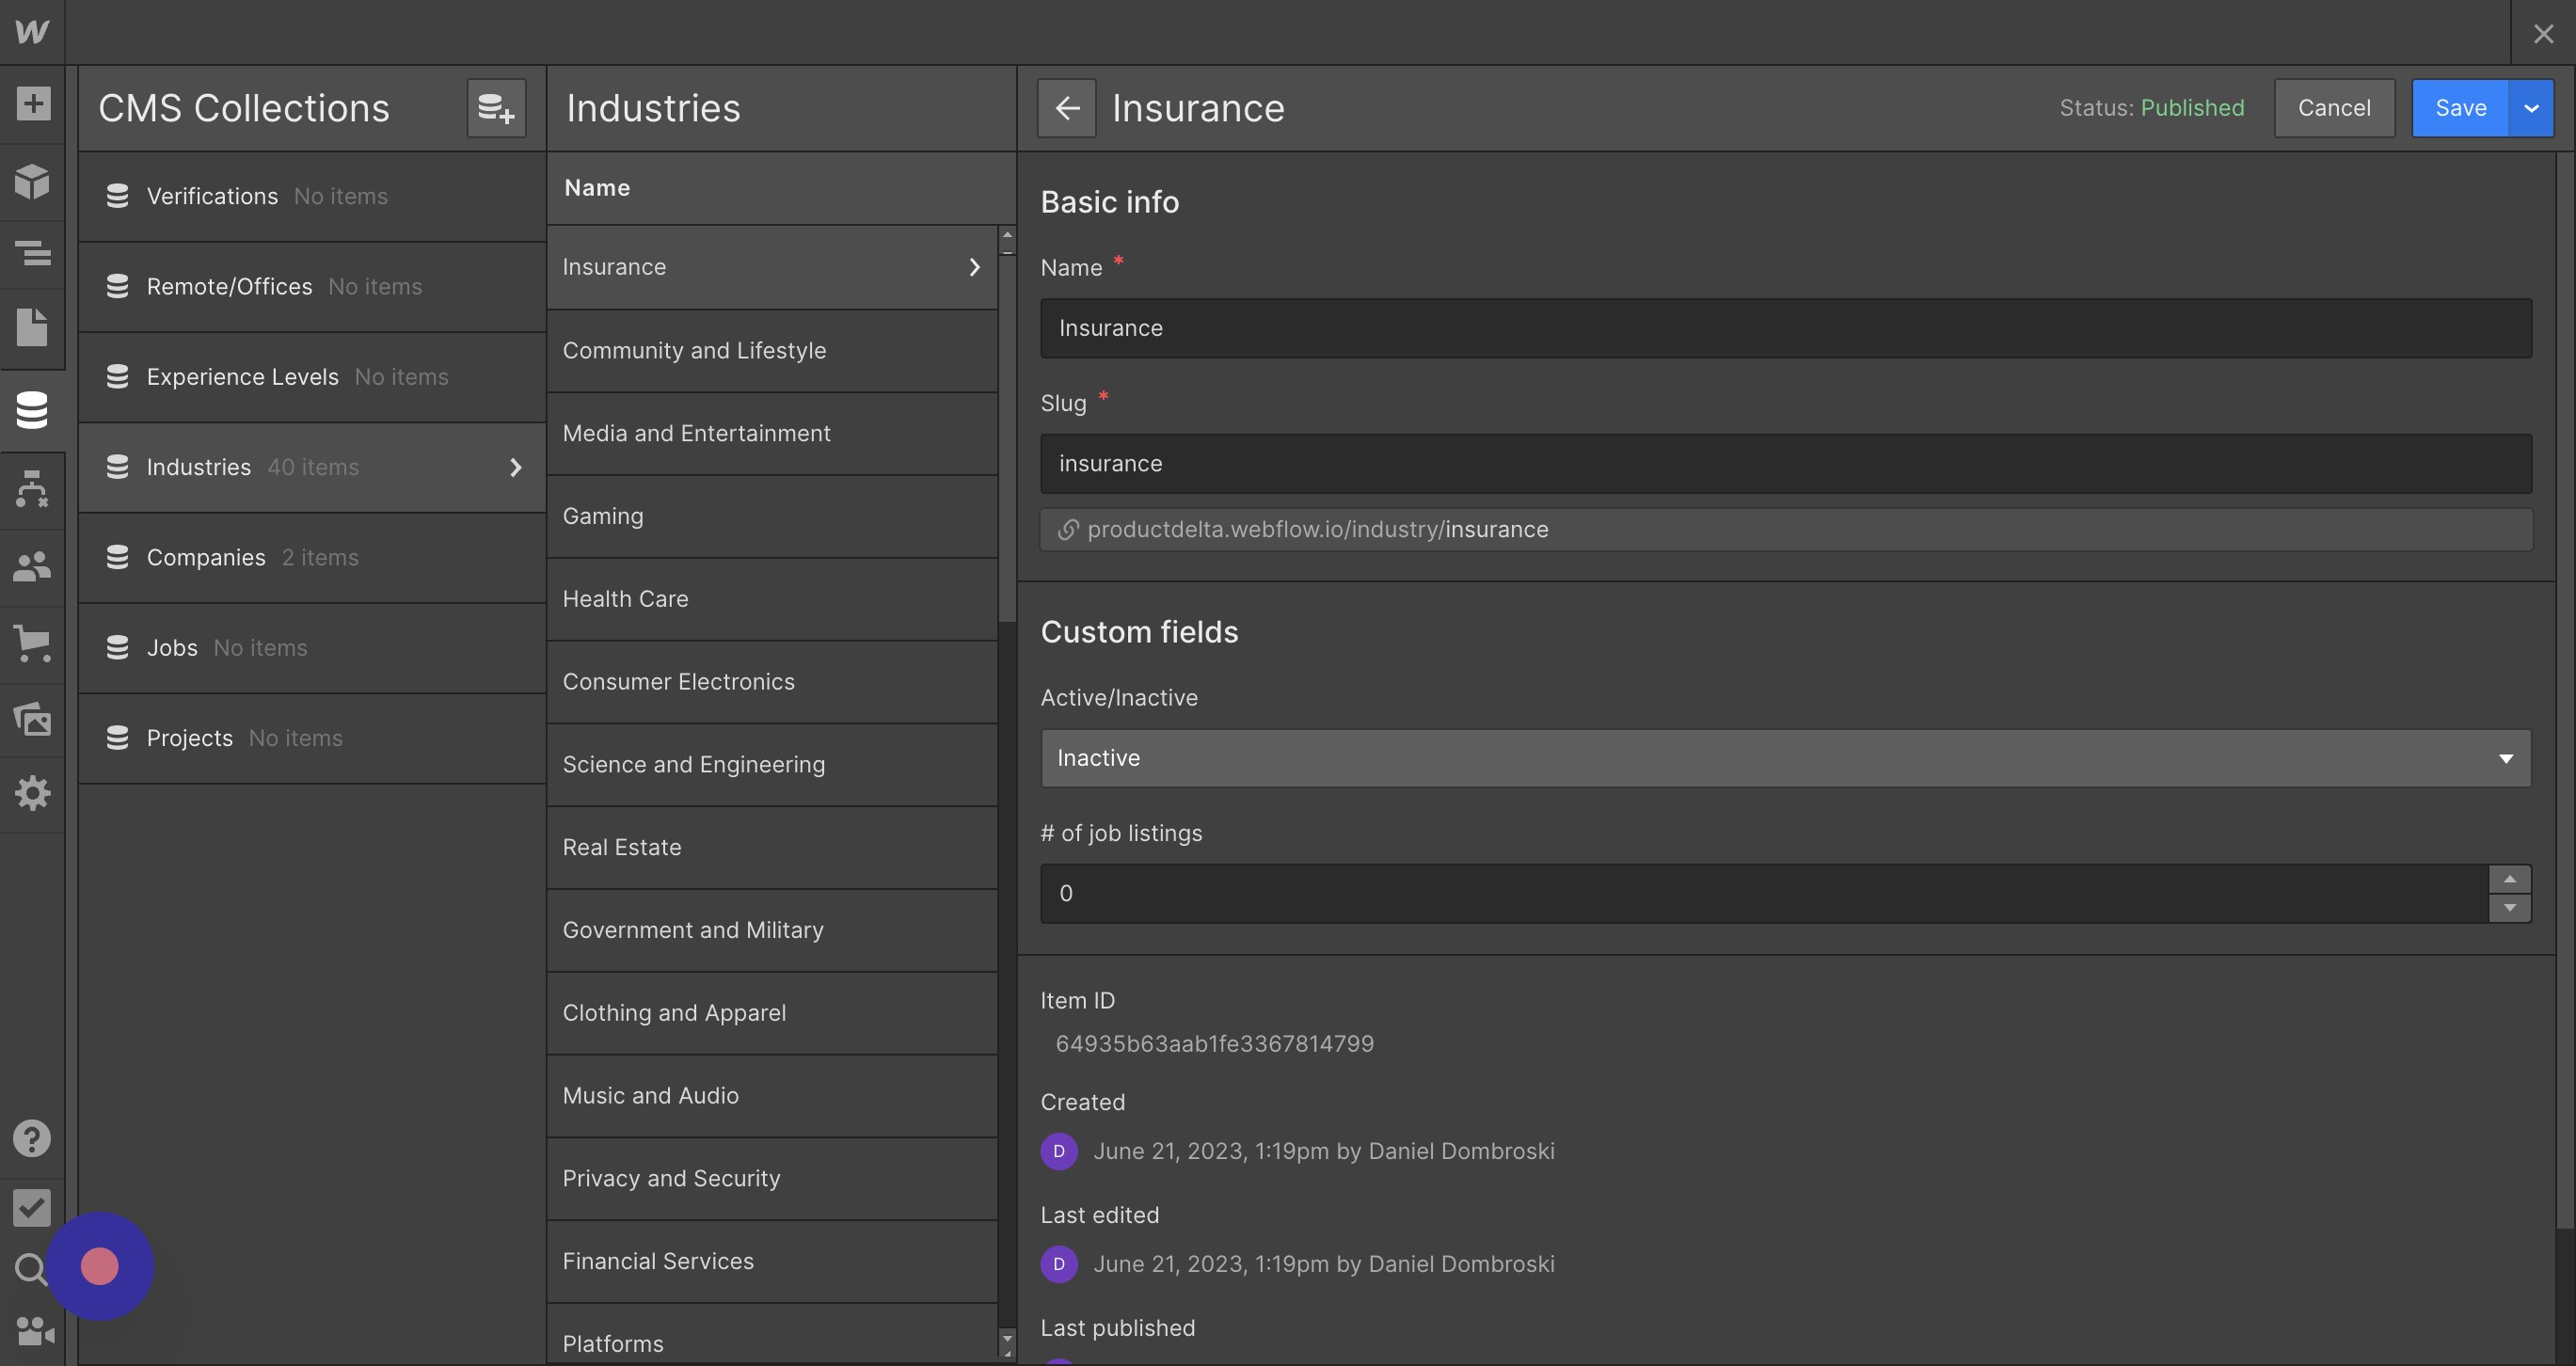
12. The change is recorded in the Change History.

13. The change is reflected in Airtable as expected.

Deleting Records
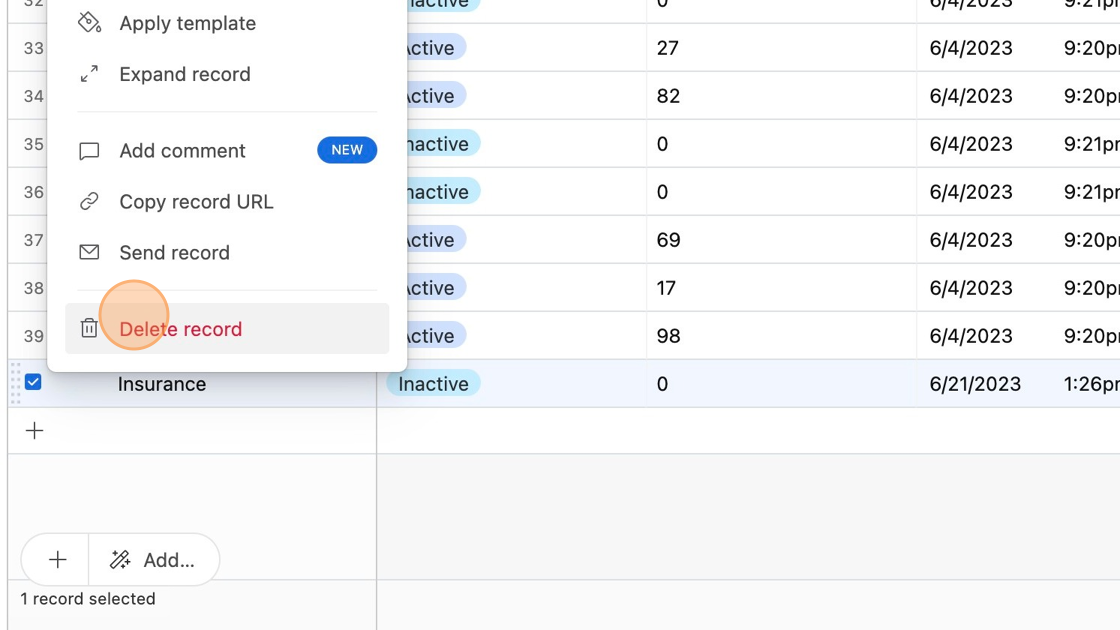
14. Now that there are no more jobs associated with this industry we decide that we don't need it in the database and we wan't to remove it completely.
15. Select the row and delete the Insurance record.

16. Click "Delete record".
17. The deletion was captured in the Change History section from the Data Sync tab.

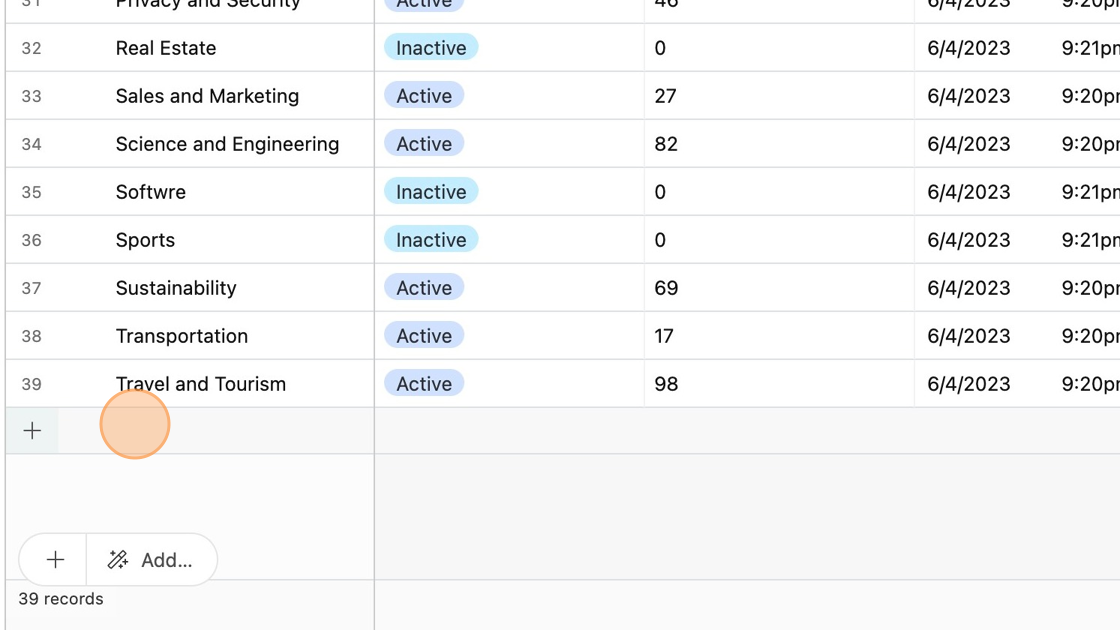
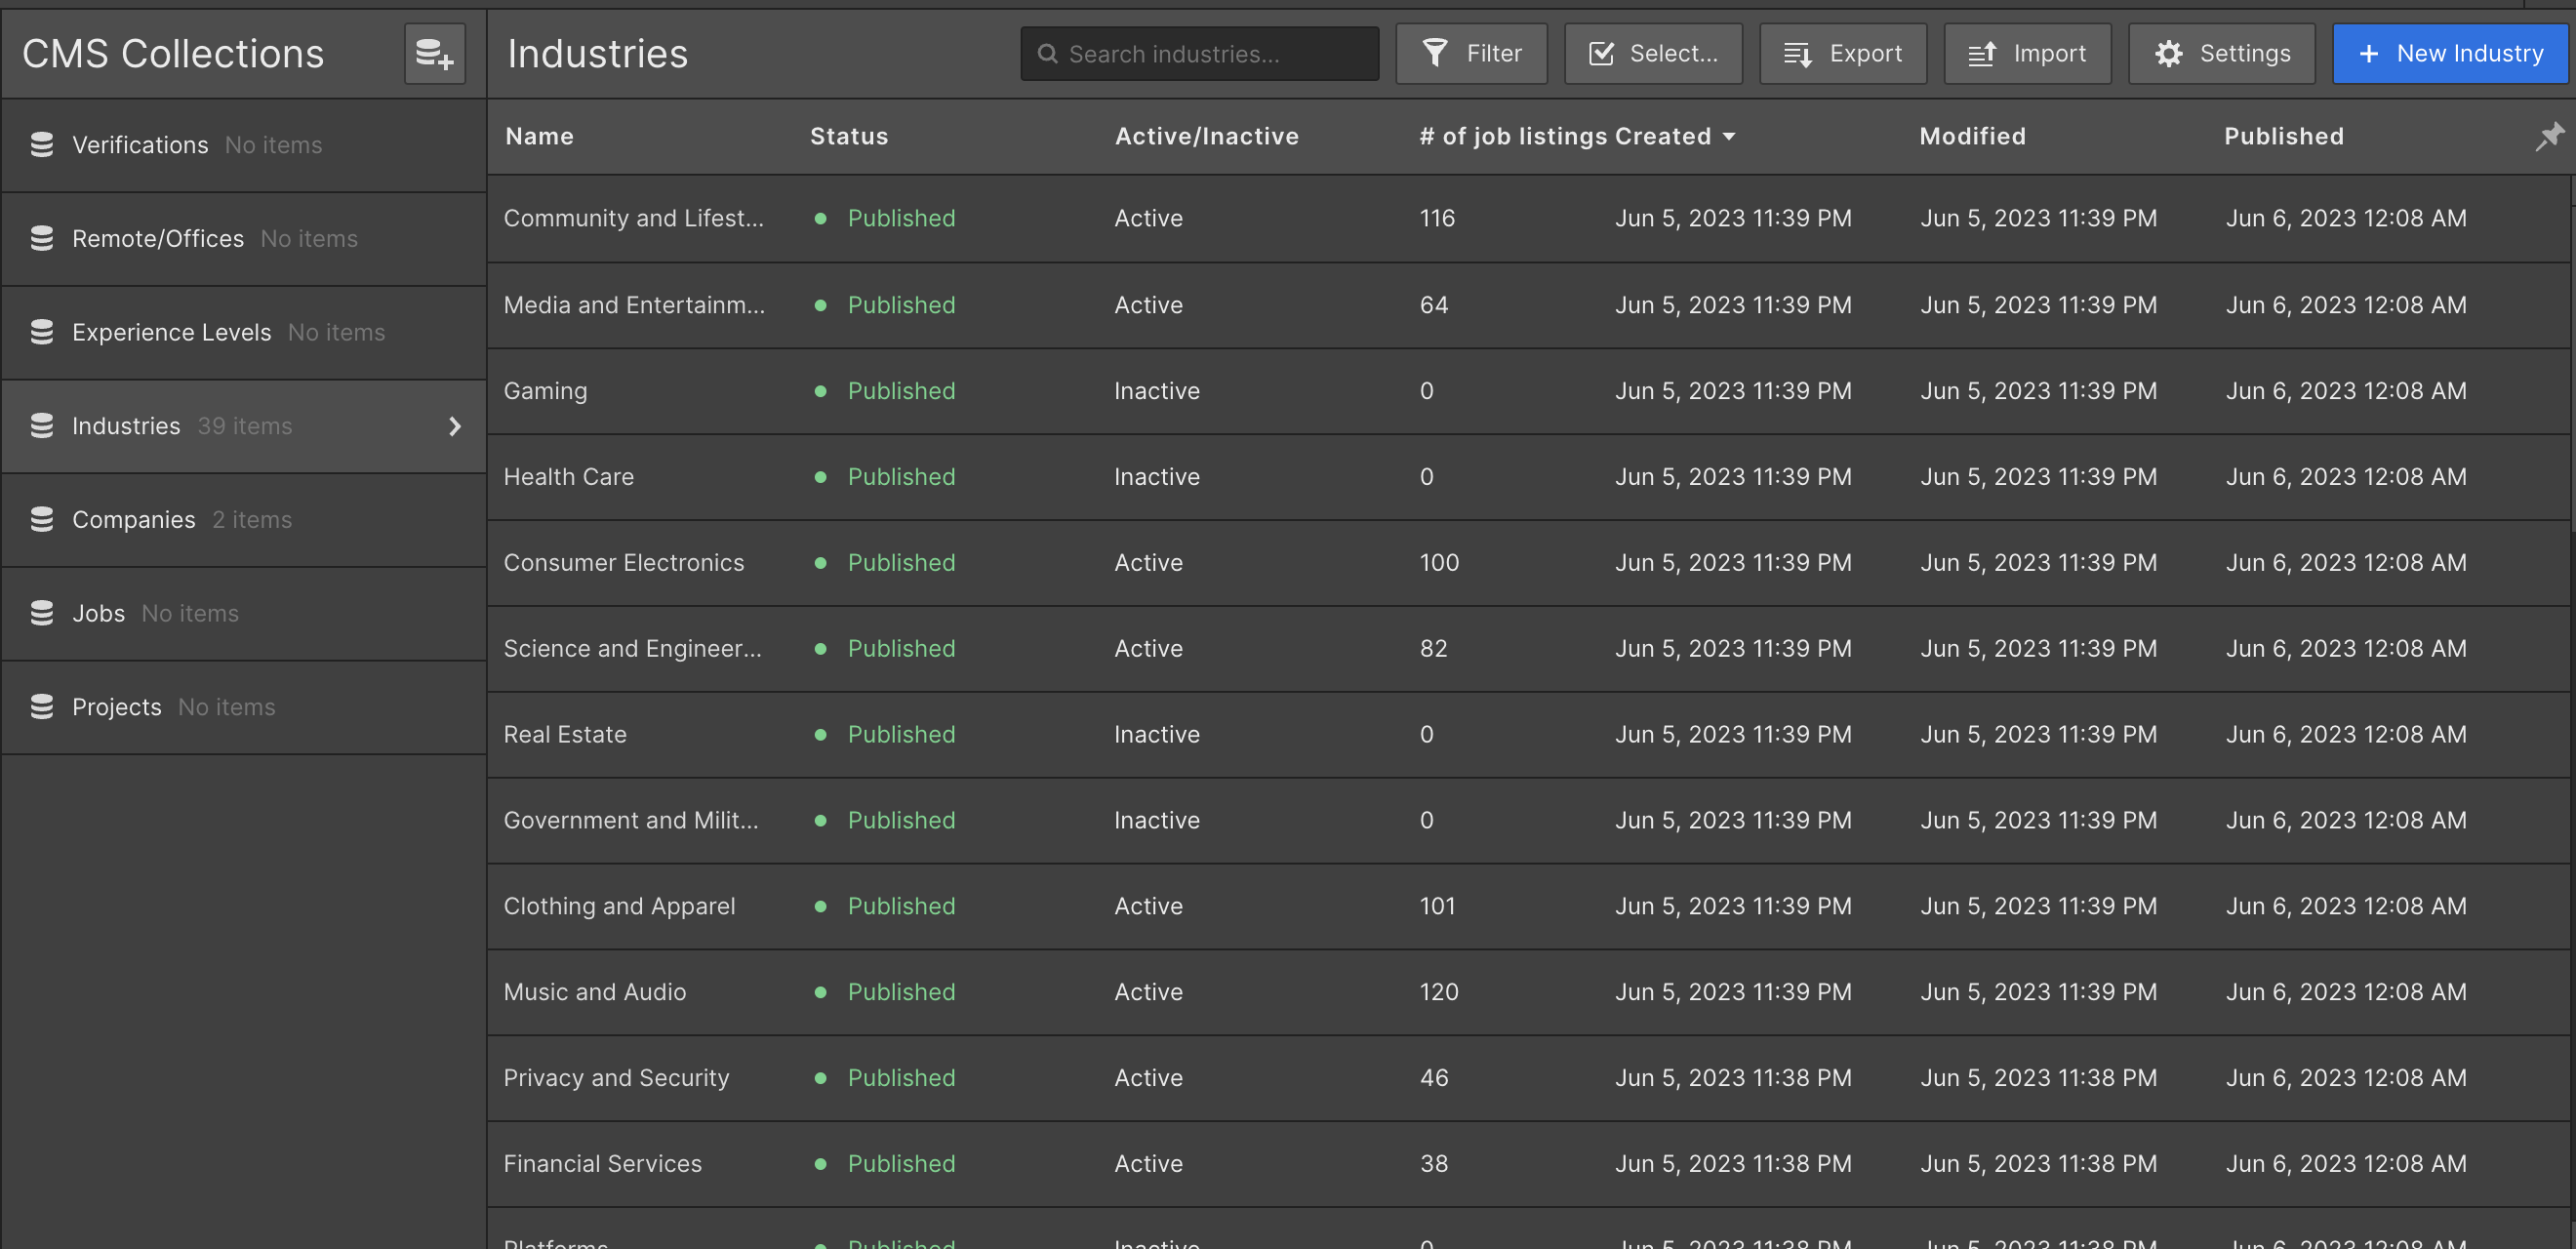
18. Navigating over to Webflow we can see that there are now only 39 records and Insurance is no longer listed.
Conclusion
Byteline’s Airtable to Webflow data sync synchronizes the records automatically. The user can set up a 2-Way or 1-Way sync between Airtable and Webflow in a few minutes.
To avoid any hassle of manual data management, try this sync today. Don’t waste another day on those broken automation. Get it done in minutes with Byteline’s data sync, a solution that works out of the box! Say goodbye to complicated integrations.

.png)
.png)
