Airtable to Webflow CMS Sync Using Byteline

March 23, 2023
8
minutes read
Airtable to Webflow sync, Airtable, Webflow CMS, Airtable trigger

WEBINAR

Join our free webinar on

Using Byteline Web Scraper

Thursday Jun 10 at 1 pm ET

Join us to learn the usage of Byteline's no-code Web Scraper along with its Chrome extension. We will then utilize it to scrape an eCommerce store.

Check out the agenda and let us know what more should be covered.

Airtable to Webflow CMS sync using Byteline

Airtable and Webflow is one of the best combinations in all of the no-code tech stacks. Airtable is known as an innovative and powerful database that allows users to turn their data into powerful applications. Furthermore, Webflow offers a great platform to build websites easily in minutes. Airtable can act as a single source of truth, whereas Webflow CMS only displays the data you want your users to view. As a result, Airtable generally serves as a superset of the data in Webflow CMS.

Recently, Byteline unveiled a fantastic feature to sync Airtable data to Webflow CMS automatically. Basically, it takes the data from Airtable and pushes it directly to Webflow CMS. It means that the user can access the data of an existing table from Airtable and then use the same data for the Webflow CMS. All you need to do is update the Airtable records, and Byteline will sync it automatically to Webflow CMS. This sync uses “Airtable trigger,” which invokes a Byteline flow whenever any change is made in the Airtable’s existing table. In this blog, you will get to know how to sync data from Airtable to Webflow using Byteline.

How To Update Data Using Airtable Trigger

In this blog, we have uncovered a few easy steps to help you update data and publish it to Webflow CMS using Byteline’s Airtable trigger.

We have divided this article into two sections to convey an easy understanding, as illustrated below:

  1. Configure Airtable Trigger
  2. Configure Webflow - Update Items

Let’s begin.  

Create Flow

In this section, you will learn how to create a flow and synchronize the Airtable base with Byteline’s Airtable trigger node.  

Step 1: Click on the Create flow button in the left sidebar of the console to create a new flow.


Step 2: Once you click on the Create Flow button, a new Window will open on your screen named Create flow. Enter the flow name into the Name field.

Step 3: Click on the Airtable- New or Updated Record Trigger node in the select trigger node window to initiate the flow.

Step 4: Click on the Add (+) button at the bottom of the Airtable trigger node.

Step 5: Select the Webflow- Create/ Update Items node in the select node window. 

With the end of this step, your flow shall be created successfully.


Configure Airtable Trigger Node

Step 1: Click on the Edit button at the bottom of the Airtable-trigger node to configure the Airtable Trigger node. 

Step 2: Once you click on the edit button, a new Airtable-trigger window will appear on the screen where you need to sign in to edit the Airtable form. Click on the “Sign in to Airtable” button.

Step 3: Enter the registered email address in the Email field.

Note: The users can also have the option to Sign in with Google, Sign in with Single Sign On, and Sign in with Apple. Click on the desired option. 

Step 4: Once you enter the email address, click on the Continue button.

Step 5: Enter the password in the Password field. Click on the Sign in button. 

Note: If you do not have an account on Airtable, click on create an account in the top right corner of the screen. 

Step 6: Once you sign in to your Airtable account, you will be navigated to the new screen named Byteline is requesting Airtable access where you need to add a base. Click on the Add a base button.

Step 7: Select the desired base from the given bases whose workspace you want to access. 

Step 8: Click on the Grant access button.

After that, a message will appear on your screen saying, Success! Please close this browser tab. 

Poll Period

Step 9: Select the base name in the Airtable base field of the configuration window. For this document, we have selected helloworld.

Step 10: Select the table name in the Table field of the configuration window. For this document, we have selected subreddits.

Only the data matching the view shall be returned if the Airtable view is specified. If it's not specified, then all the data from the table is returned.

You can find the View name below the Table field in the pop-up window.

Step 11: Select the view name in the View field of the Airtable configuration window. For this document, we have selected Grid View.

Step 12: Click Advanced to select the polling trigger.

Step 13: Select the poll period from the drop-down to trigger the flow in a regular time period. 

Note: Select the poll period according to the frequency of data changes in your Airtable.

You can select the Run a separate flow for each record field by checking the box below Polling Interval field.

Step 14: Click on the add (+) button at the bottom of the Airtable-trigger node.

Step 15: Click on the Airtable- Create/ Update Records trigger node in the select trigger node window to initiate the flow.

Step 16: Click on the edit button at the bottom of the Airtable-trigger node to configure the Airtable Trigger node. 

Step 17: Select the base name in the Airtable base field of the configuration window. For this document, we have selected helloworld.

Step 18: Select the table name in the Table field of the configuration window. For this document, we have selected subreddits.

Only the data matching the view shall be returned if the Airtable view is specified. If it's not specified, then all the data from the table is returned.

You can find the View name below the Table field in the pop-up window.

Step 19: Select the view name in the View field of the Airtable configuration window. For this document, we have selected Grid View.

Step 20: In this section, we will learn to configure each of the Airtable columns data with their respective output values. Byteline populates the Field Names for which data needs to be configured.

Step 21: To delete any unwanted columns, click on the vertical ellipsis button next to each field. You can also leave the field empty, and we will ignore it.

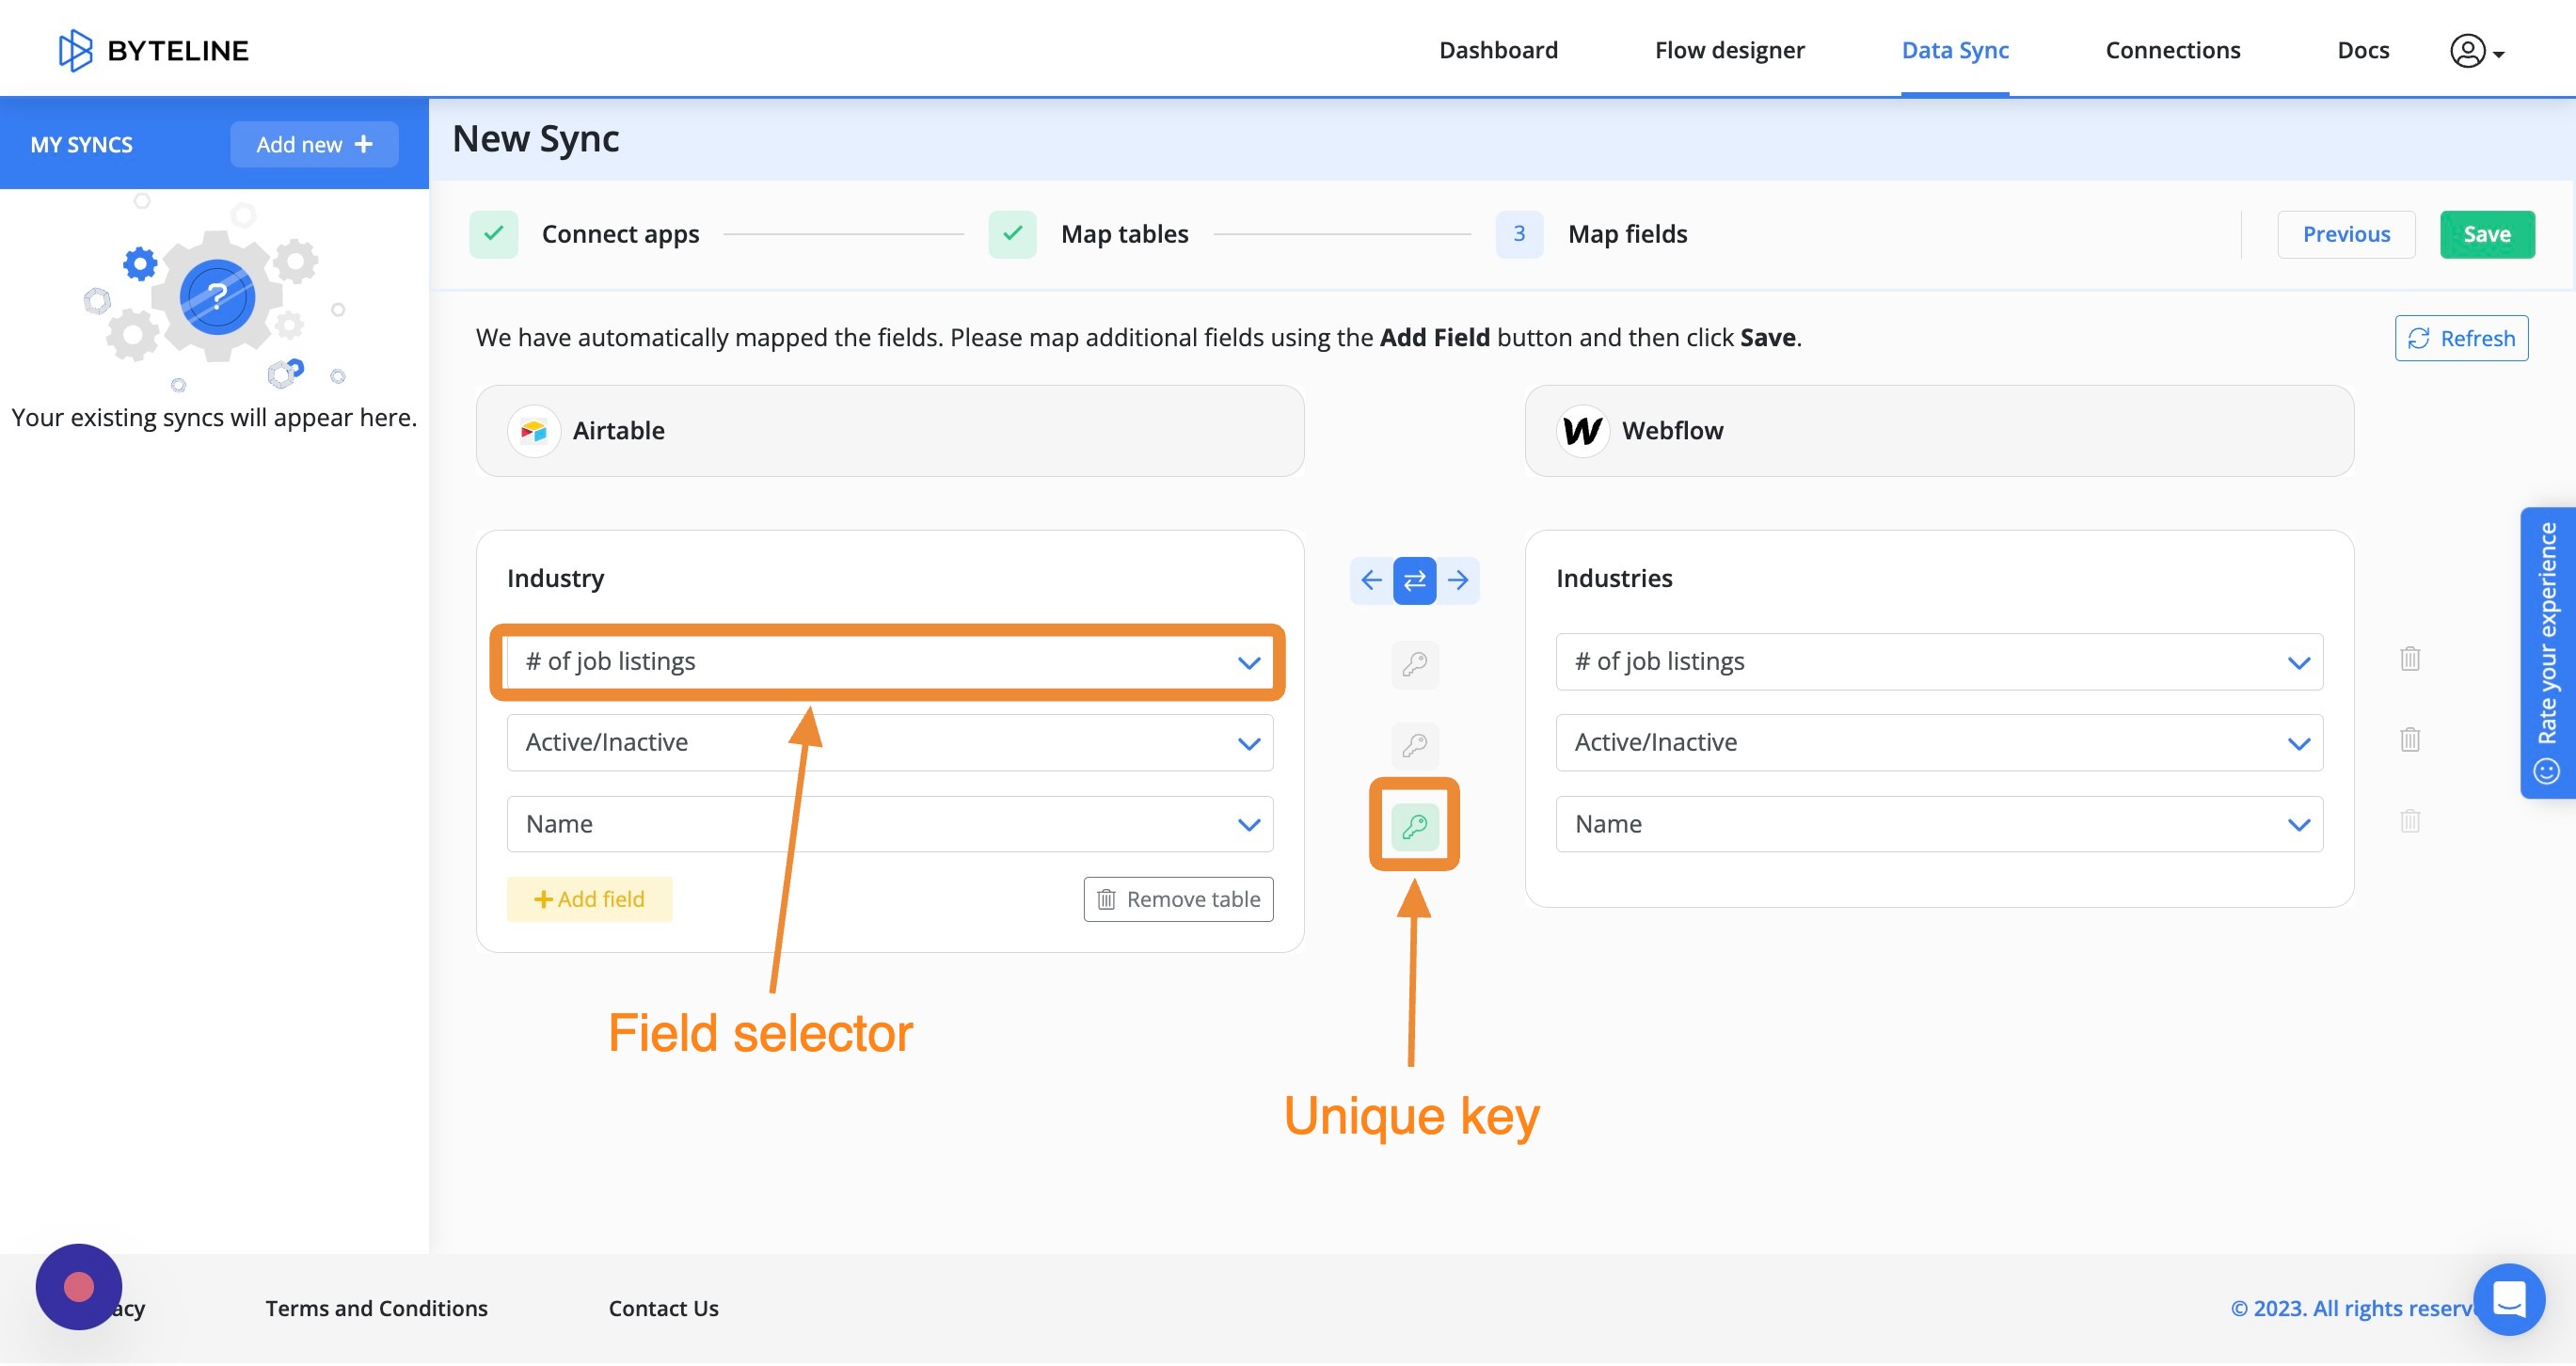
Step 22: Click on Mark as unique so that we can find the matching records to update.

Step 23: Click on the Test run button to test the configured node.

Step 24: After clicking on the Test run, you can view the output.

The Airtable trigger node has successfully triggered the Airtable node to reflect the updated data.

Configure Webflow - Update Items

Step 1: Click on the Edit button for configuring the Webflow- Create/ Update Items node.

Step 2: Once you click on the edit button, a new Webflow- Create/ Update Items window will appear on the screen where you need to sign in to edit the Webflow form. Click on the “Sign in to Webflow CMS” button.

Step 3:  Enter the registered email address and password in the Email and Password field. Click on the Log In button. 

Note: The users can also have the option to Sign in with Google.

Step 4: Tick the checkbox for allowing access to a particular site.

Step 5: Click on the Authorize Application button to allow access to the application.

Step 6: Click on the site dropdown and select the desired site.

Step 7: Click on the collection dropdown and select the desired collection.

Step 8: Click on the selector button and enter values in the collection text field for mapping the data. You can choose several fields as required.

Step 9: Click on the Mark as unique to Test Run for successful configuration.

Step 10: Fill in the field's value as per your preference or leave it blank. The unique field's value is mandatory.

Step 11: Click on the Test run button to execute the configured node.

Step 12: After clicking on the Test run, you can view the output.

The Airtable trigger node has successfully triggered the Webflow CMS to reflect the updated data. 

How Does the Configured Flow Work?

To update data on your Webflow, you can directly make changes in the Airtable records by following the steps illustrated below.

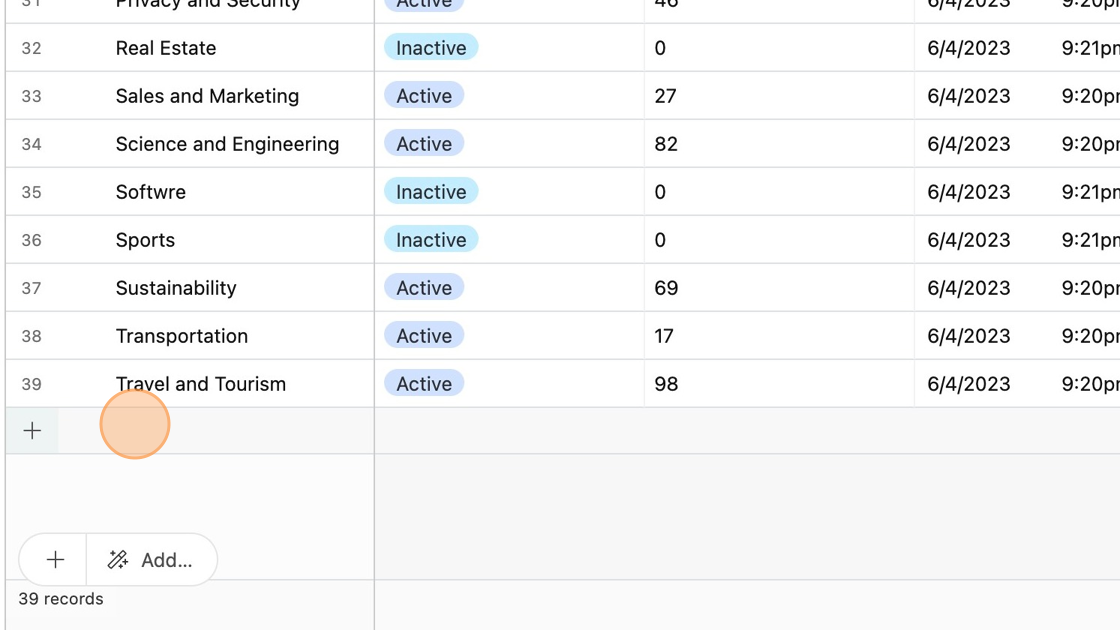
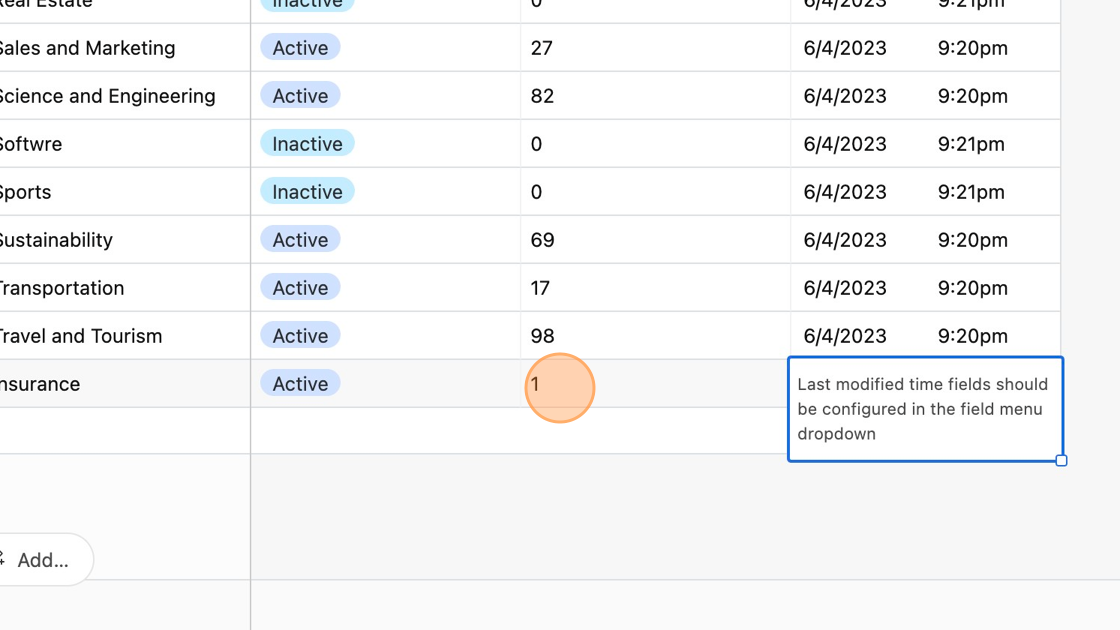
Step 1: Update the data in the Airtable record.

For example, if you have changed the status from created to published or vice versa in your Airtable Base, the entry for the same should be updated in Webflow.

Step 2: Click on the Run Now button located at the top right corner of the flow designer.

‍Step 3: Execute the flow and check the node information to view the output.

The published status is updated in the Webflow CMS.


Conclusion

Byteline’s Airtable to Webflow sync migrates all your data of existing tables from Airtable to Webflow CMS and synchronizes them automatically. The user can set up a real-time as well as two-way sync between Airtable and Webflow in a few minutes. It means if you make any change in the Airtable data then it automatically pushes those changes in the Webflow CMS. 

To avoid any hassle of manual intervention, try this flow today. Whenever the Airtable trigger finds any change made in the existing data of the tables created in Airtable, it will update the Webflow CMS accordingly. 

Don’t waste another day on those broken API calls. Get it done in minutes with Byteline’s trigger node, a solution that works out of the box! Say goodbye to complicated integrations. 

Resources

https://docs.byteline.io/article/fb1rsq7gj5-airtable-trigger

Upvote this feature

If you like this feature and are interested in using it, please upvote it from the Byteline Console at https://console.byteline.io

How can I use it?

This feature is generally available and you can start using it from the Byteline Console at https://console.byteline.io/

get started free

Sign up today to get ahead using our bleeding-edge, no-code service.