Relevant apps:
Sync RSS feed to Webflow CMS
Introduction
RSS feed stands for Really Simple Syndication and is a web-based technology that allows users to receive updates from websites or blogs in a standardized format. It enables users to subscribe to automatic notifications whenever new content is published. Many business Cloud apps support RSS feeds for data, making it an effective method to synchronize its data with other applications such as databases and CMS systems. This blog post delves into syncing data from any RSS feed to Webflow CMS. The synchronization method discussed here is compatible with any source cloud app, as RSS generates a standard feed format supported by all applications. Furthermore, these steps can be applied to any target Cloud app that integrates with Byteline.
The first step involves creating the RSS feed in the source system. Once the RSS feed is enabled, you can copy its URL and utilize it with Byteline's RSS trigger node.
This blog post will provide step-by-step instructions on exporting data from Hacker News (HN) to Webflow CMS. Our Webflow CMS site will display only the top posts from the past 24 hours. Therefore, we will add new posts, update HN comments and points for existing posts, and delete posts that are no longer among the top news from the past 24 hours. Although we use HN posts as an example, the same steps can be applied to syncing jobs, HR data, or any other content that supports an RSS feed.
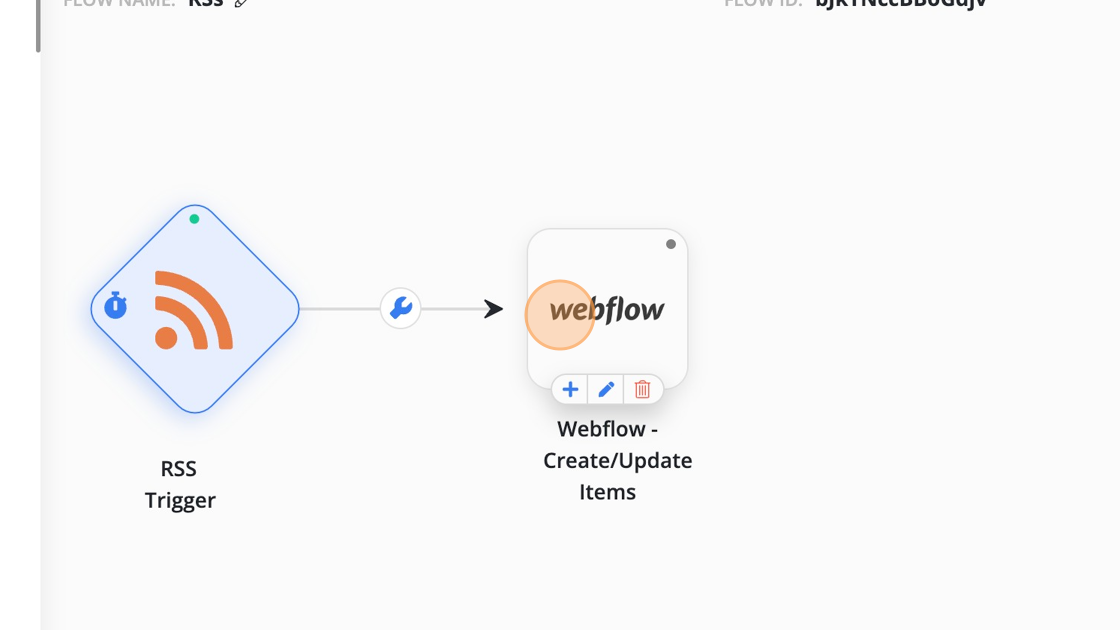
To achieve the sync, we will need two Byteline flows:
- The first flow handles new and updated records using a Byteline flow that includes the RSS trigger and Webflow - Create/Update Items nodes.
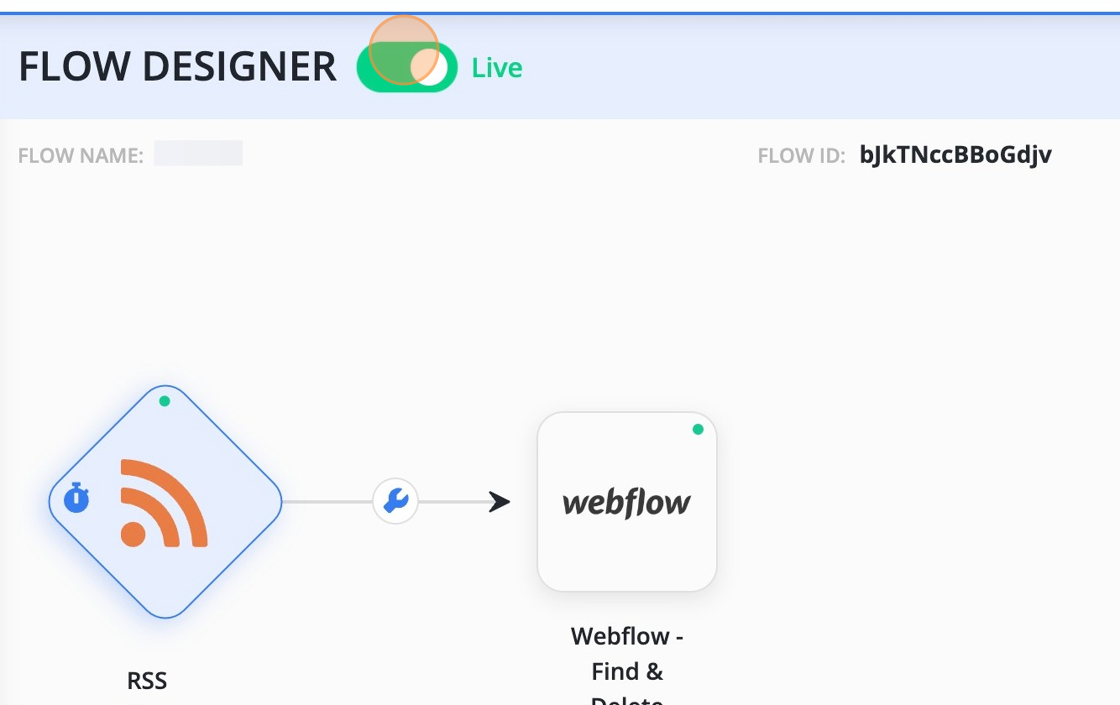
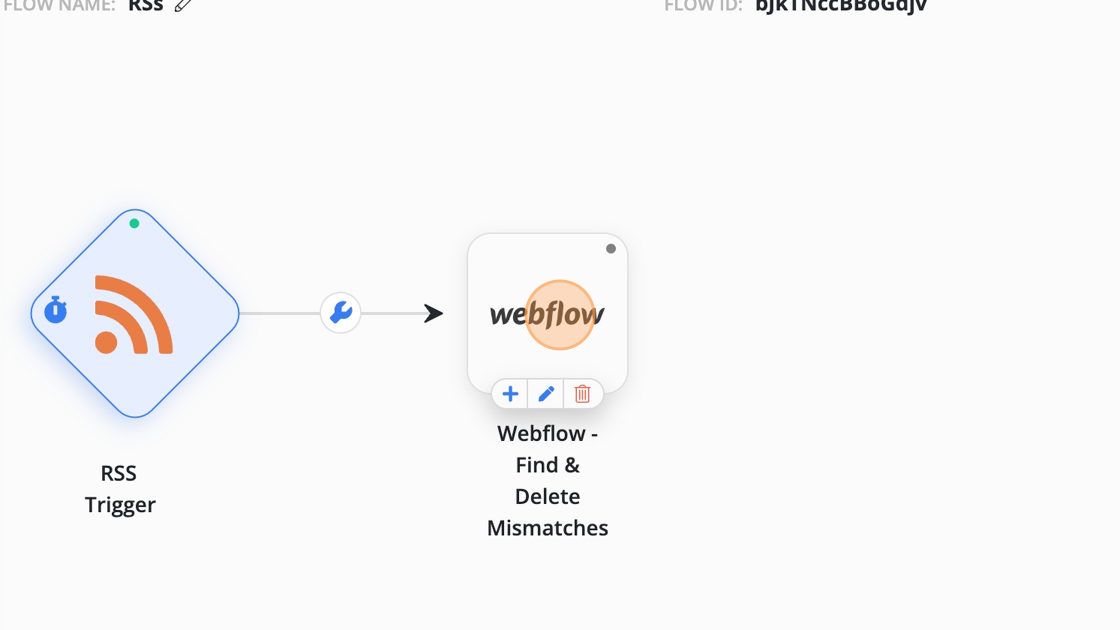
- The second flow manages expired posts that need to be deleted. This flow utilizes the RSS trigger and Webflow - Find & Delete Mismatches nodes.
Byteline’s RSS trigger
Byteline is an incredibly versatile no-code automation platform that offers a vast array of triggers and action nodes, enabling users to effortlessly create automation flows. One of our most popular triggers is the "RSS trigger," which allows users to specify the feed URL and automatically initiate the flow whenever there is a change in the RSS feed data. Additionally, it supports RSS feeds that require authentication, allowing you to configure login credentials and passwords for the RSS feed if needed.
Now, let's proceed with step-by-step instructions on configuring the RSS Trigger using HN posts.
Step-by-step instructions
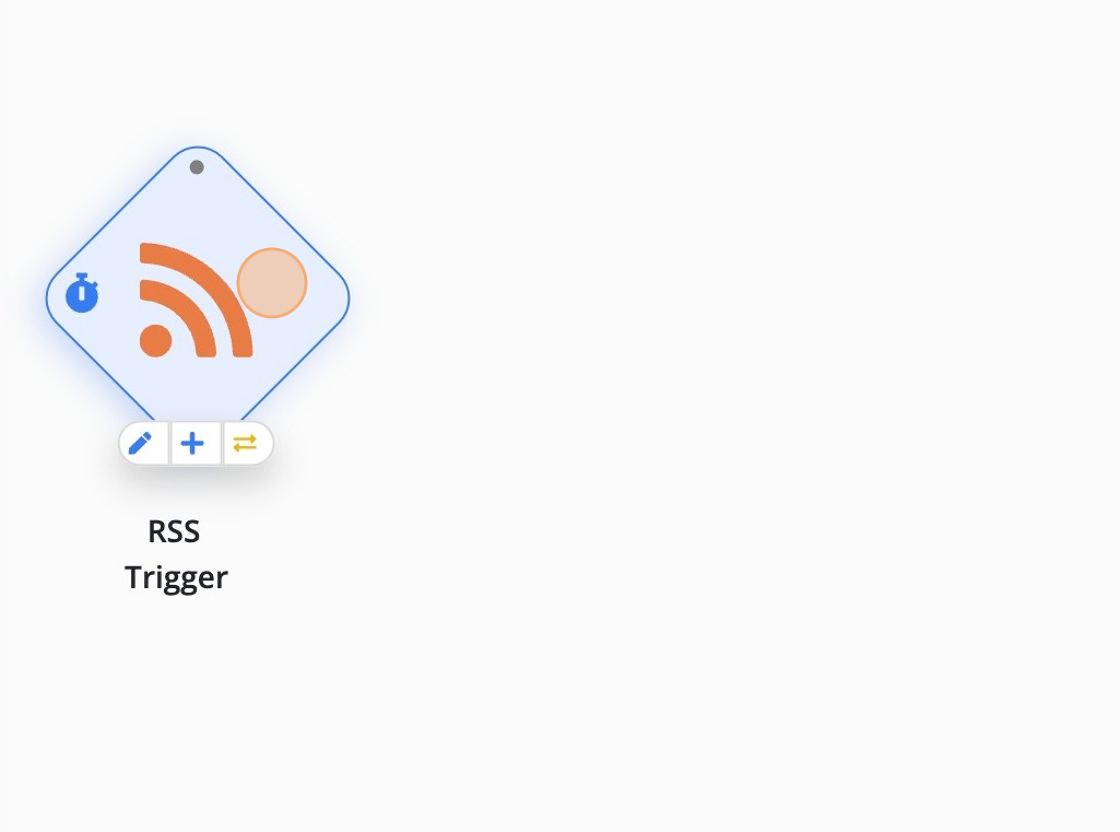
1. Create a flow with RSS trigger node.
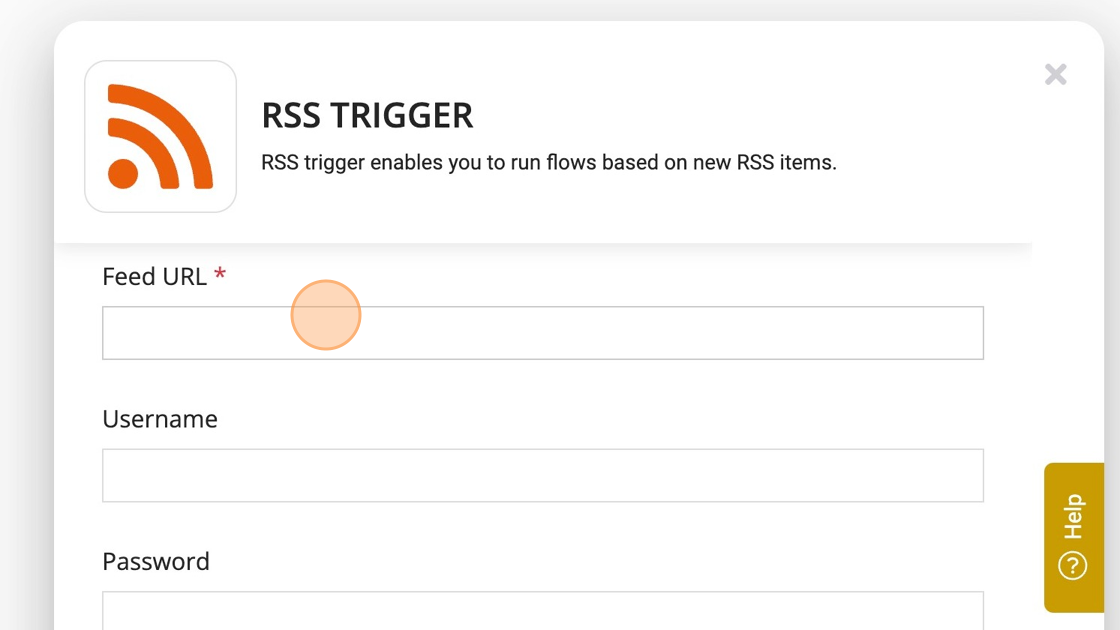
2. Enter the feed URL.
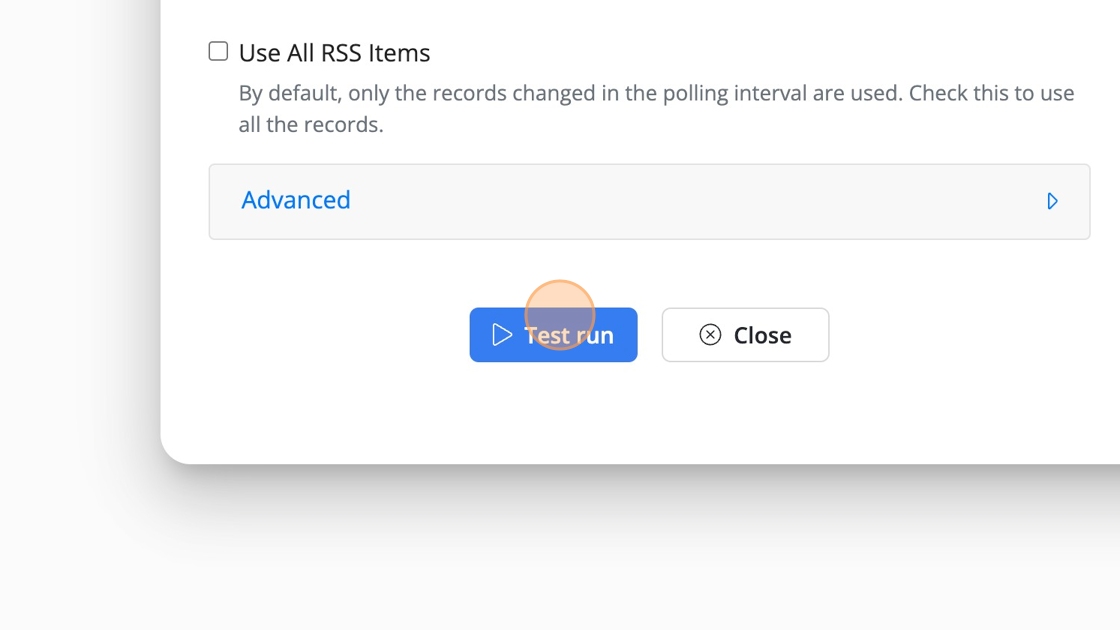
3. Perform "Test run" to validate the settings.
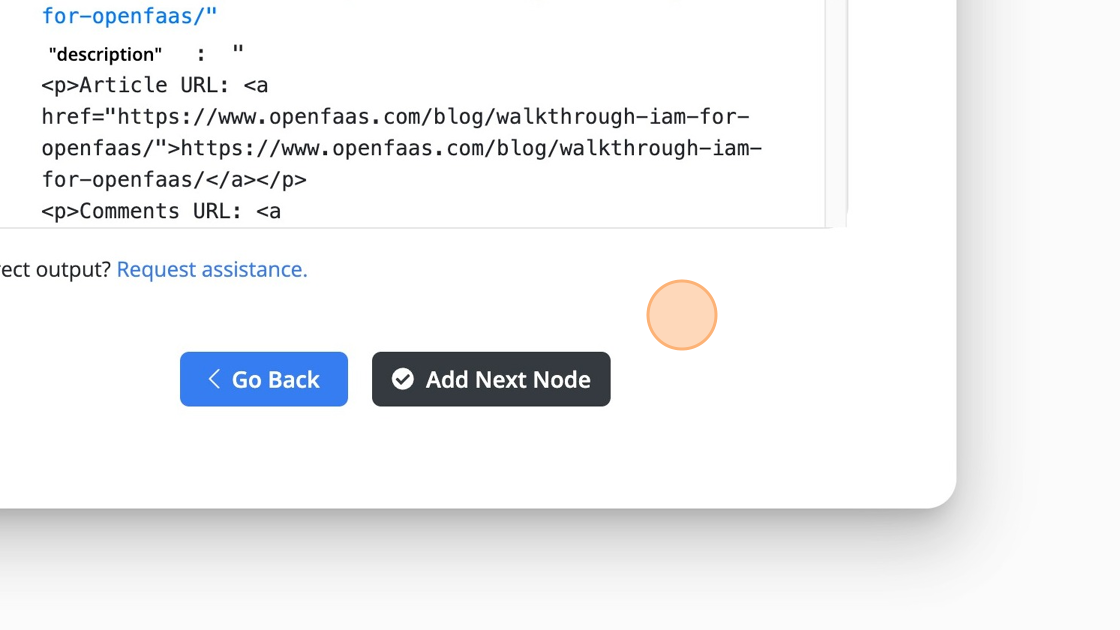
4. Review test run output.
Create/Update items in Webflow CMS
To effortlessly export an RSS feed to Webflow CMS, we will utilize the powerful "Webflow - Create/Update Items" action node (aka Smart Update) by Byteline. A similar node is provided for numerous popular Cloud apps. Therefore, this method can be applied to all those Cloud applications. It enables users to seamlessly create or update items within the CMS. This is achieved by specifying the unique field(s) for Webflow CMS. If an item matching the specified unique field(s) already exists, it will be updated; otherwise, a new item will be created.
Follow the steps below to configure the Webflow CMS action node for managing the creation and updating of HN posts.
Step-by-step instructions
1. Add Webflow - Create/Update Items node and click on Edit.
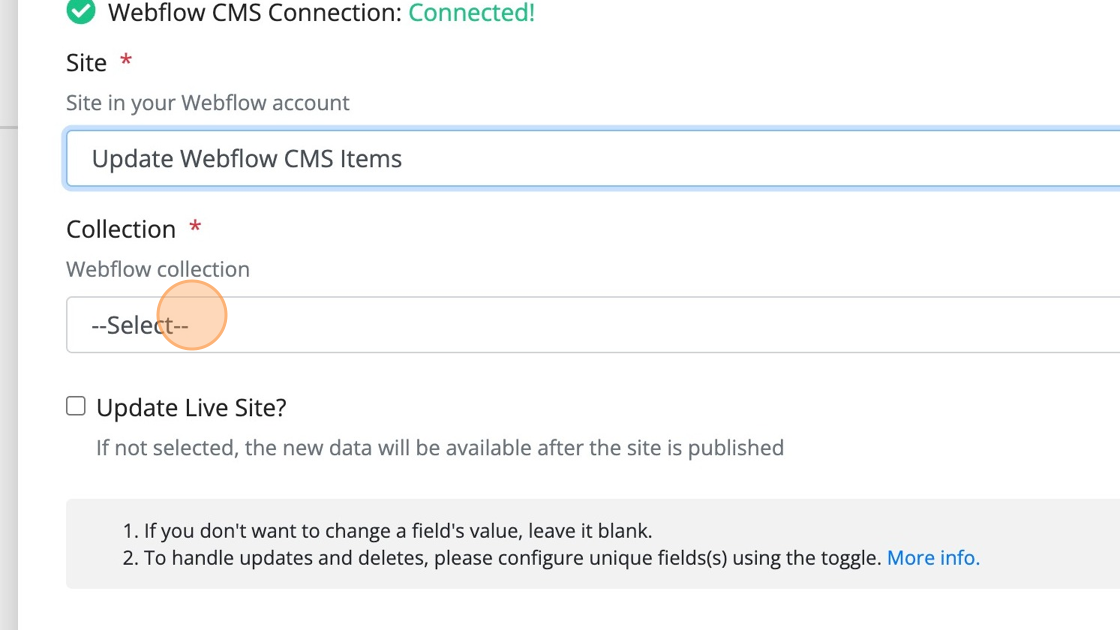
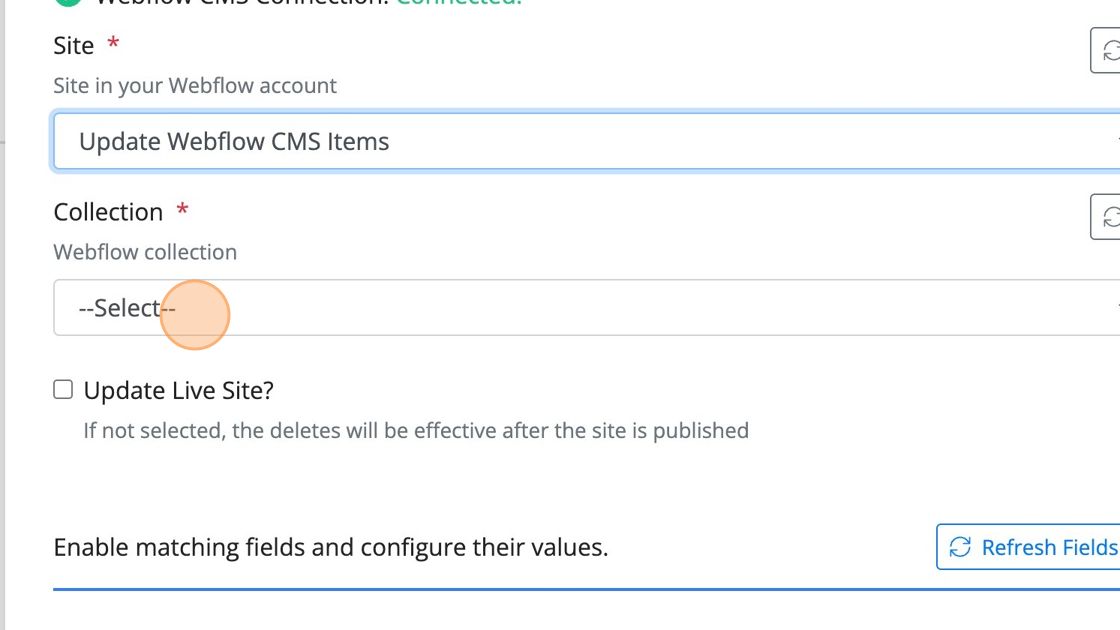
2. Select your Webflow site.
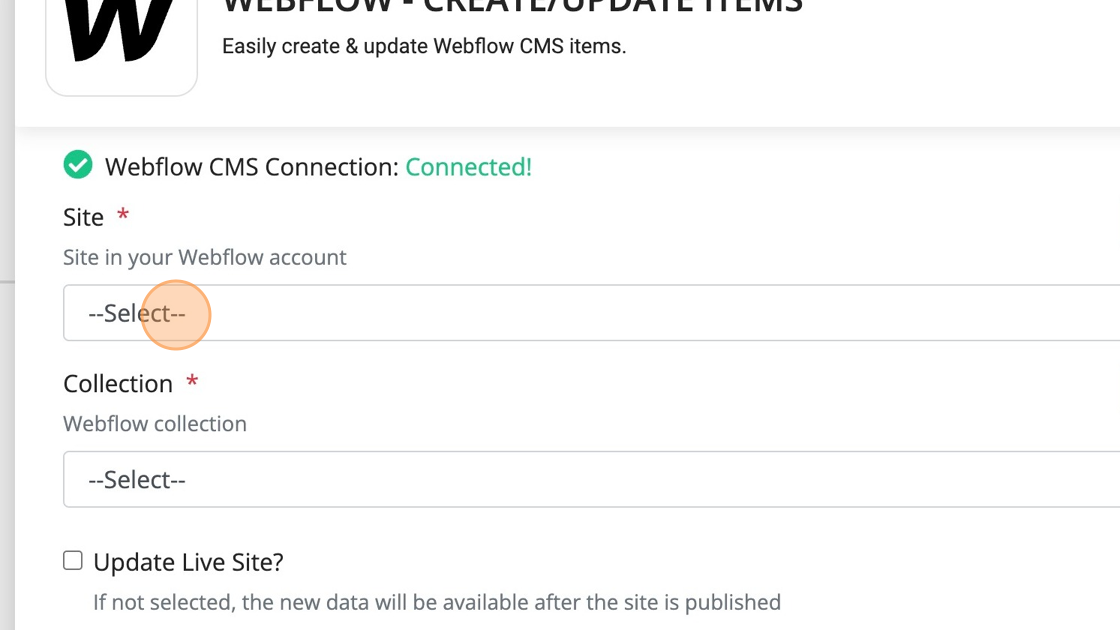
3. Select your Webflow collection.
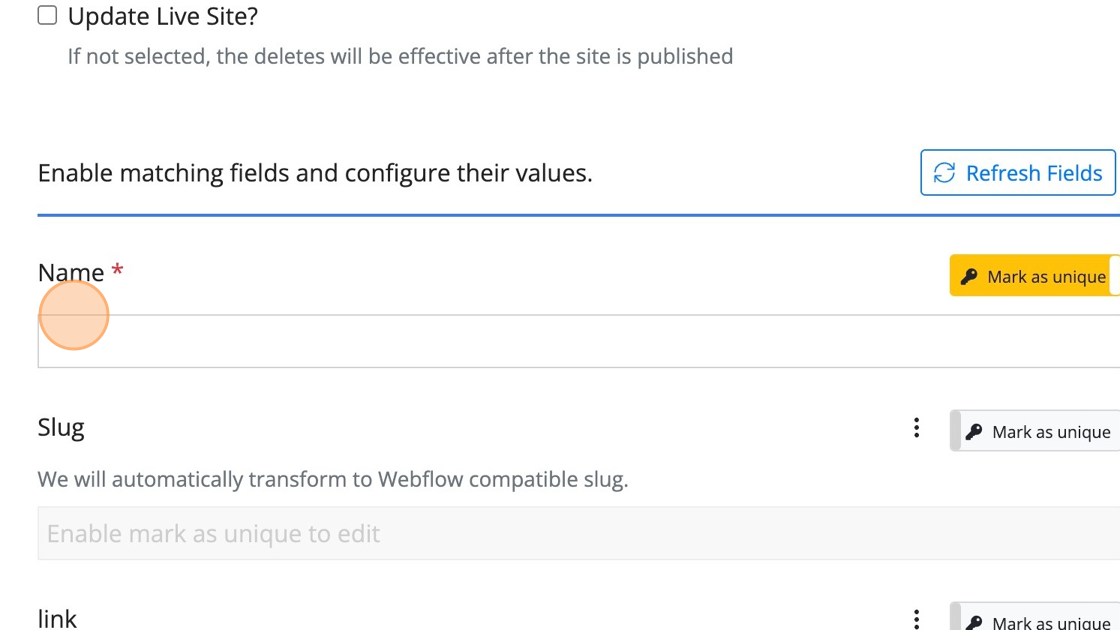
4. Click on the "Name" field, or the field you want to map, to open the Byteline variable selector.

5. Click "title" to map it to the Name field.
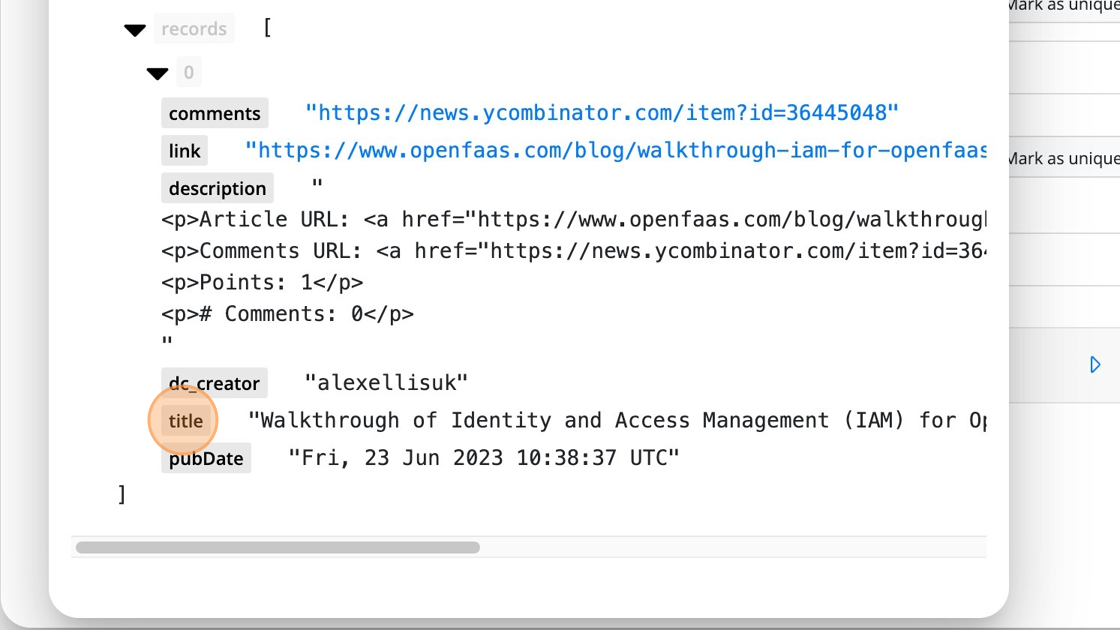
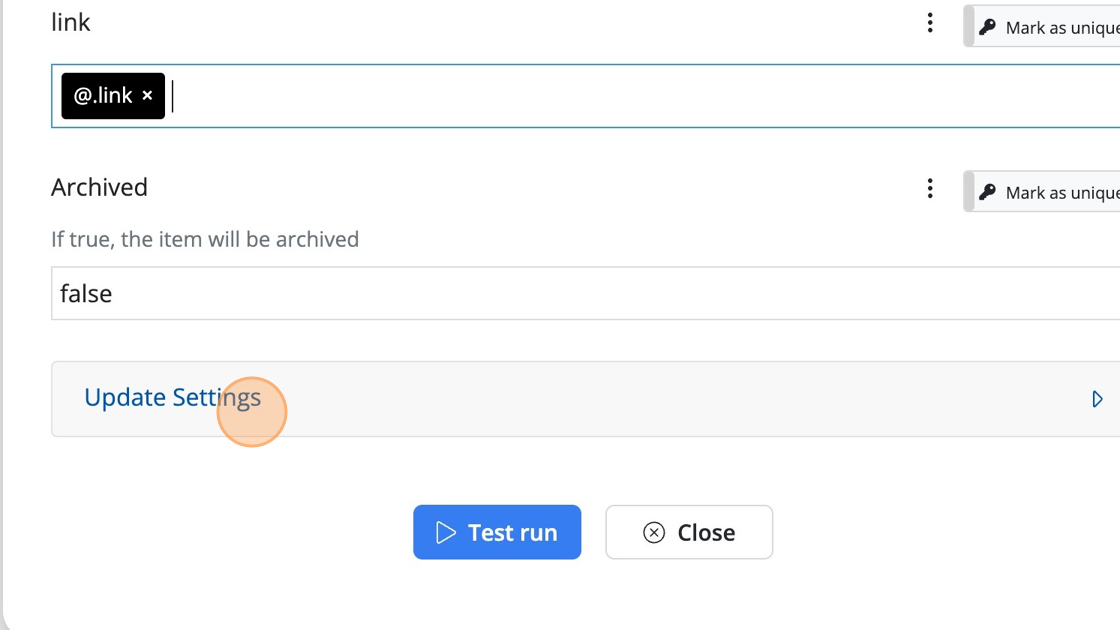
6. Now let's map the Webflow link (your field might have a different name) field by selecting the "link" field from the Byteline expression selector.
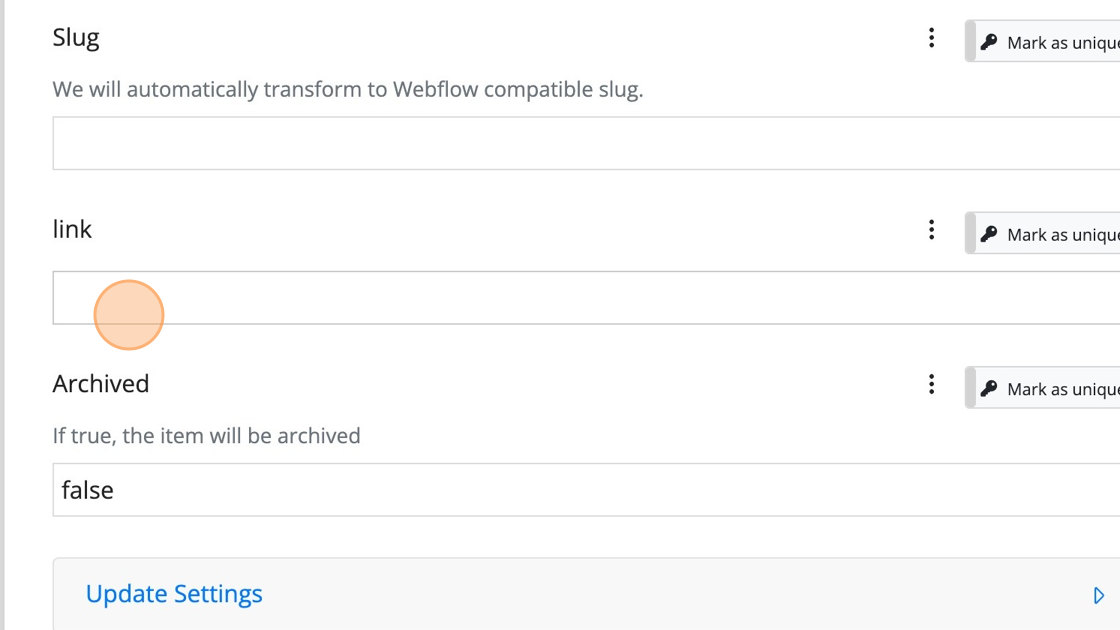
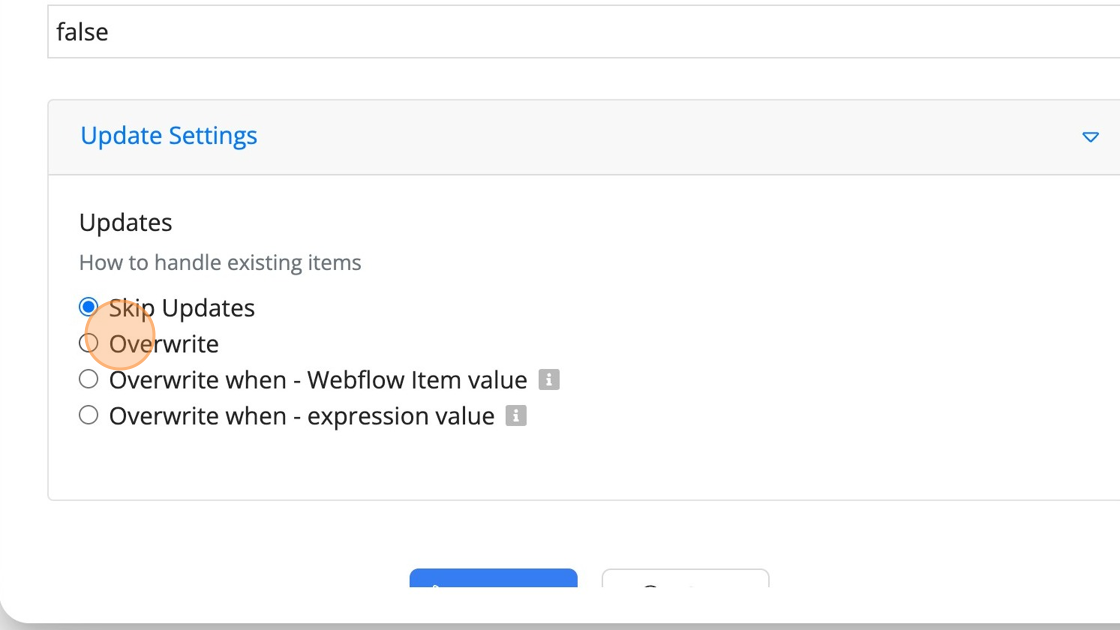
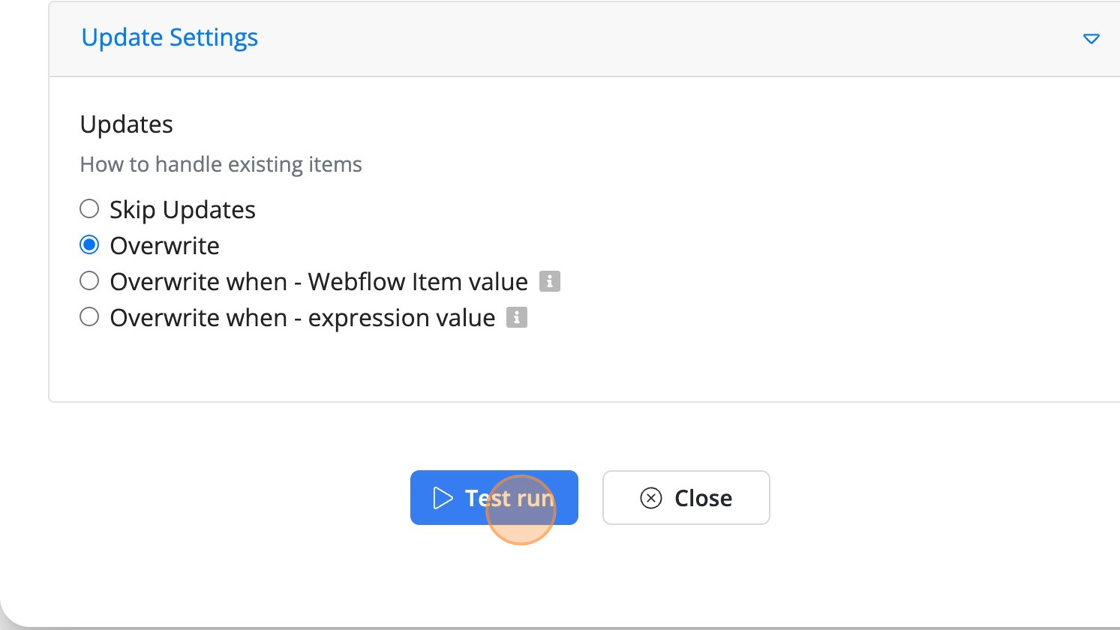
7. Click "Update Settings" to change to Overwrite updates.
8. Click "Overwrite"
9. Click "Test run"
Deleting expired posts from Webflow CMS
Byteline offers a robust action node specifically designed for deleting items that do not exist in the source system. In the case of Webflow, this action node is called Webflow - Find & Delete Mismatches. Similar nodes can be found in almost every other Byteline integration.
For this node to function properly, it is crucial to provide all the currently valid data. To accomplish this, the RSS trigger node is utilized with the "Use All RSS Items" option checked, ensuring that all items in the feed are retrieved during each polling cycle. Here is the configuration process for this node:
- Use input data containing all the valid records.
- Map a unique field (or fields) from this source data in the task node. You can select multiple fields if no single field is unique.
- Perform a test run in preview mode to verify that the deletions align with your expectations.
- Switch the setting from preview to delete and activate the flow to make it live.
By following these steps, you can successfully configure the Webflow - Find & Delete Mismatches node to manage the deletion of items in your workflow.
Step-by-step instructions
1. Create another flow with the "RSS trigger" and make sure you select "User All RSS Items" for this flow. Then add "Webflow - Find & Delete Mismatches" node
2. Select your Webflow site and collection.
3. For this node, you only need to select the unique field(s) value. For this example, the Name field is used as unique. So click on it and select the field to map using the Byteline expression selector.
4. Click "Test run" in the Preview mode, which will let you review the correctness of this task node without making any changes.
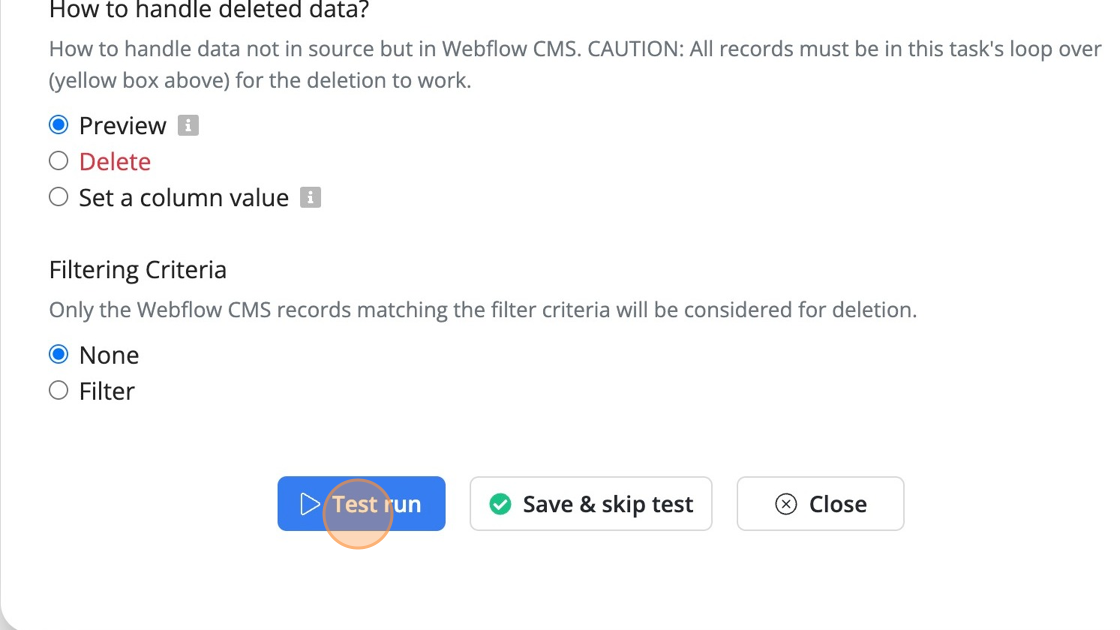
Tip: Tip! If the test run results in the below message: "Skipping, as the task config is causing all the records to be removed. Please retry after fixing the configuration.", it means the test run of the source data node doesn't have the complete data. In that case, instead of the test run, use "Run Now" from the top right.
5. After you've reviewed the results, change to the "Delete" setting and then click the "Save & skip test" button.

6. Turn the flow live using this toggle button. The flow will start running based on the schedule in the Advanced tab.