Airtable Data Sync

This comprehensive document will walk you through the step-by-step configuration process for Airtable data sync and address specific use cases tailored to Airtable.
Standard Data Sync functionality
Please refer to Data Sync - Getting Started for the standard data sync functionality. The getting started document covers usages of data sync features valid for all integrations.
Configuring Airtable Data Sync
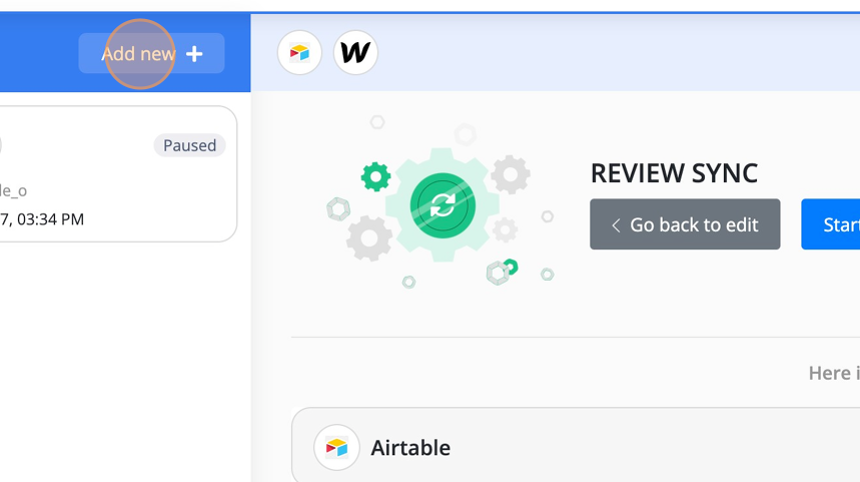
1. Click on 'Add New' button
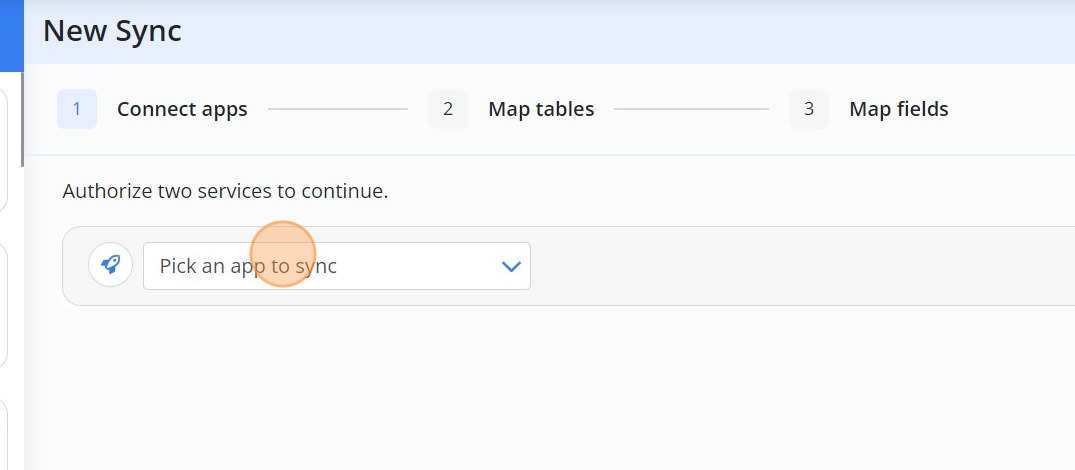
2. Pick the 'Airtable' from dropdown.
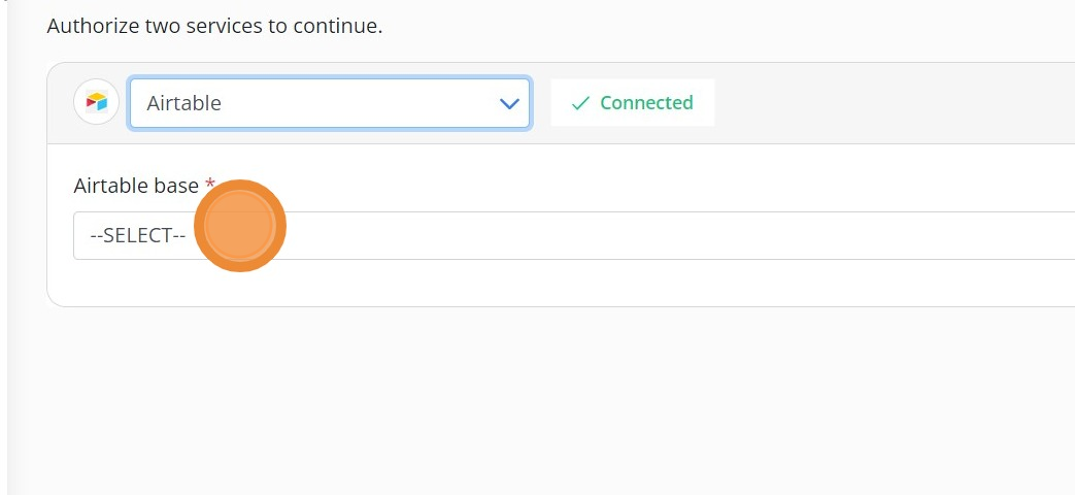
3. Select the 'Airtable base' from dropdown.
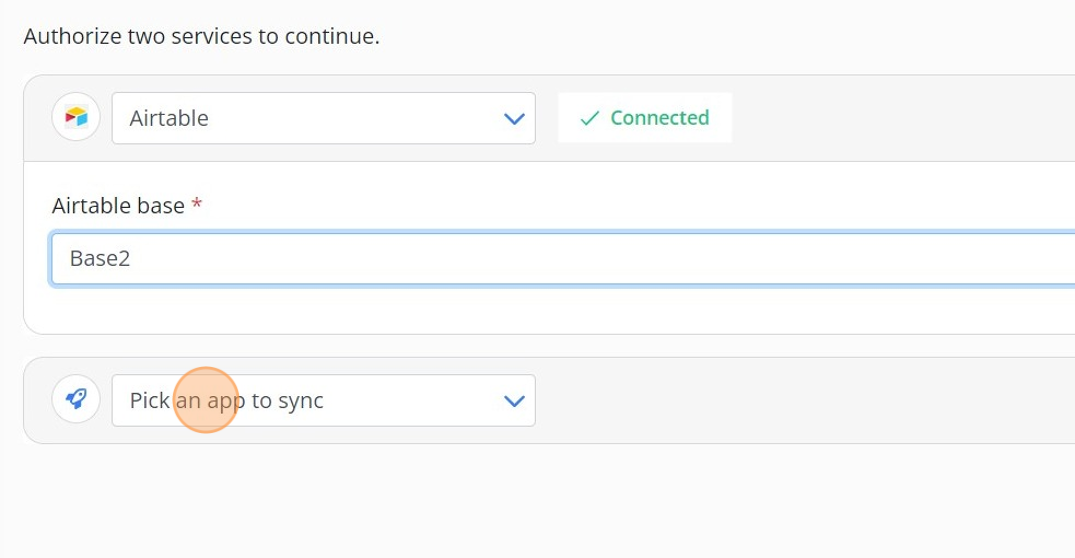
4. Pick the app that you want to sync with Airtable.
5. Click on 'Next' button
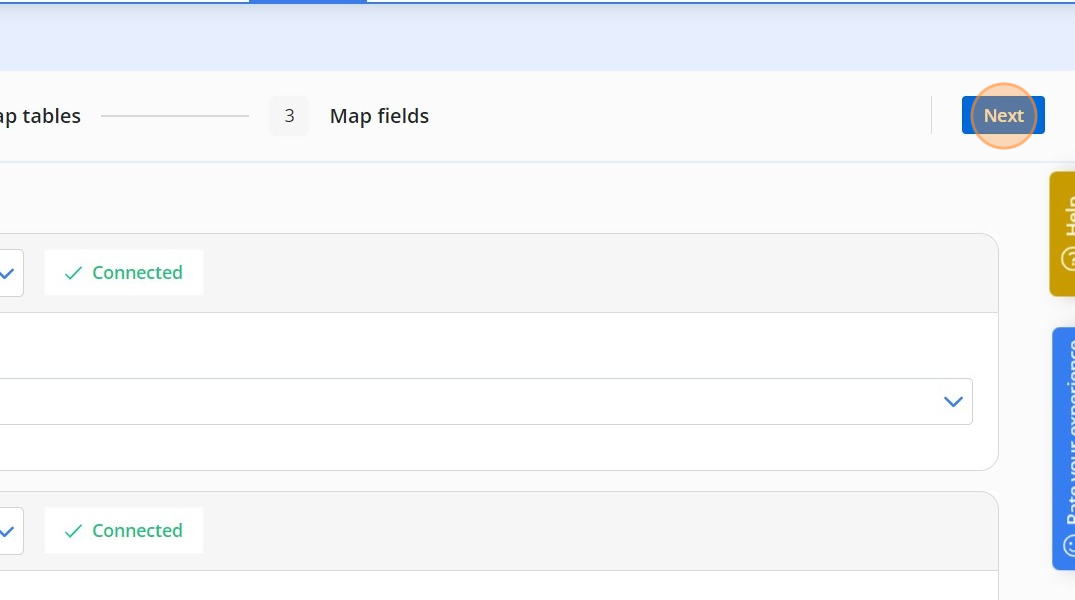
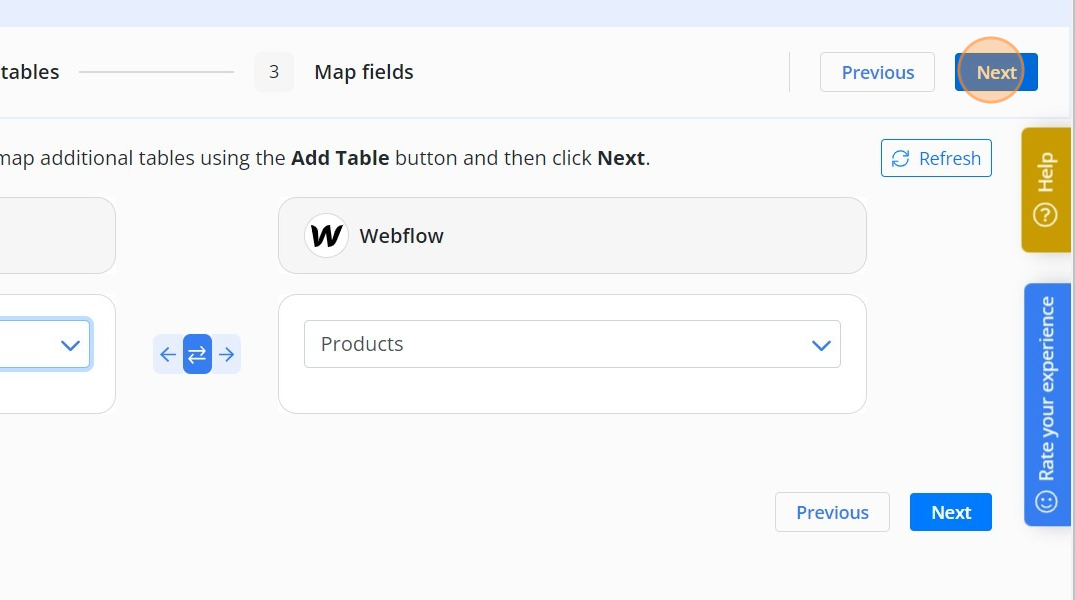
6. Delete any tables that you don't want to sync. If the table you want to sync is not displayed, add it using "Add table" button.

7. Click on 'Next' button.
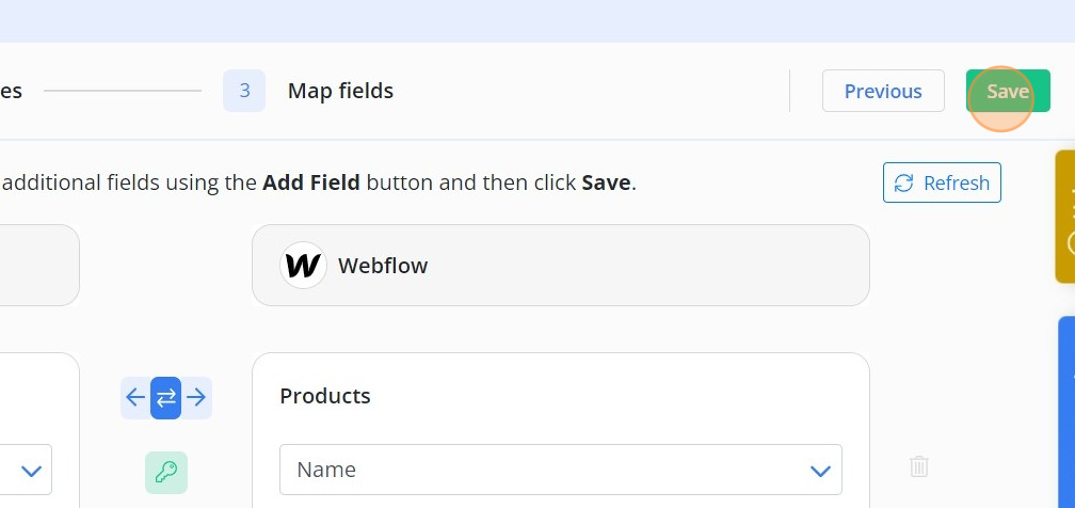
8. Delete any fields that you don't want to sync. If the field you want to sync is not displayed, add it using "Add field" button.
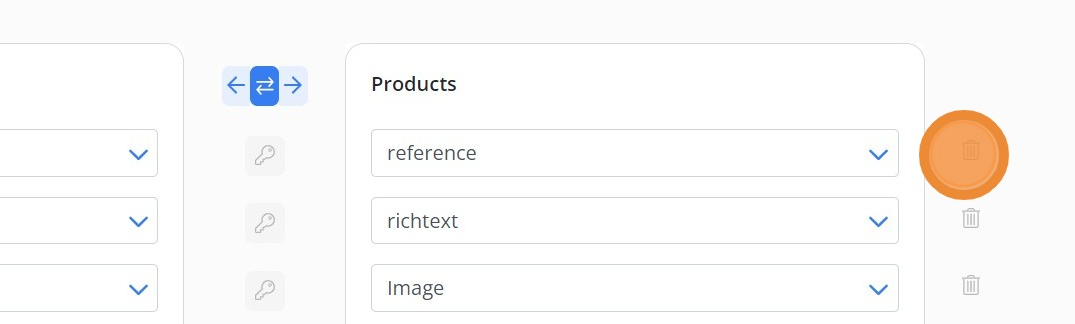
9. Click on 'Save' button
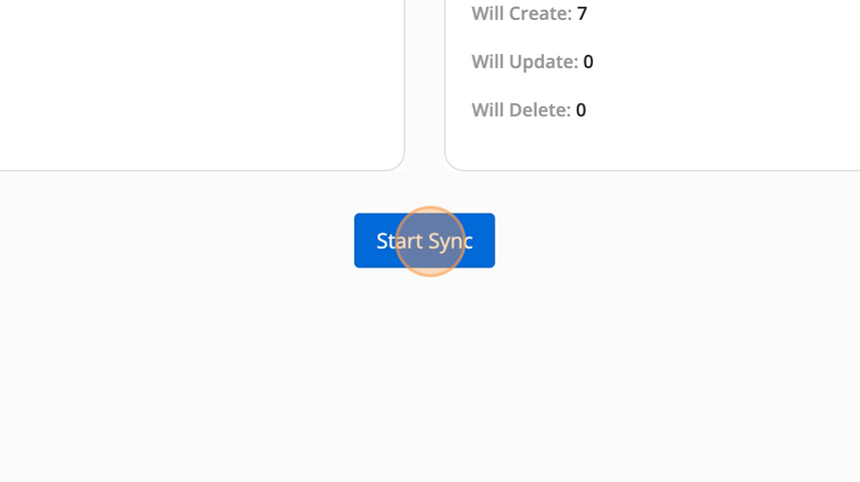
10. Carefully review the number of creates, updates, and deletes. Then click "Start Sync". If the numbers are not correct, it means your unique key selection needs to be changed.
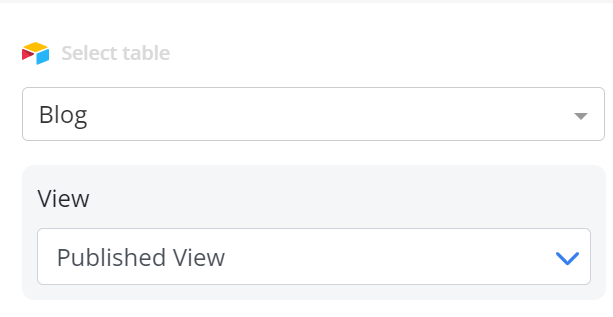
Airtable View Sync
You can sync data that is specific to an Airtable view, which is used to filter and organize your data. When you configure an Airtable data sync, Byteline requires a view to be specified. By selecting a specific view, only the relevant data contained within it will be synced. This applies to both historical syncing, for existing data, and ongoing synchronization.
You can configure a view during the sync creation as shown in the below screenshot.
⚠️ Limitation — When a View Filter Condition Is Not Based on Record Changes
When your Airtable sync is configured using a filtered view, most filters work perfectly because Airtable sends a webhook whenever a record is created, updated, or deleted — and Byteline Sync reacts immediately.
However, if your view includes conditions that can change without the record itself being modified, Airtable does not fire a webhook for those transitions. Examples include:
- Filters using
TODAY(),NOW(), or other time-based formulas
What happens in this case?
If a record stops matching the view due to one of these non-record-change conditions:
- Airtable does not emit a webhook
- Byteline does not receive a change event
- The record quietly leaves the view, and therefore leaves the sync scope
- The corresponding removal/update will not be applied in the destination app
Recommended Workaround
To ensure such transitions are detected:
- Add a helper field in Airtable (e.g.,
Sync Status,Active Today, etc.). - Use an Airtable formula or automation (scheduled or conditional) to update that field when your condition becomes true or false.
- Use this helper field in your view filter instead of directly using formula-based conditions.
This ensures that a real record update occurs, which triggers an Airtable webhook, allowing Byteline Sync to correctly pick up the change.
Airtable Permissions
You need to have Airtable Creator access to create a Byteline data sync.